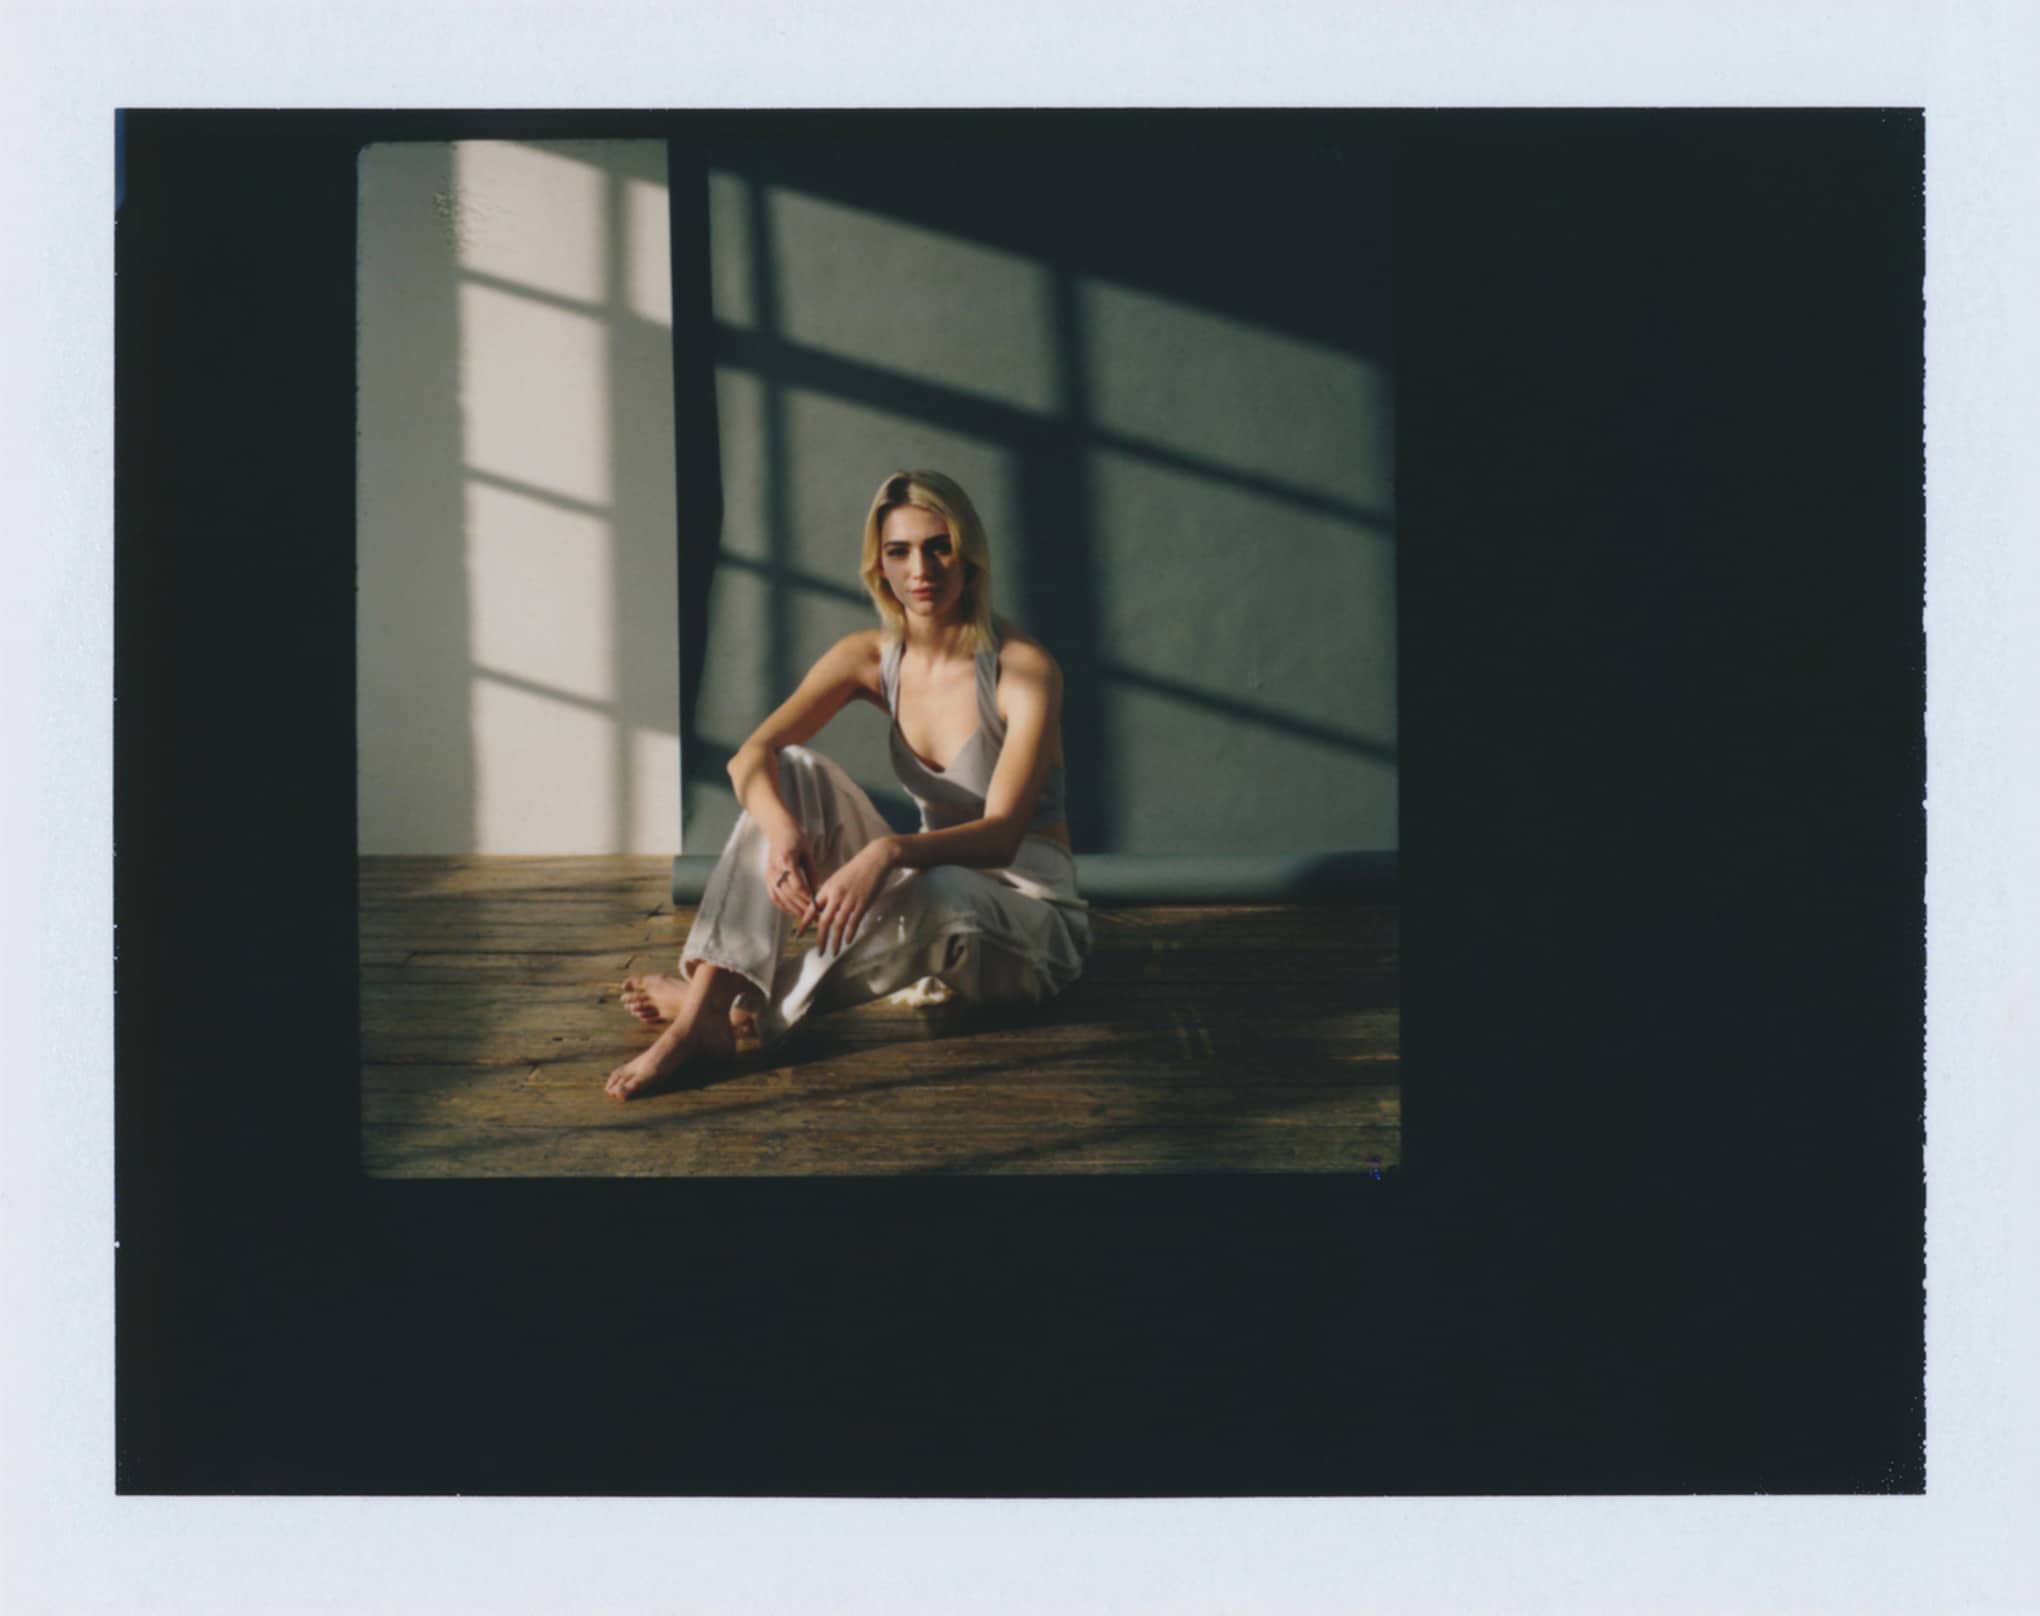
Have you ever looked at photos that make use of symmetry and balance and wondered how the photographer managed to create these perfect symmetry in their work? Photographers who focus on creating symmetrical composition within their work can do so in many ways, including making use of mirrors or other reflective surfaces or by finding locations that create a beautiful balance. Lucky for you, we’re breaking down everything you need to know about using symmetry in photography so you can build up your online portfolio website and impress prospective clients.
Importance of Symmetry in Photography
If you’re wondering why it’s a good idea to have a basic understanding of how to use symmetry in your photography, we’ve got you covered. Humans are naturally drawn to symmetrical balance in photography, because it is visually appealing and can be calming to look at, and knowing what your potential clients like is important when developing your photography business plan. When you make use of perfect symmetry in your photos, you will likely find that the finished product carries a sense of harmony that might not exist in an asymmetrical image.
However, experimenting with symmetry in photography does not mean that your image has to be perfectly symmetrical. Sometimes a slight asymmetry can actually draw the viewer’s eye in even more than an image where one side is exactly the same as the other. Either way, once you have a solid understanding of symmetry and how it can be used in your photography practice, you’ll be ready to jump right into creating and experimenting with symmetry in photography.
Four Types of Symmetry in Photography
1. Reflectional Symmetry
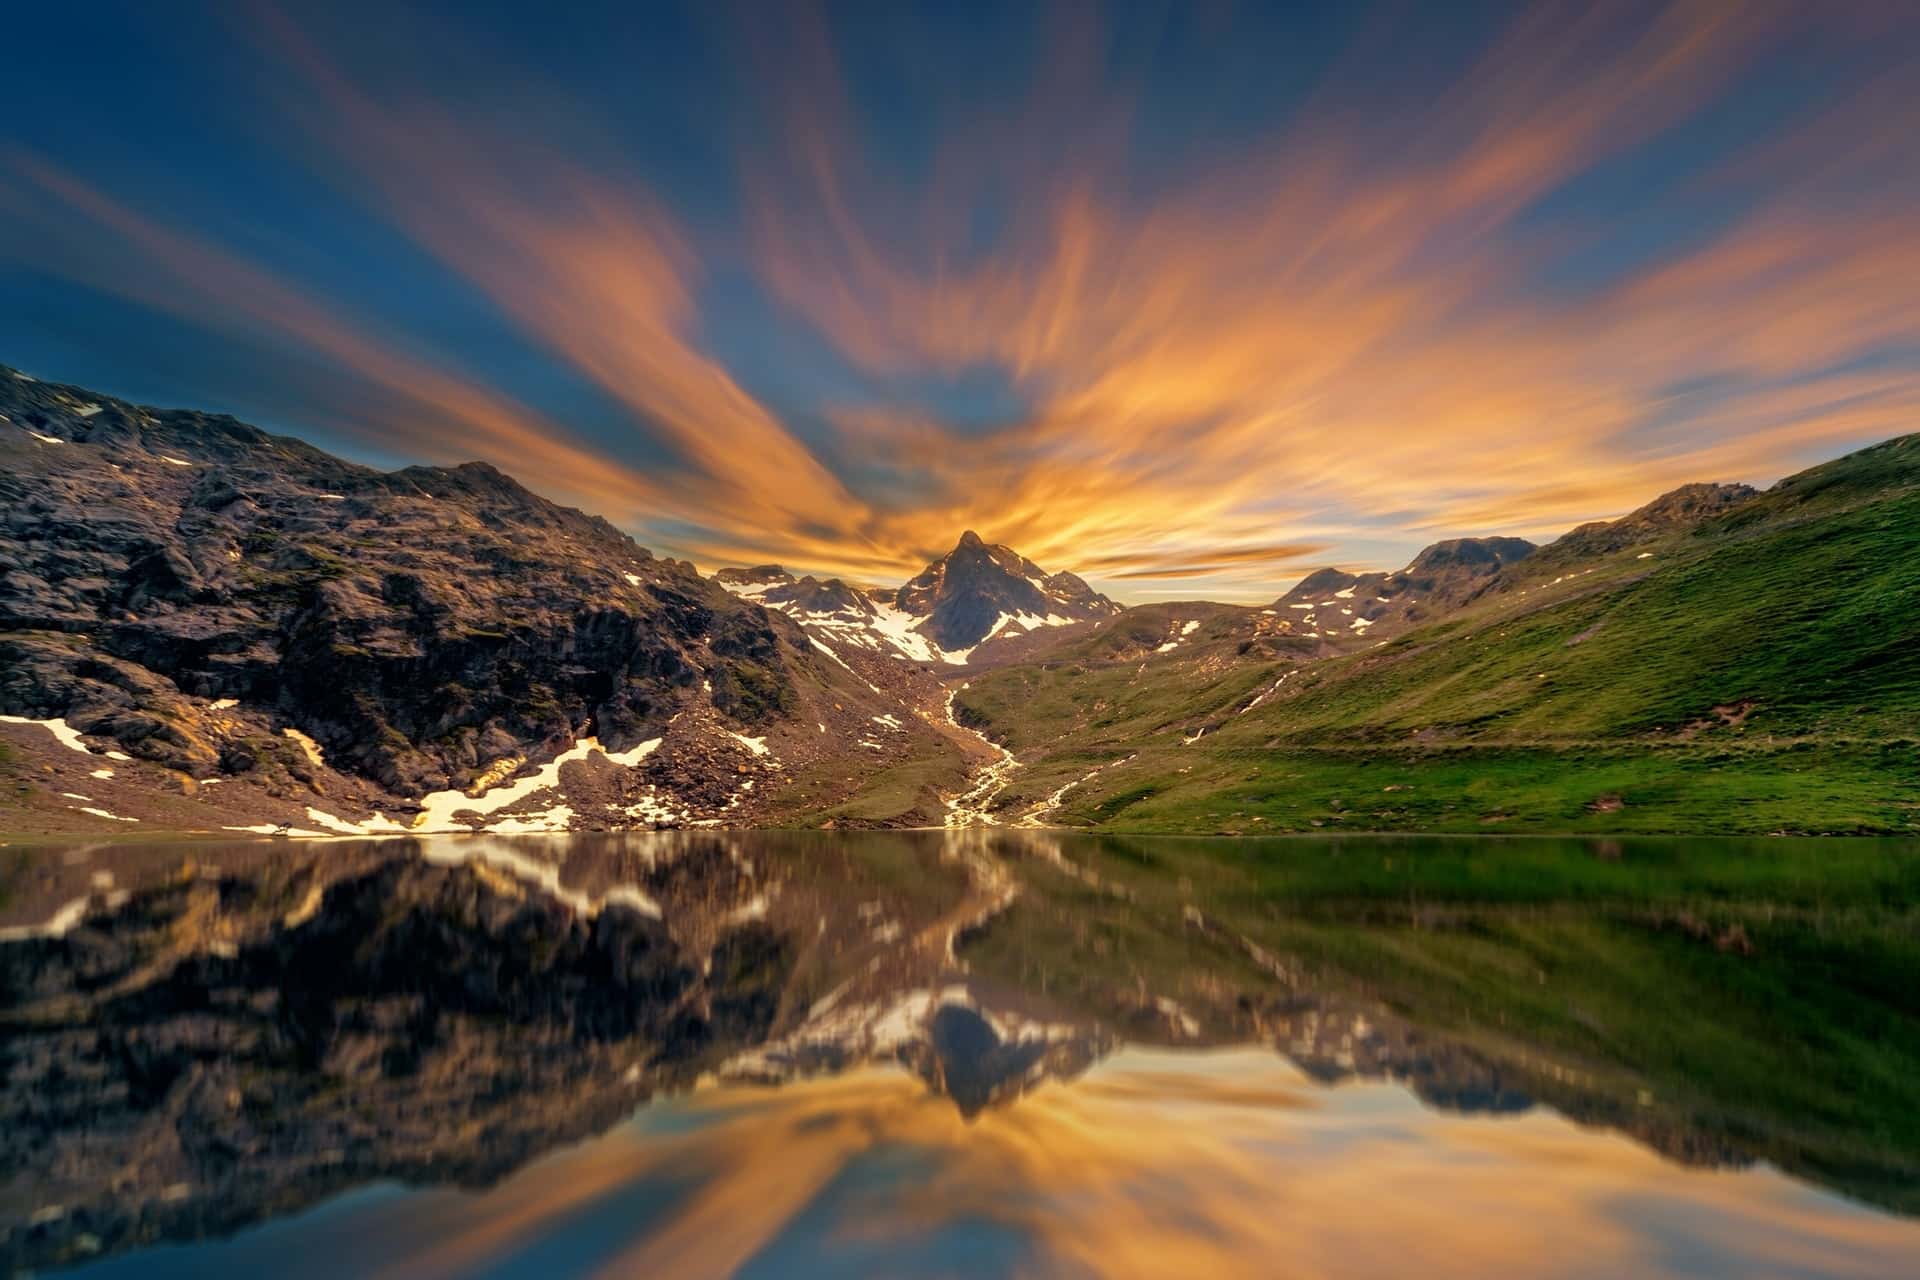
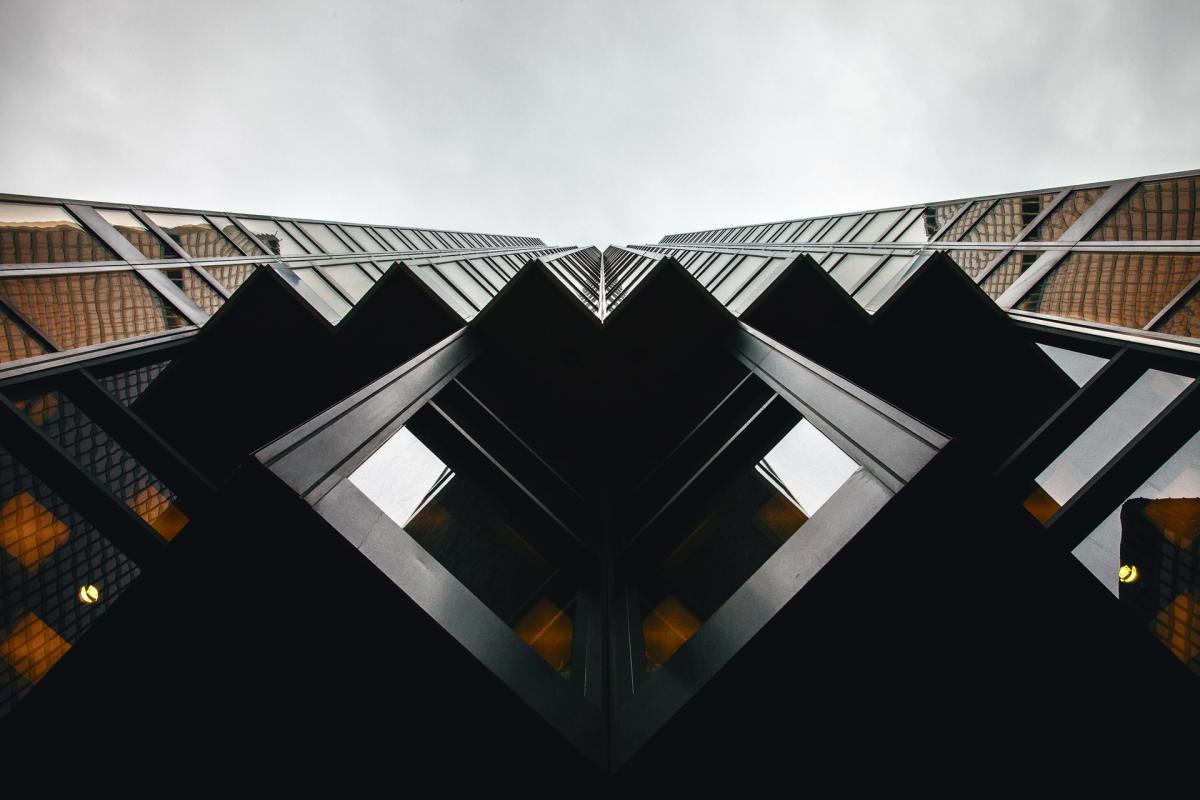
One of the most common composition techniques to create symmetrical images is reflectional symmetry, which refers to photos where one side of the composition is the mirror image of the other side. This type of symmetry always features some sort of reflection, so this can be a great way to make use of a mirror, window, or large reflective lake or body of water.
The most popular use of this type of image involves either vertical symmetry or horizontal symmetry. Often the reflection will occur at the midpoint in the image, like a landscape composition where a nature scene is reflected in the lake in front of it. Alternatively, some reflectional symmetry photos make use of a vertical reflective surface like a skyscraper, which can be used for vertical symmetry with the image of the street reflected in the building. That said, you should feel free to get adventurous with the angles you use, especially if you’re interested in a more experimental use of symmetry.
2. Rotational Symmetry
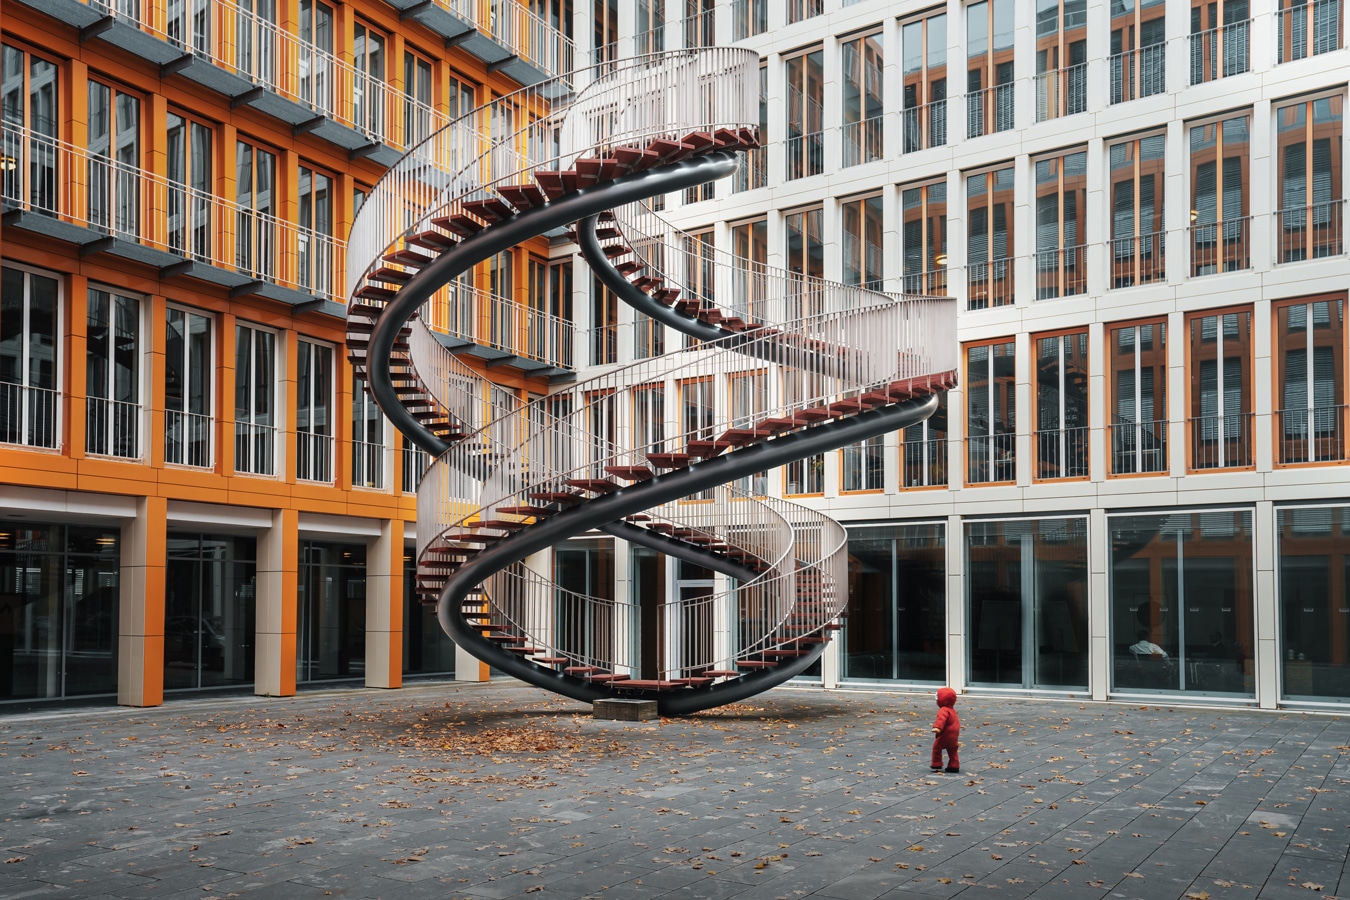
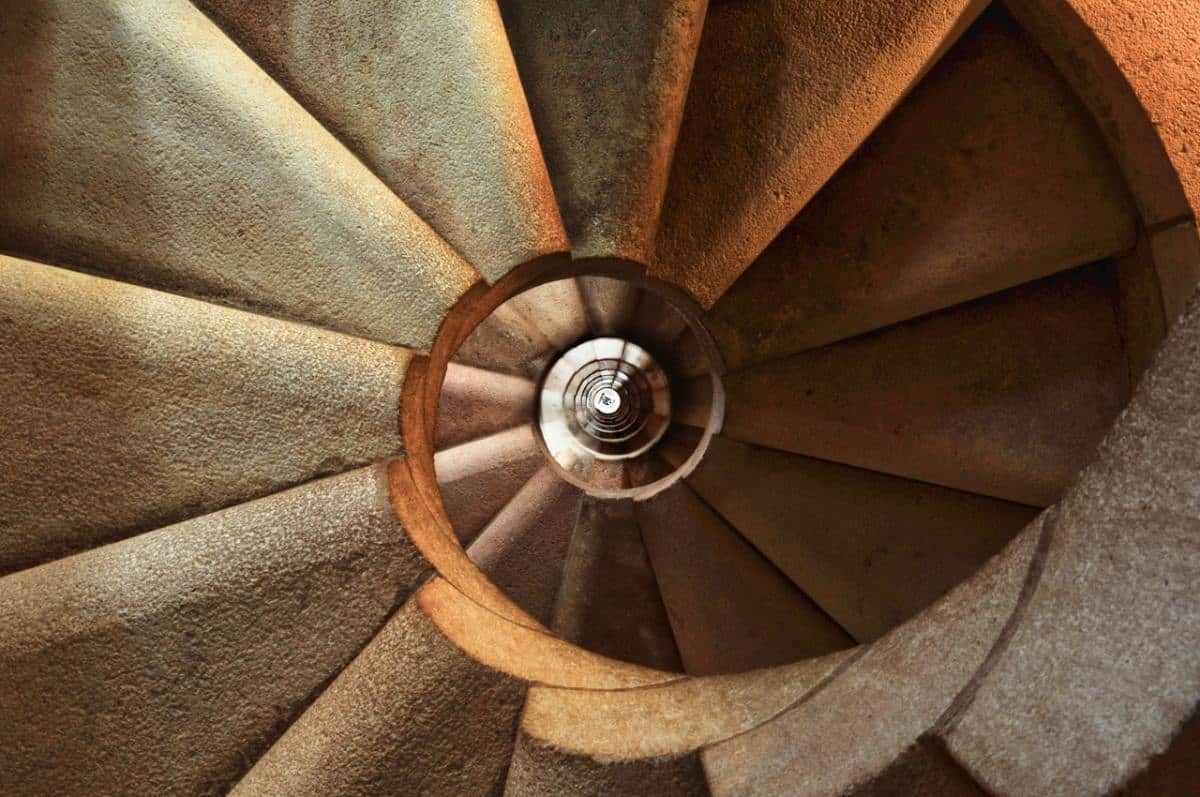
Also known as radial symmetry or circular symmetry, rotational symmetry refers to an image that radiates out from a central point in circles. The most common example of this type of image is a ripple in the water, but you can also find examples of rotational symmetry in objects like car or bicycle wheels, hay bales, or anything circular. It all depends on how you set up your composition.
In case that’s not enough to get your composition ideas swirling, here are a few more subjects that you can make use of in a rotational symmetry image. For an architectural image, look for spiral staircases that you can photograph from above, a circular skylight seen from below or even a windmill. If still life is more your speed, look around your kitchen for spherical foods like an orange or a peach that you can cut in half for the focal point of your composition. The opportunities to make use of radial symmetry in your photos are endless!

3. Translational Symmetry
If you ever learned about tessellation in school, translational symmetry won’t be too difficult to understand. In essence, this type of symmetry in an image refers to the repetition of the same object over and over again in a straight line without the position or orientation of the object changing. Telephone poles are a great example to illustrate this type of symmetry, as the objects are identical and repeat along the same visual plane without being altered.
Other ideas for using translational symmetry in your image include photographing tiles or bricks, chairs in a row at a wedding, church pews, or pigeons sitting on a windowsill – as long as they are all facing in the same direction.

4. Glide Reflection Symmetry
Similar to translation symmetry, glide reflection symmetry in photography involves a single shape repeated multiple times, but the objects do not have to be positioned along the same line or plane in your image. Examples of glide reflection symmetry include footprints in the sand, a flock of birds in the sky, or leaves along a branch.
Camera Gear for Symmetry Photography
Now that we’ve gone over the basics of using symmetry to create a powerful image, let’s talk about what you’ll need to get all set up for photo opportunities that lend themselves to experiments in symmetry. You definitely don’t need a lot of fancy gear to capture images using symmetry, making it a great option for beginners and professional photographers alike. In fact, you can even use your smartphone. However, there are certain camera accessories that will make your process much easier.
It’s a good idea to invest in a simple tripod and remote control shutter release, especially if you plan on trying out long exposure. By making use of these two essential pieces of gear, you can ensure that the movement of your hand pressing on the capture button doesn’t disturb the symmetry of your image or result in a blurry photo. Plus, if you’re considering experimenting with self-portraiture, a tripod and remote shutter release are going to be a necessary addition to your kit.
5 Ways to Use Symmetry in Your Photos
There are endless ways that you can experiment with photography balance and symmetry in your photos. When you’re first starting out, you may find that vertical symmetry and horizontal symmetry are the easiest to identify in your surroundings. The more you practice using symmetry in your photos, the more you will find yourself noticing symmetry photo opportunities out in the world. Keep an open mind and don’t let yourself be limited by the types of symmetry you’ve seen in photos before. Here are some straightforward, versatile ways to use symmetry in your photos, whether you’re going on an adventurous photography expedition or just want to play around with some images in post-production.
1. Use Nature as Your Inspiration
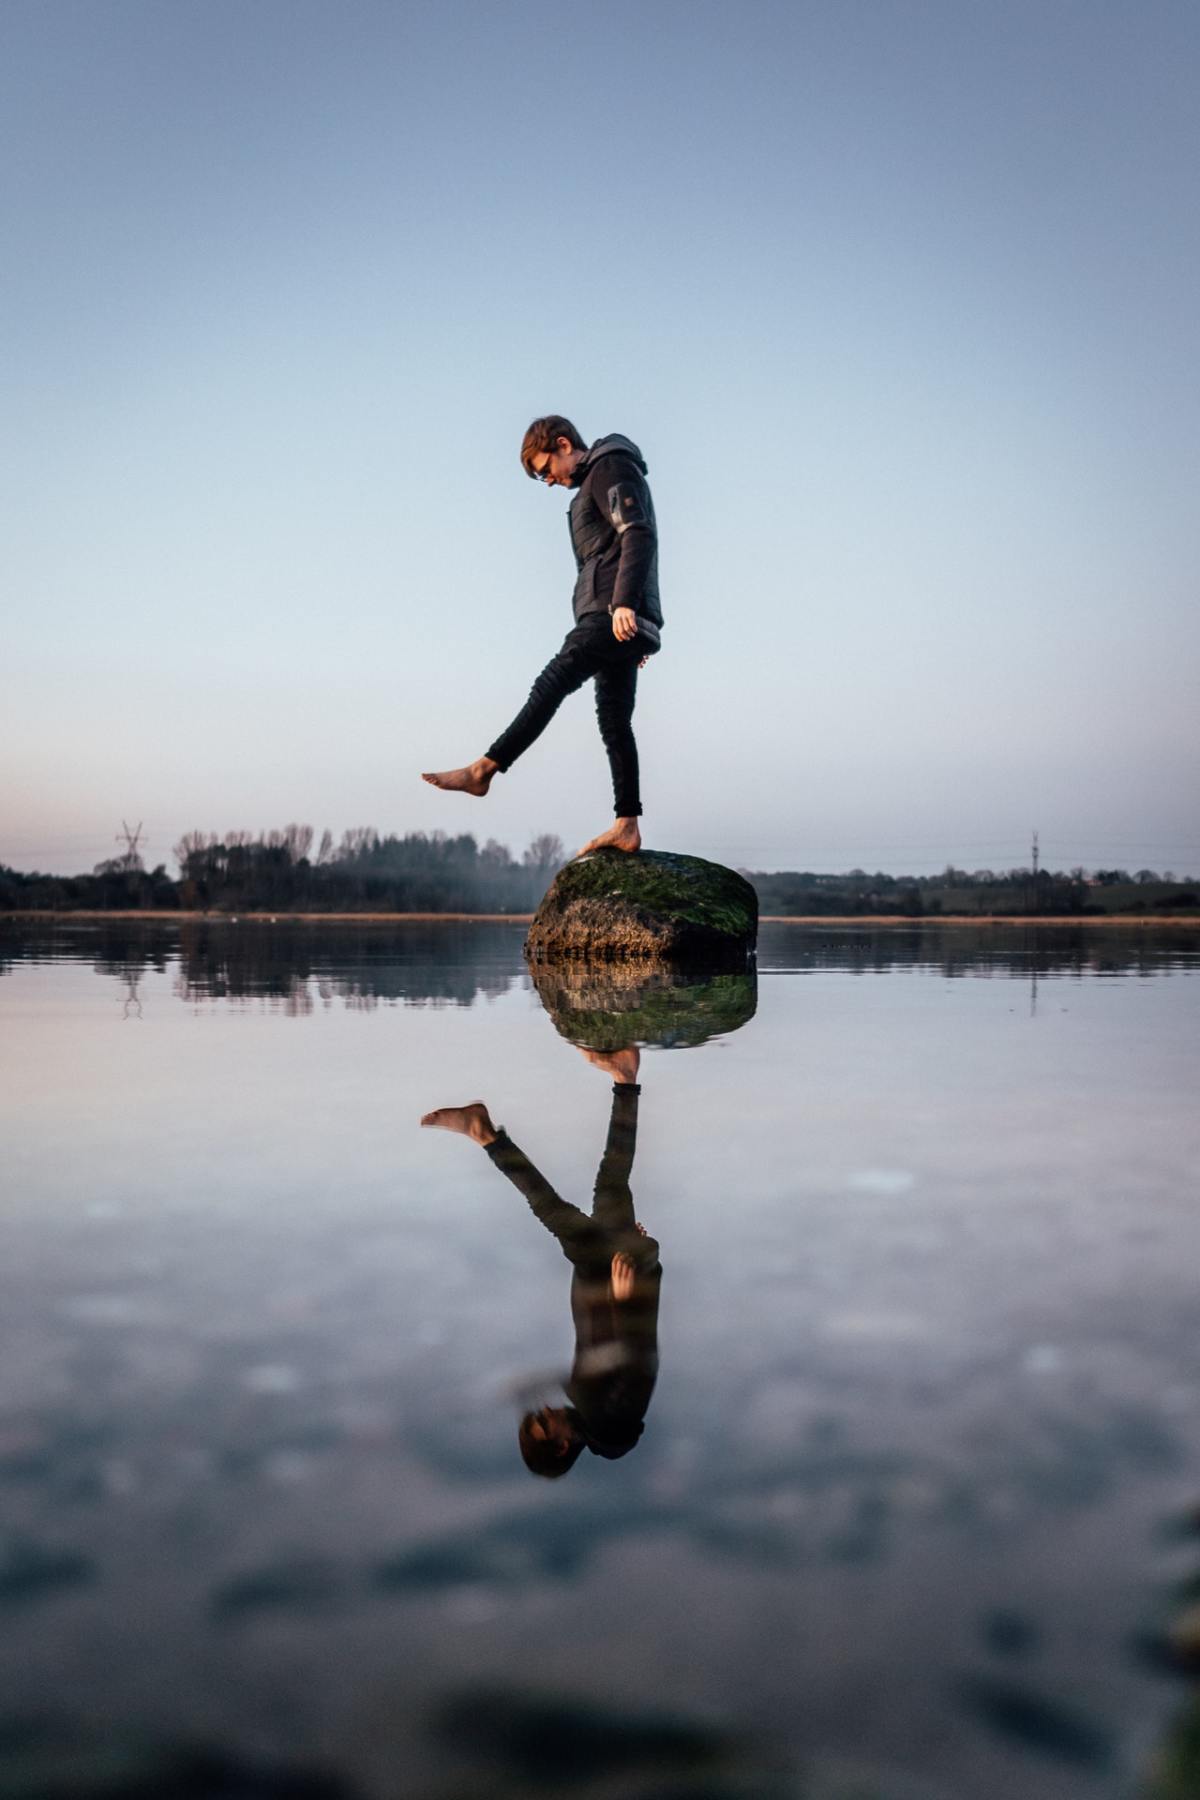
No matter where you are in the world, odds are good that you can go outside and find some sort of nature. There are tons of opportunities to play with symmetry occurring in the natural world, even if the most remote area you can get to is just your neighborhood dog park. Remember that your subject doesn’t have to be perfectly symmetrical: if two trees have a similar appearance and size, you could photograph them as if they are mirror images of one another. A lot of the magic of symmetry has to do with the angle that you are shooting from.
A lot of plant life, especially leaves, are at least somewhat symmetrical, making them another great option for a photo opportunity in nature. You don’t need to get out of the city or live near a picture-perfect lake in order to experiment with symmetry! It’s all about learning how to look at the world around you and identify naturally occurring opportunities to create symmetry in your photos.
If you do have a beach, lake, or even a wide open field that you can get to, there are so many possibilities to explore symmetry. In addition to the classic horizontal reflection symmetry using a body of water that reflects it’s surroundings, you can position an object or person along the horizon line to make use of vertical symmetry as well. And don’t forget to look up! The night sky and the milky way can also provide a subject for photographing symmetry.
2. Look for Symmetry in Architecture
Whether you live in a big city with tons of skyscrapers or a small town, there are ways for you to make use of the buildings around you in your symmetry photos. For example, you could focus on the details of a house. There are many elements that would work well with vertical or horizontal symmetry, like the front door, a window, a chimney, or even a mailbox. Any time an object is the same on both of its sides, you can set it up to work for creating symmetry photos.
Alternatively, big condo and office buildings can provide an opportunity to use their reflective surfaces like a mirror to create symmetry. Simply line yourself up with a stretch of window and experiment with your positioning and composition technique. Once you’ve gotten the hang of capturing a mirror image in your symmetry photos, you can move back to include the street scene reflected in the building, or you can start introducing objects or people to be reflected as well.

3. Use Yourself as Your Subject
There are so many benefits to self-portraiture. You already have your subject with you, you can create a self-portrait anywhere, and you make a perfect subject for a symmetrical composition. Even though no one is entirely symmetrical, our general shape makes humans ideal for practicing with symmetry. You can get close to your face and use vertical symmetry by positioning yourself exactly in the center of the frame, or you can position yourself against a blank wall and take the photo from afar.
Another option for symmetry in self-portraits is to introduce a mirror for reflective symmetry. A mirror gives you flexibility in terms of your photo composition because you can take the photo from any angle and as long as the reflection in the mirror is visible, there will be a sense of symmetry to the image.
4. Create Your Own Symmetry
If you only have your home or even a single room to practice your symmetry photos, don’t worry! There are tons of easy ways that you can transform your space into the perfect backdrop for symmetry, and still life photography can be a good place to get started. Try painting a panel or wall in a solid color, and suddenly whatever symmetrical object you shoot in front of it will have vertical symmetry. If you want to go a step further, you can paint your surface with two different colors, and use the line where the two meet as a setting for more vertical symmetry.
Haven’t set up your home studio yet? Pay attention to the different types of lighting you can invest in and how they will affect your photography.
5. Balancing Photography in Post-Production
If you’d rather start off by playing with photos that you’ve already taken, or you have an idea for a photo that doesn’t exist in real life, using post-production software will give you endless options when it comes to symmetry in photography. You can use a photo editing software like Lightroom or Photoshop and explore the settings to experiment with your composition technique without ever moving from your couch.
Try copying one side of an image and flipping it using vertical symmetry. For example, you could take a self-portrait looking directly at the camera and flip one side to see what you would look like if your face were perfectly symmetrical. Or you could take one of your landscape or still life photos and use horizontal symmetry to reflect the image as if there were a lake or mirror.
Now that you have a thorough understanding of how you can use symmetry in your photography to help make your online portfolio website stand out, it’s time to get out there and start looking for your next composition. Make sure to keep your online portfolio and social media updated so that all your potential clients can keep an eye on what you’re up to.
Want more tips for creating a standout online photography portfolio that will get you noticed?
268 Amazing Photography Portfolio Website Examples
How To Take Professional Photos: A Beginner’s Guide
Photography Portfolios 101: How To Build An Amazing Photo Portfolio
