As technology changes, it’s a good idea to brush up on some of the most popular, versatile, and commonly used lighting–whether you’re brand new to photography or have been at it for years
There is no universally perfect light for every different scenario. When you’re deciding what type of light works for your project, it’s going to come down to your subject and the concept and mood you are attempting to execute. We’ve created this handy guide about the different types of natural and artificial lighting, so you can determine which one will work best for your specific shoot and subject.
The Importance of Light in Photography
Lighting is one of the most important elements of any photo. Without some source of light–natural or artificial–there’s no image.
The position and quality of light will determine so much in the final photo, from clarity and sharpness to mood and emotion. Paying attention to how light plays off of the angles and curves of your subject, and which parts of the subject are illuminated and which are in darkness will make you a stronger photographer. You’ll begin to intuitively understand how to effectively harness your light source for any given project.
How Light Affects Your Photography
Whether it’s portrait photography, still life, or landscape, your lighting choices will depend on the features of your subject and how you want them to be portrayed. For example, hard light is more severe and will emphasize angles and any surface that isn’t perfectly flat, like the waves at a beach or a model with wrinkles or acne, while soft light will smooth over these textures.
If you’re doing a beauty shoot where the focus is flawless features, the type of lighting that you use will likely be very different than a photoshoot to emphasize the details of a beautifully crafted textile. Understanding how to make the best use of natural and artificial lighting in each situation will be a huge step forward in your journey to becoming the best photographer that you can.
Different Types of Lighting
There are two main kinds of light: natural and artificial. Natural light is anything that occurs without human intervention, either outdoors or through a window; the direct light of the sun on a bright day, the diffused light created by a cloudy or foggy day, or even the light of the moon at night.
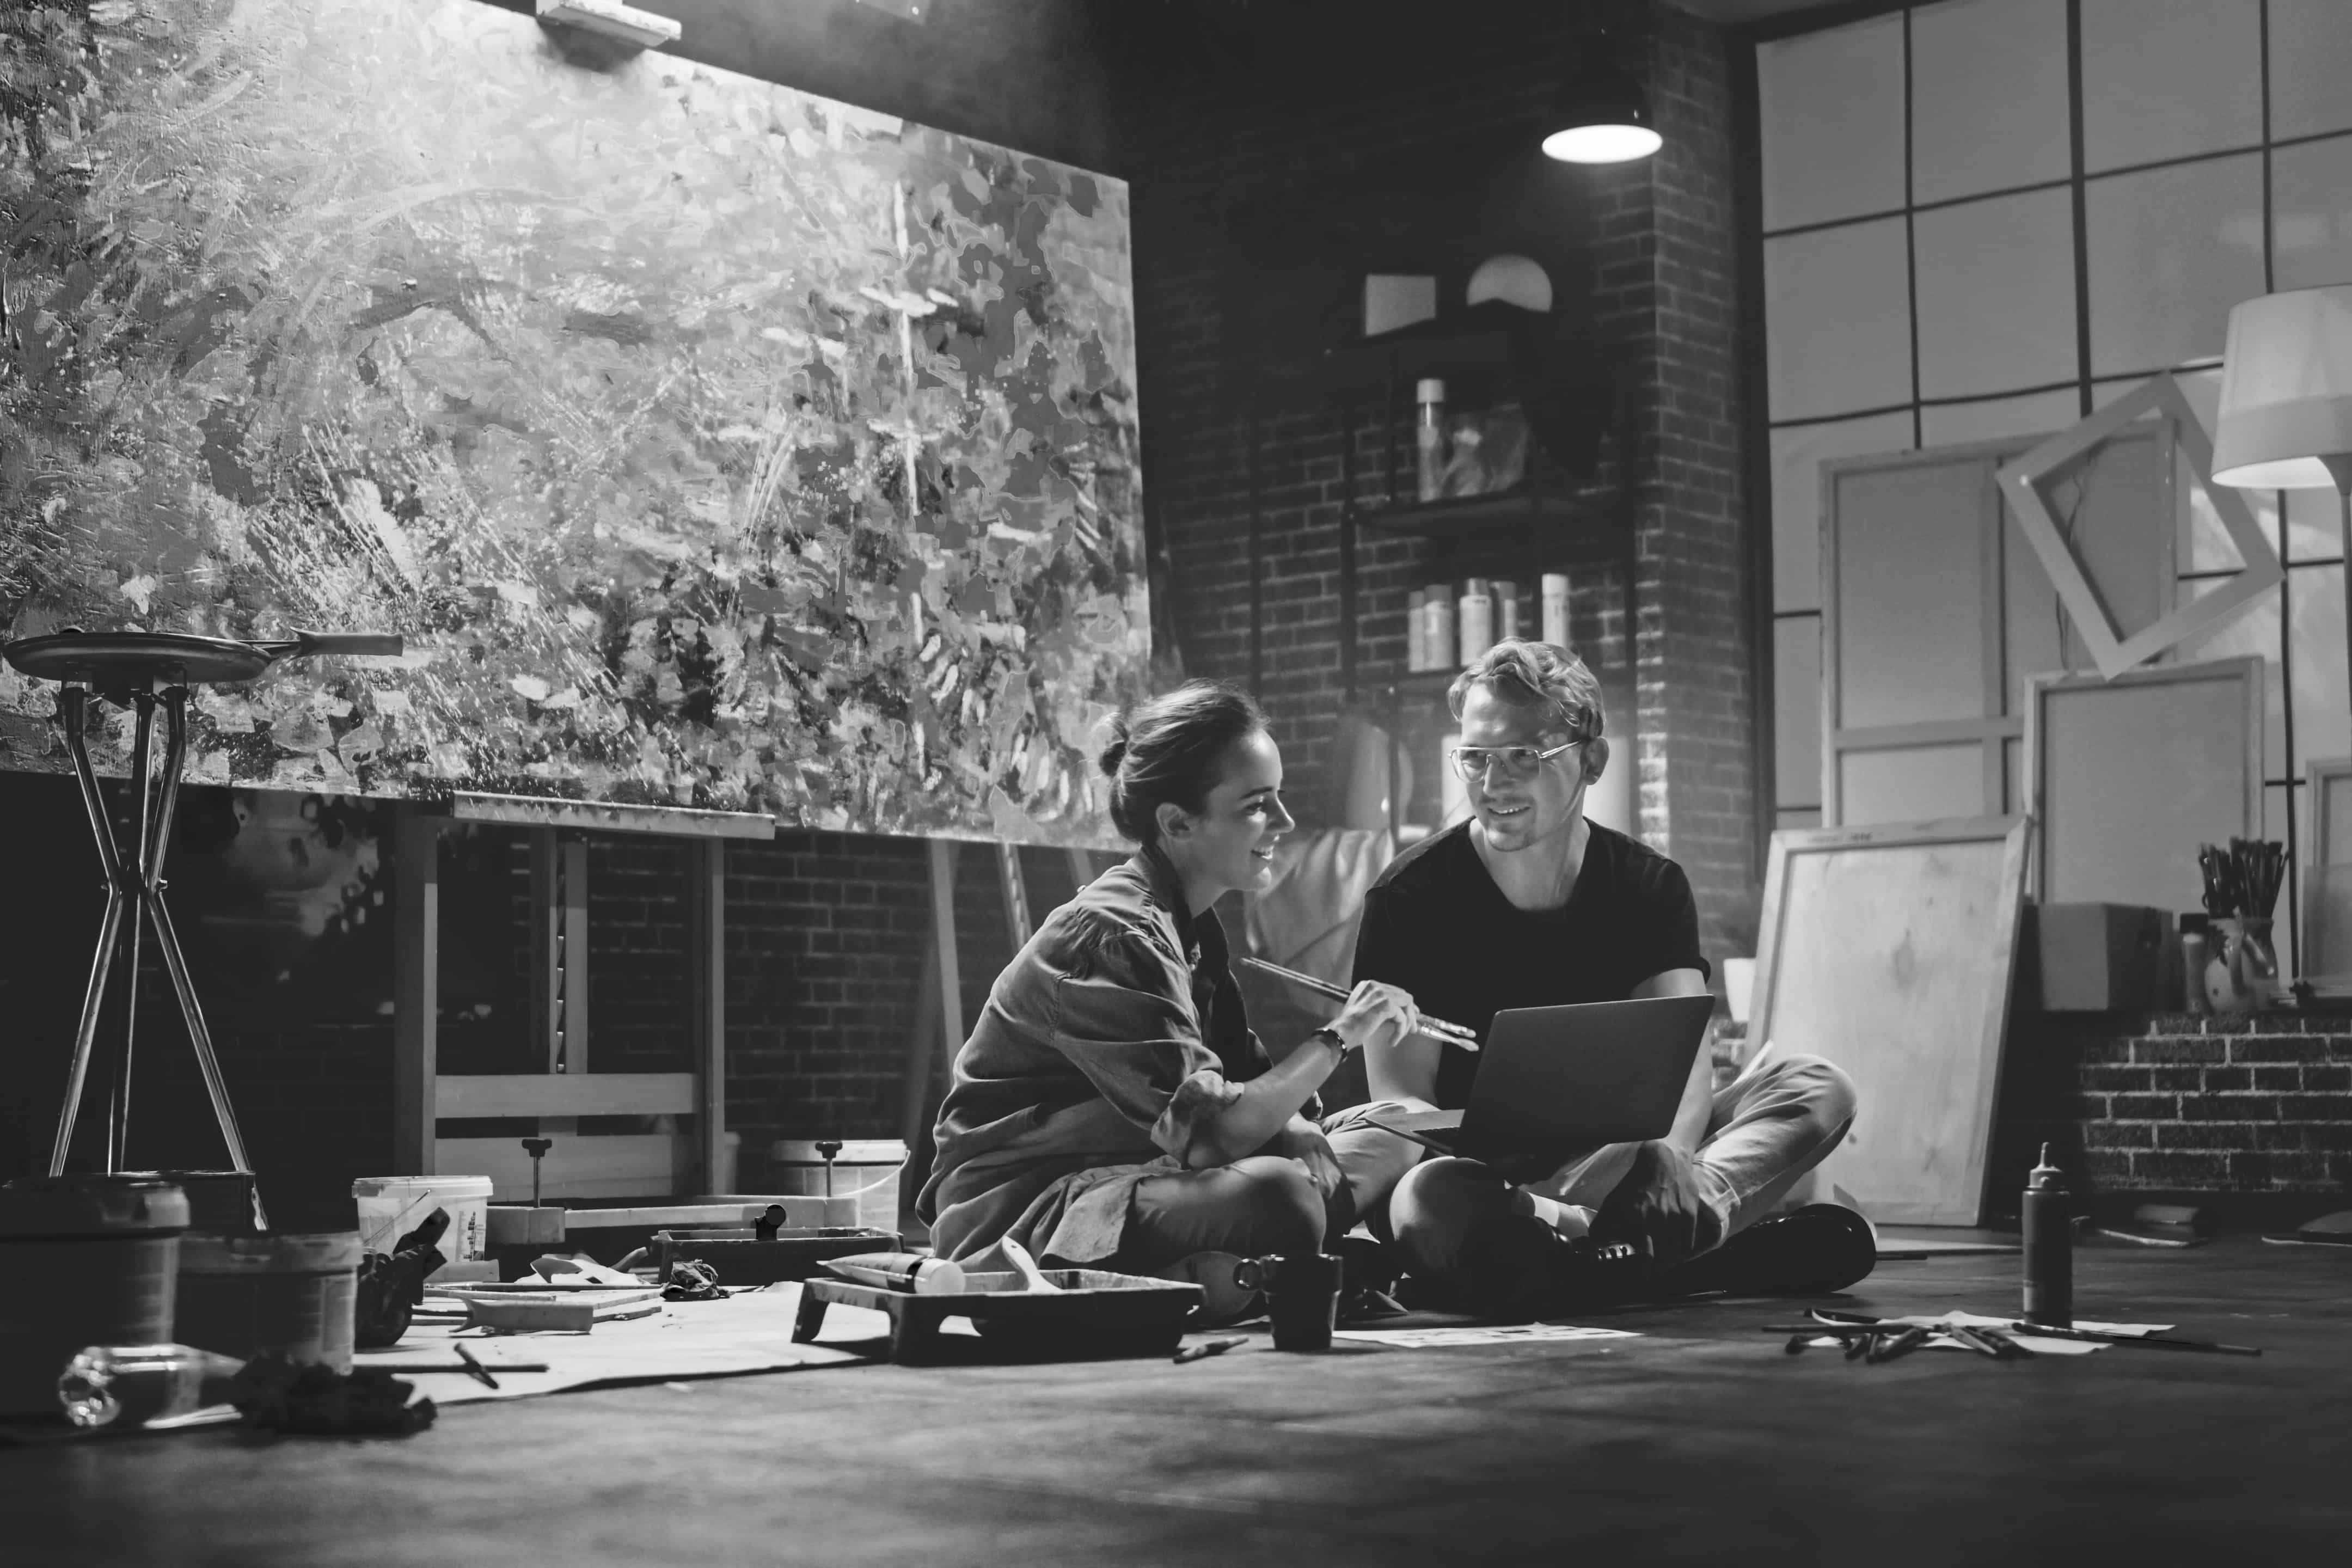
Artificial light can often be created, moved around and adjusted to fit your situation. It is easier to position artificial light in relation to your subject than with natural lighting, where you would have to move the subject and camera according to the lighting technique that you want to use. Both artificial and natural lighting can be manipulated to create any number of styles, as long as you know how to use them.
Natural Light
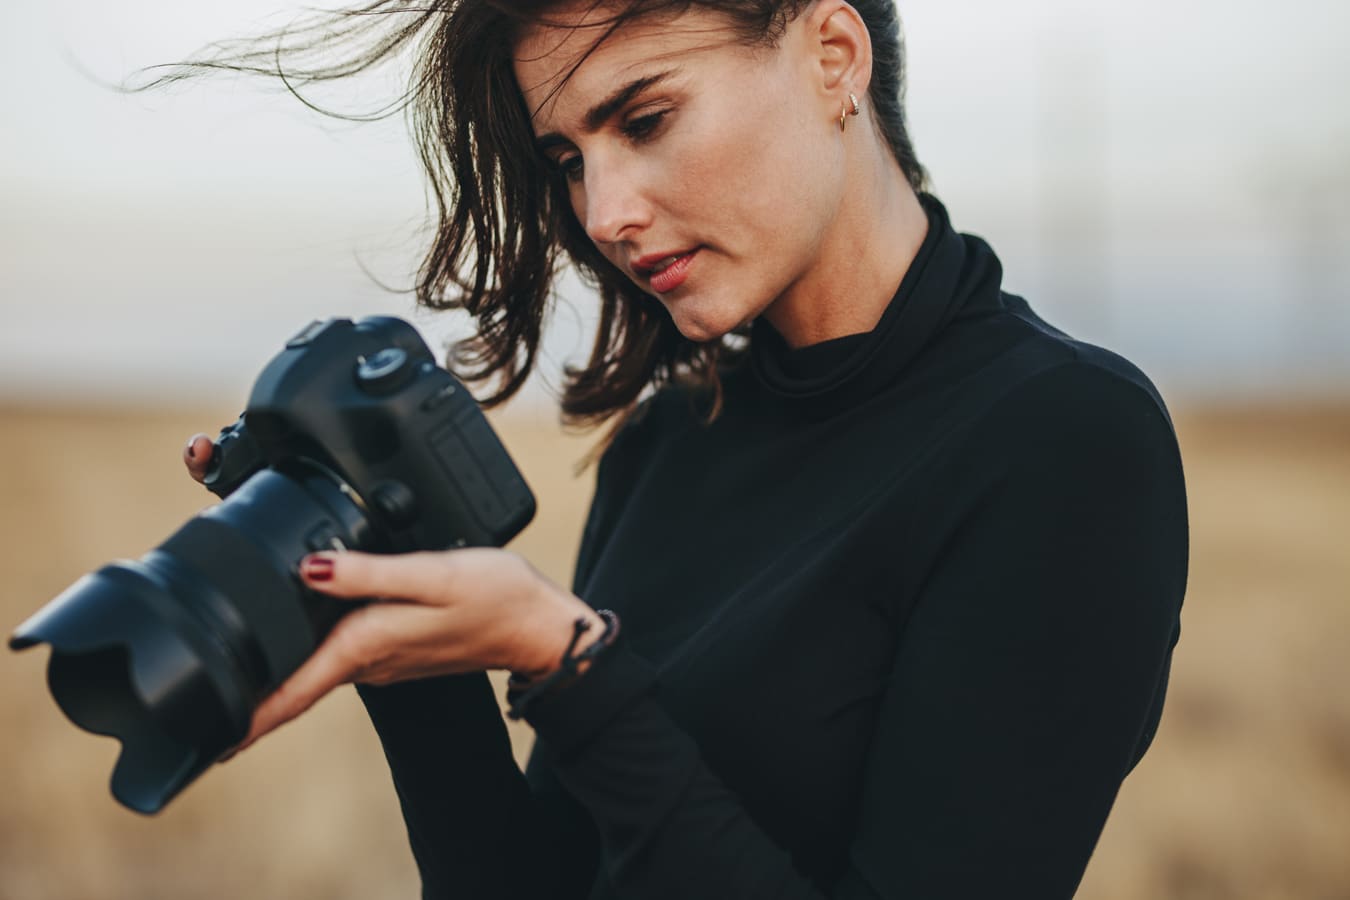
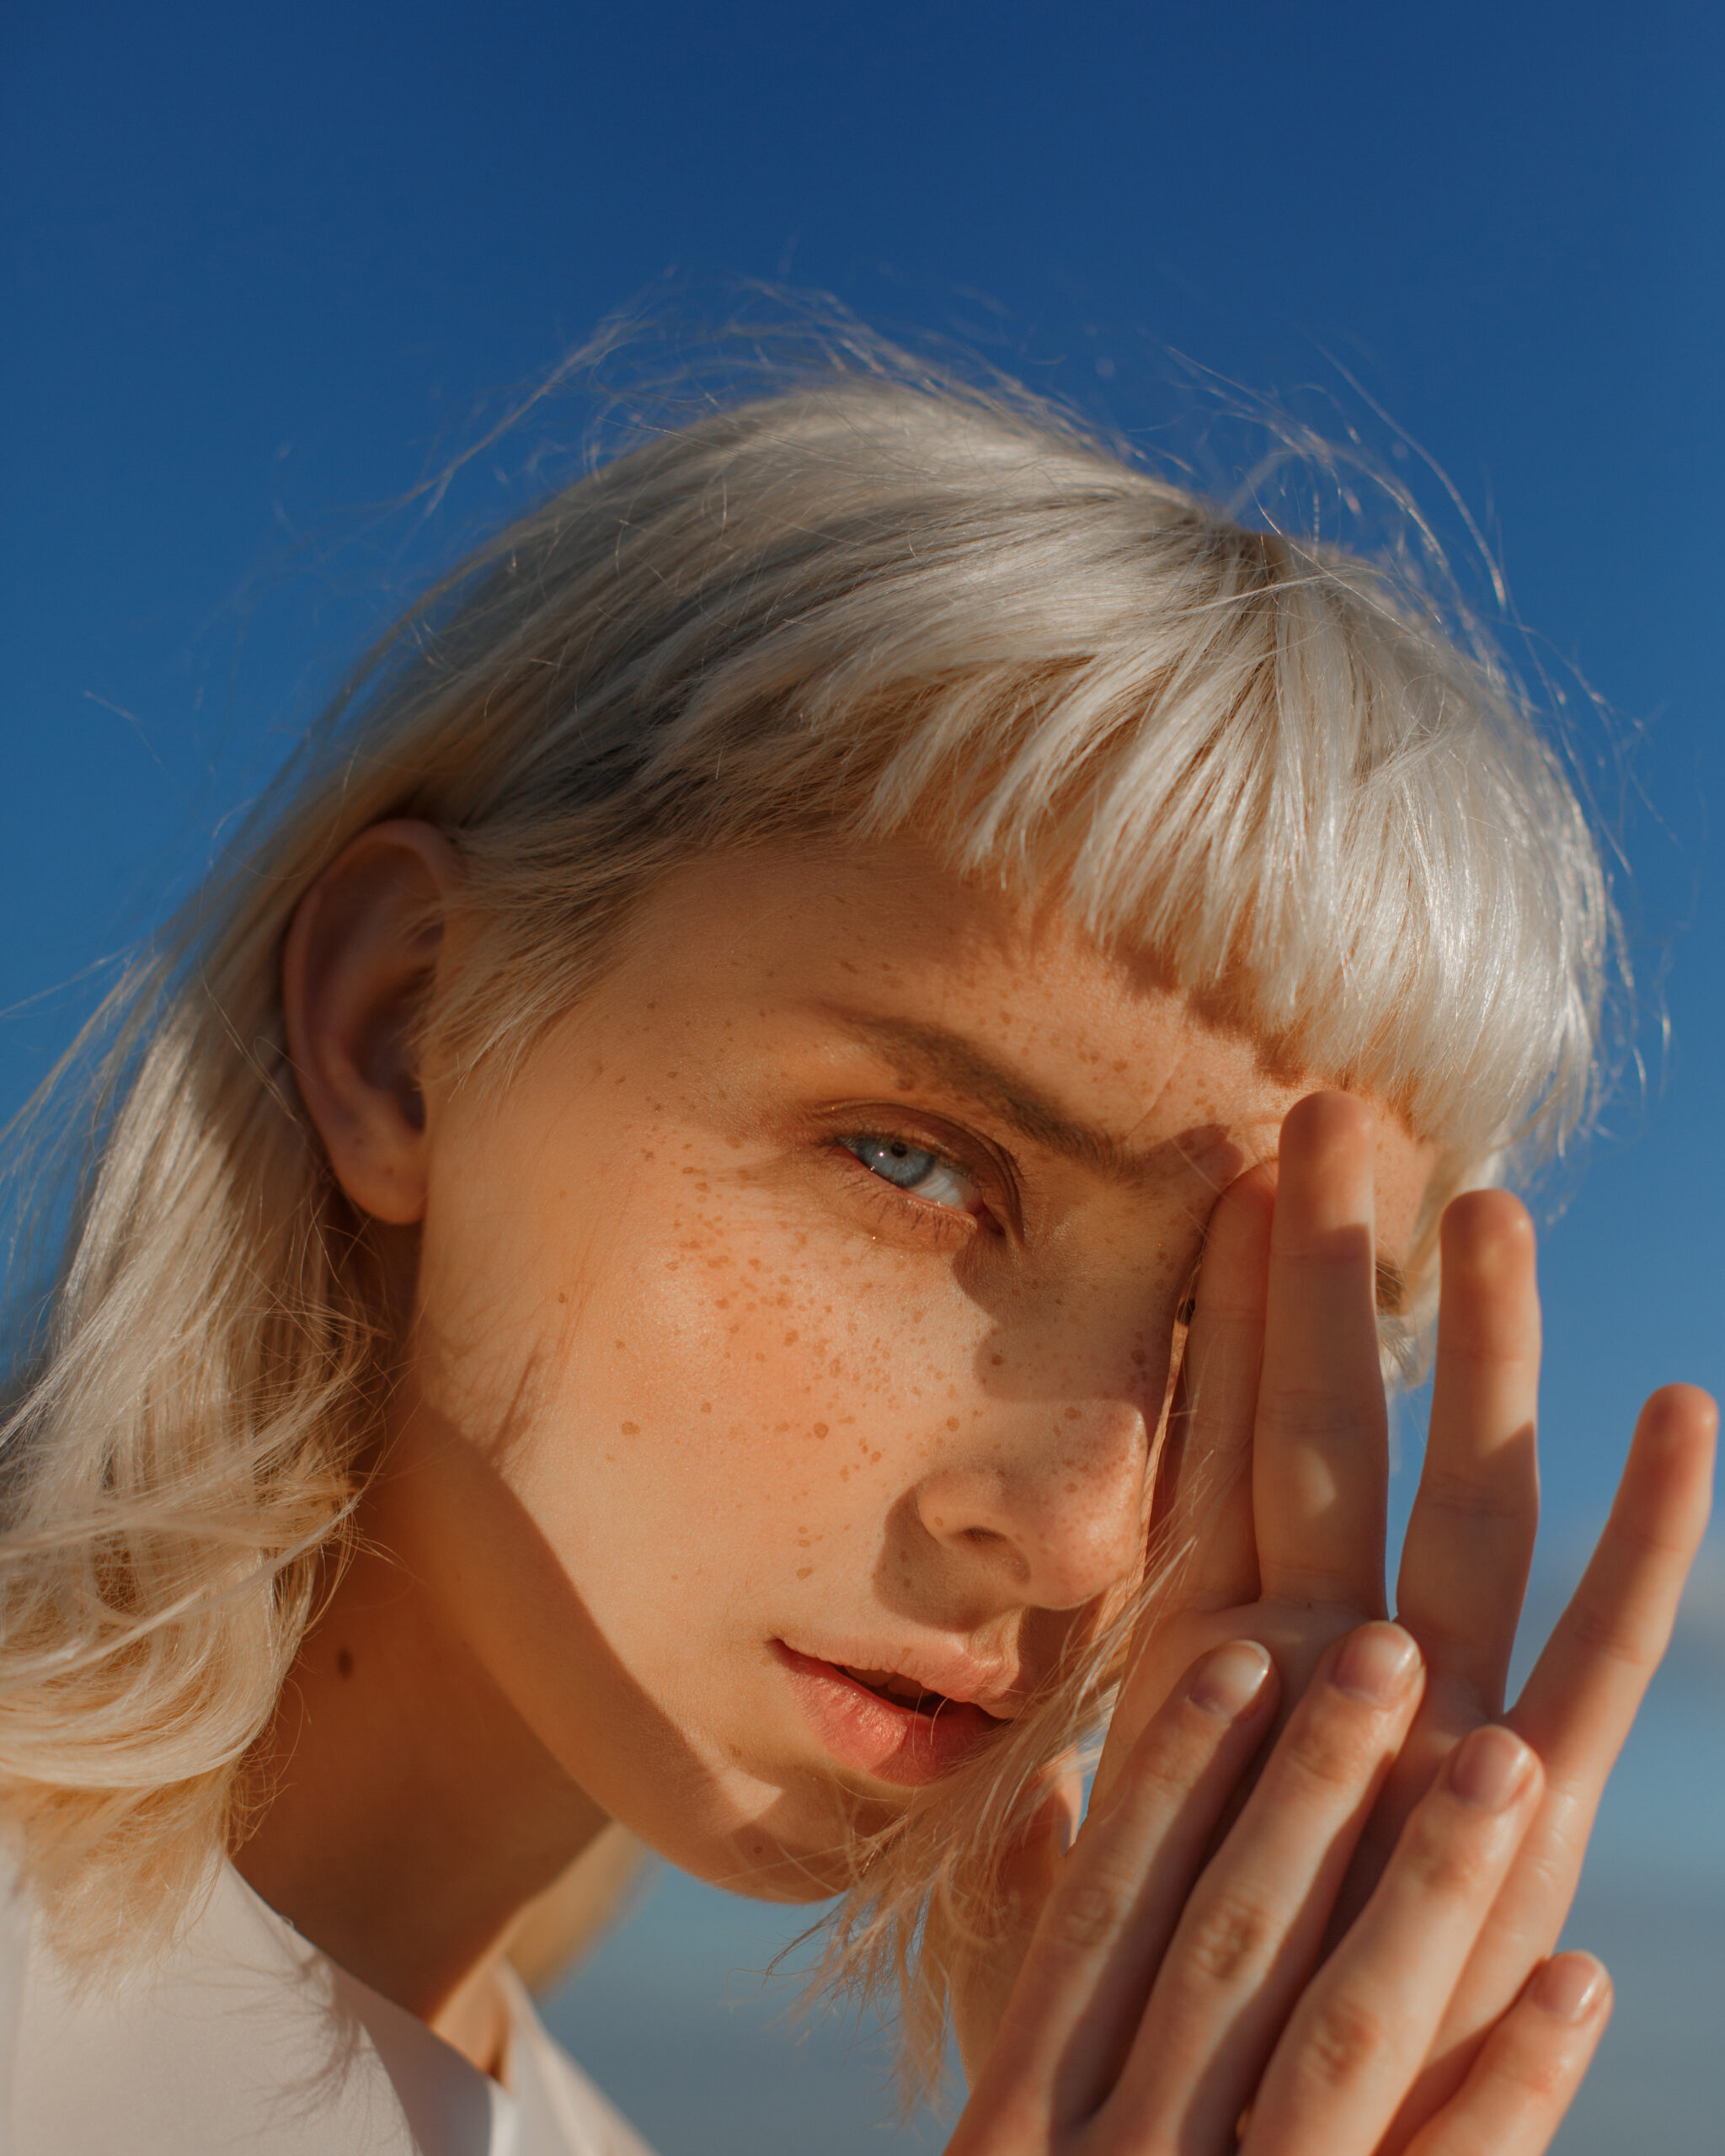
If you want to use natural light in your photography, it’s important to understand the angle of the sun and how that will affect your composition. For example, for most of the day, the sun is directly overhead so your subject will be lit from above. In portraiture, this can cause shadows under the eyes–filling in the shadows with a reflector can be helpful during the hours when the sun is directly overhead. A sunny day without clouds will result in more intense shadows, while a sky full of clouds will diffuse the sunlight so that the contrast of light on your subject is less harsh.
For natural lighting that is softer, you may want to make use of the hours closest to sunrise and sunset, when the sun will be off to a slight angle as opposed to directly above your subject, and the brightness of the sun may be less extreme. These hours are referred to as “golden hour” as the quality of light is warmer, and can naturally bathe a subject with the most flattering light.
Front Light (or Flat Light)
Front light occurs when the light source is directly in front of your subject. Since the light is not at an angle, this can result in a limited amount of shadows. The light will be spread evenly across the photo, with no section more or less exposed than the rest.
Flat light can be good for portraits, especially if your subject has any feature such as texture that they want to de-emphasize. However, if you are attempting to create a portrait that shows a lot of personality, front lighting will not provide the detail you need in order to bring the subject’s character to life.
Another benefit of using front lighting is if you are exploring symmetry photography, as the lack of shadows helps to make both sides of the face appear more symmetrical.
Backlight
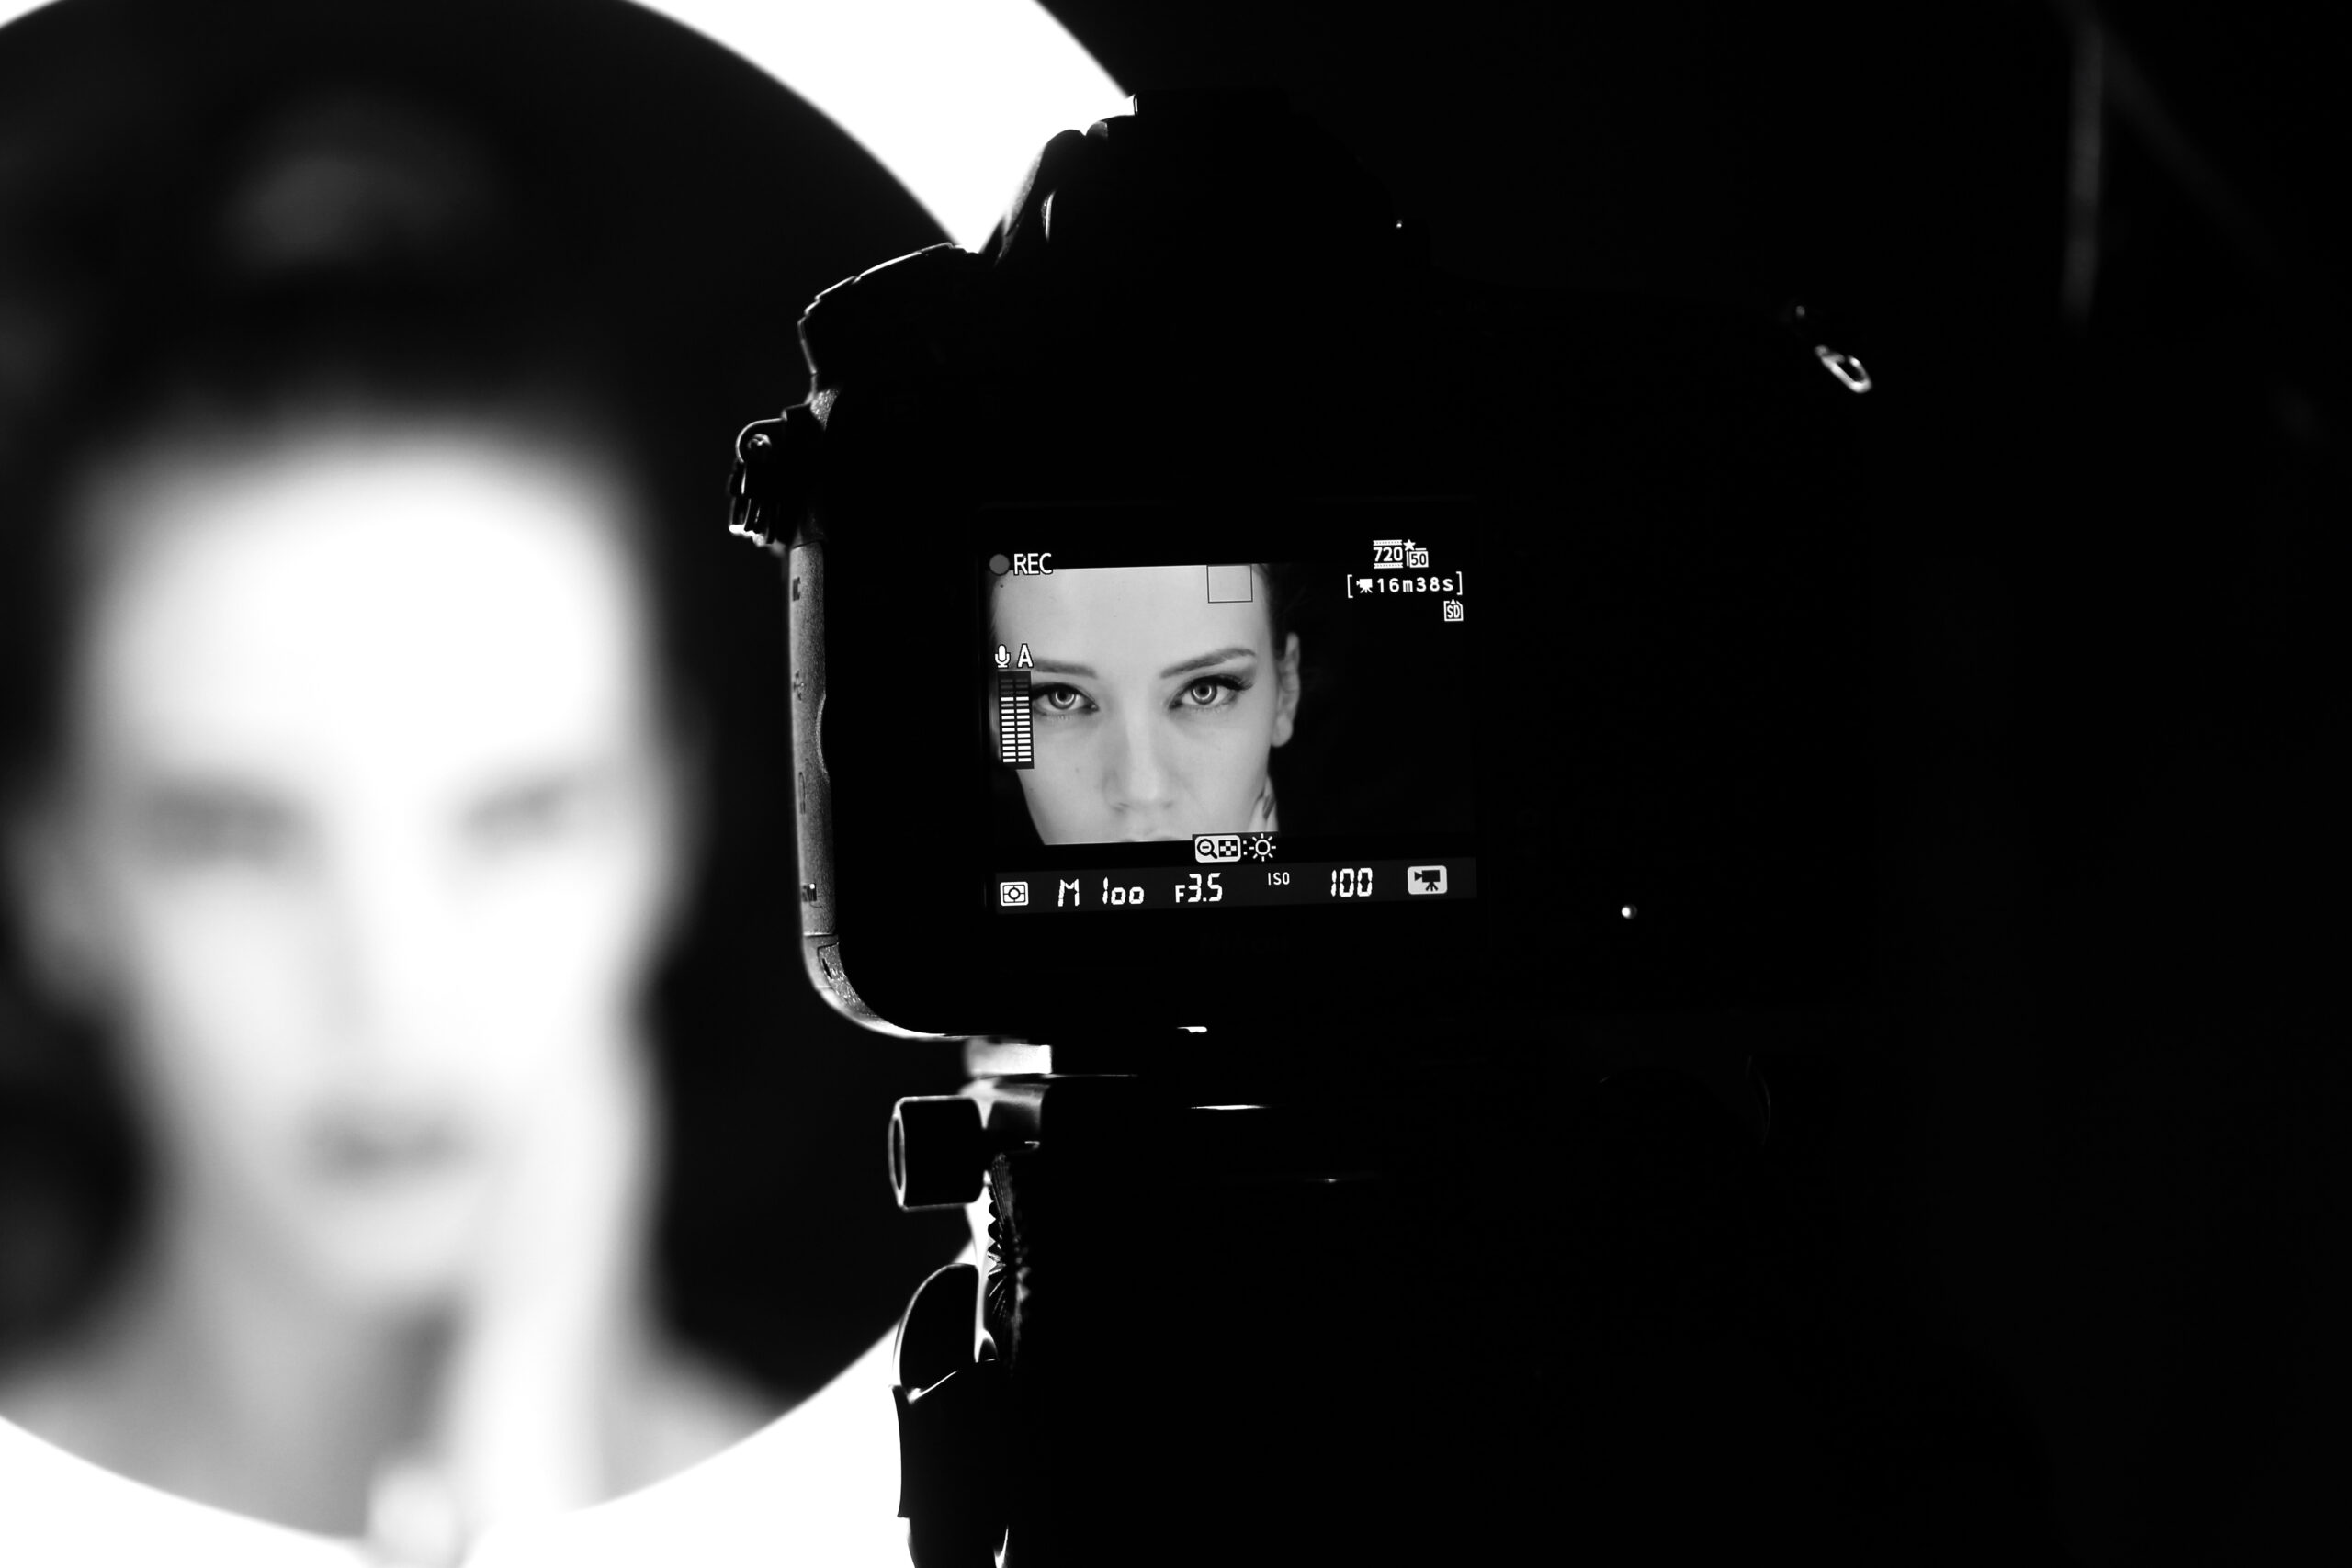
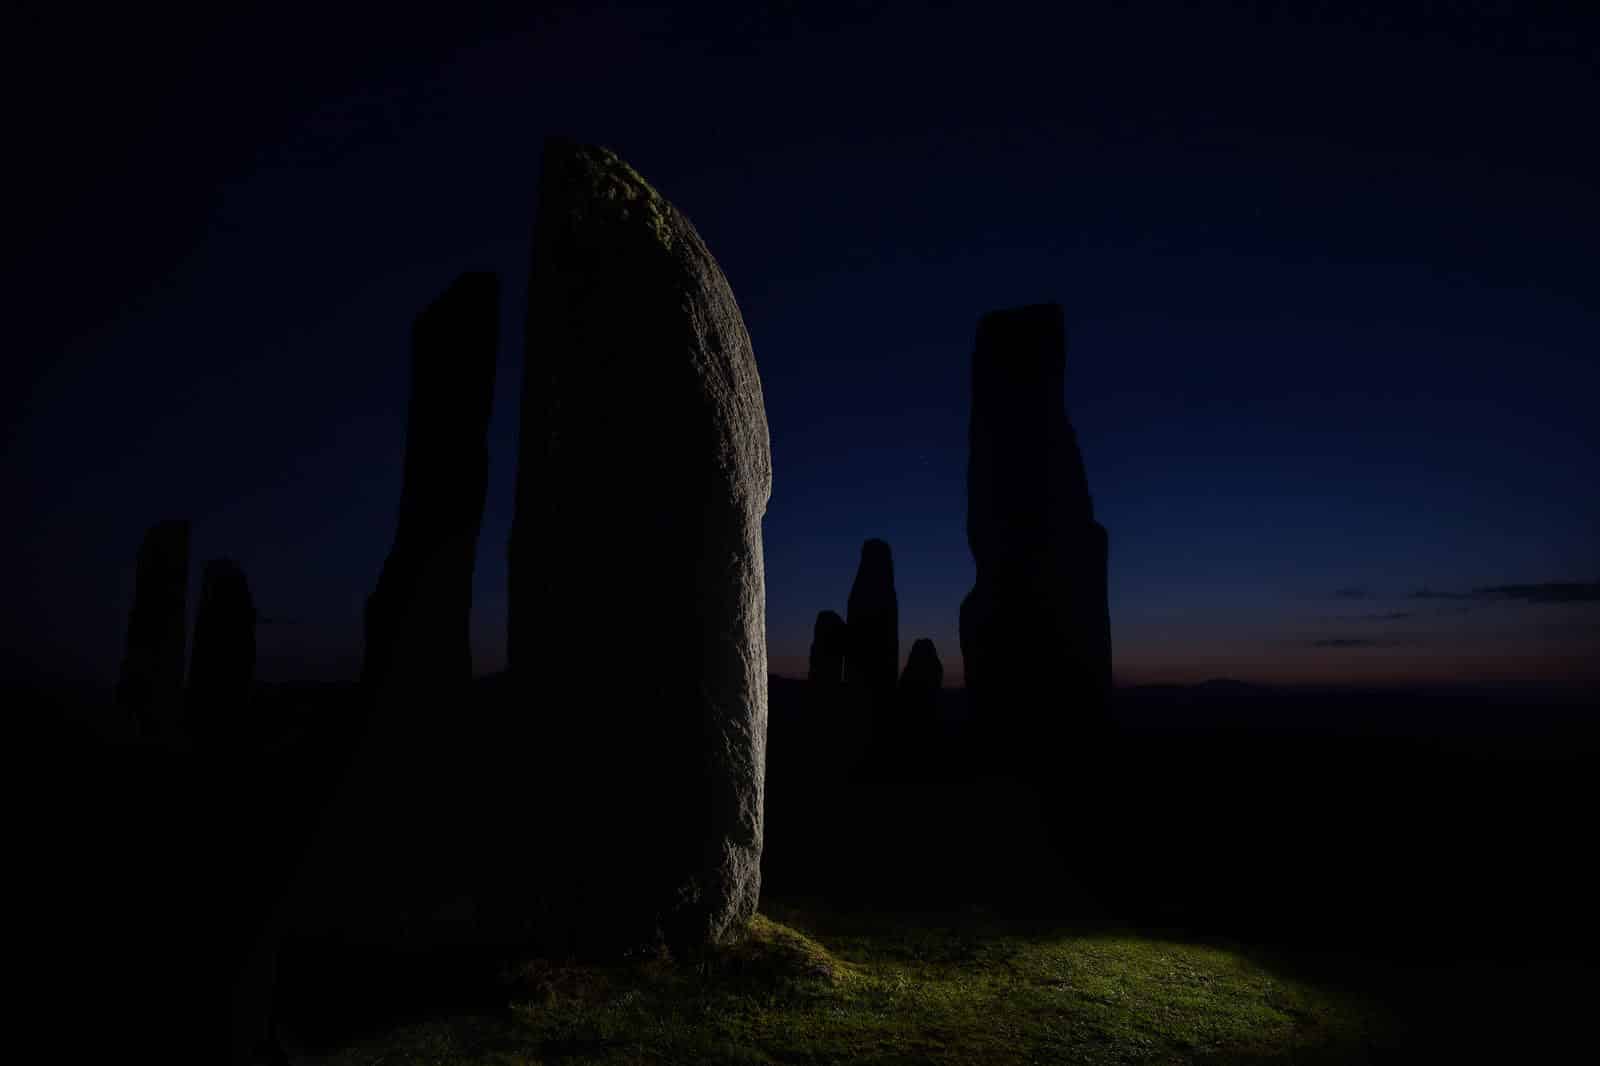
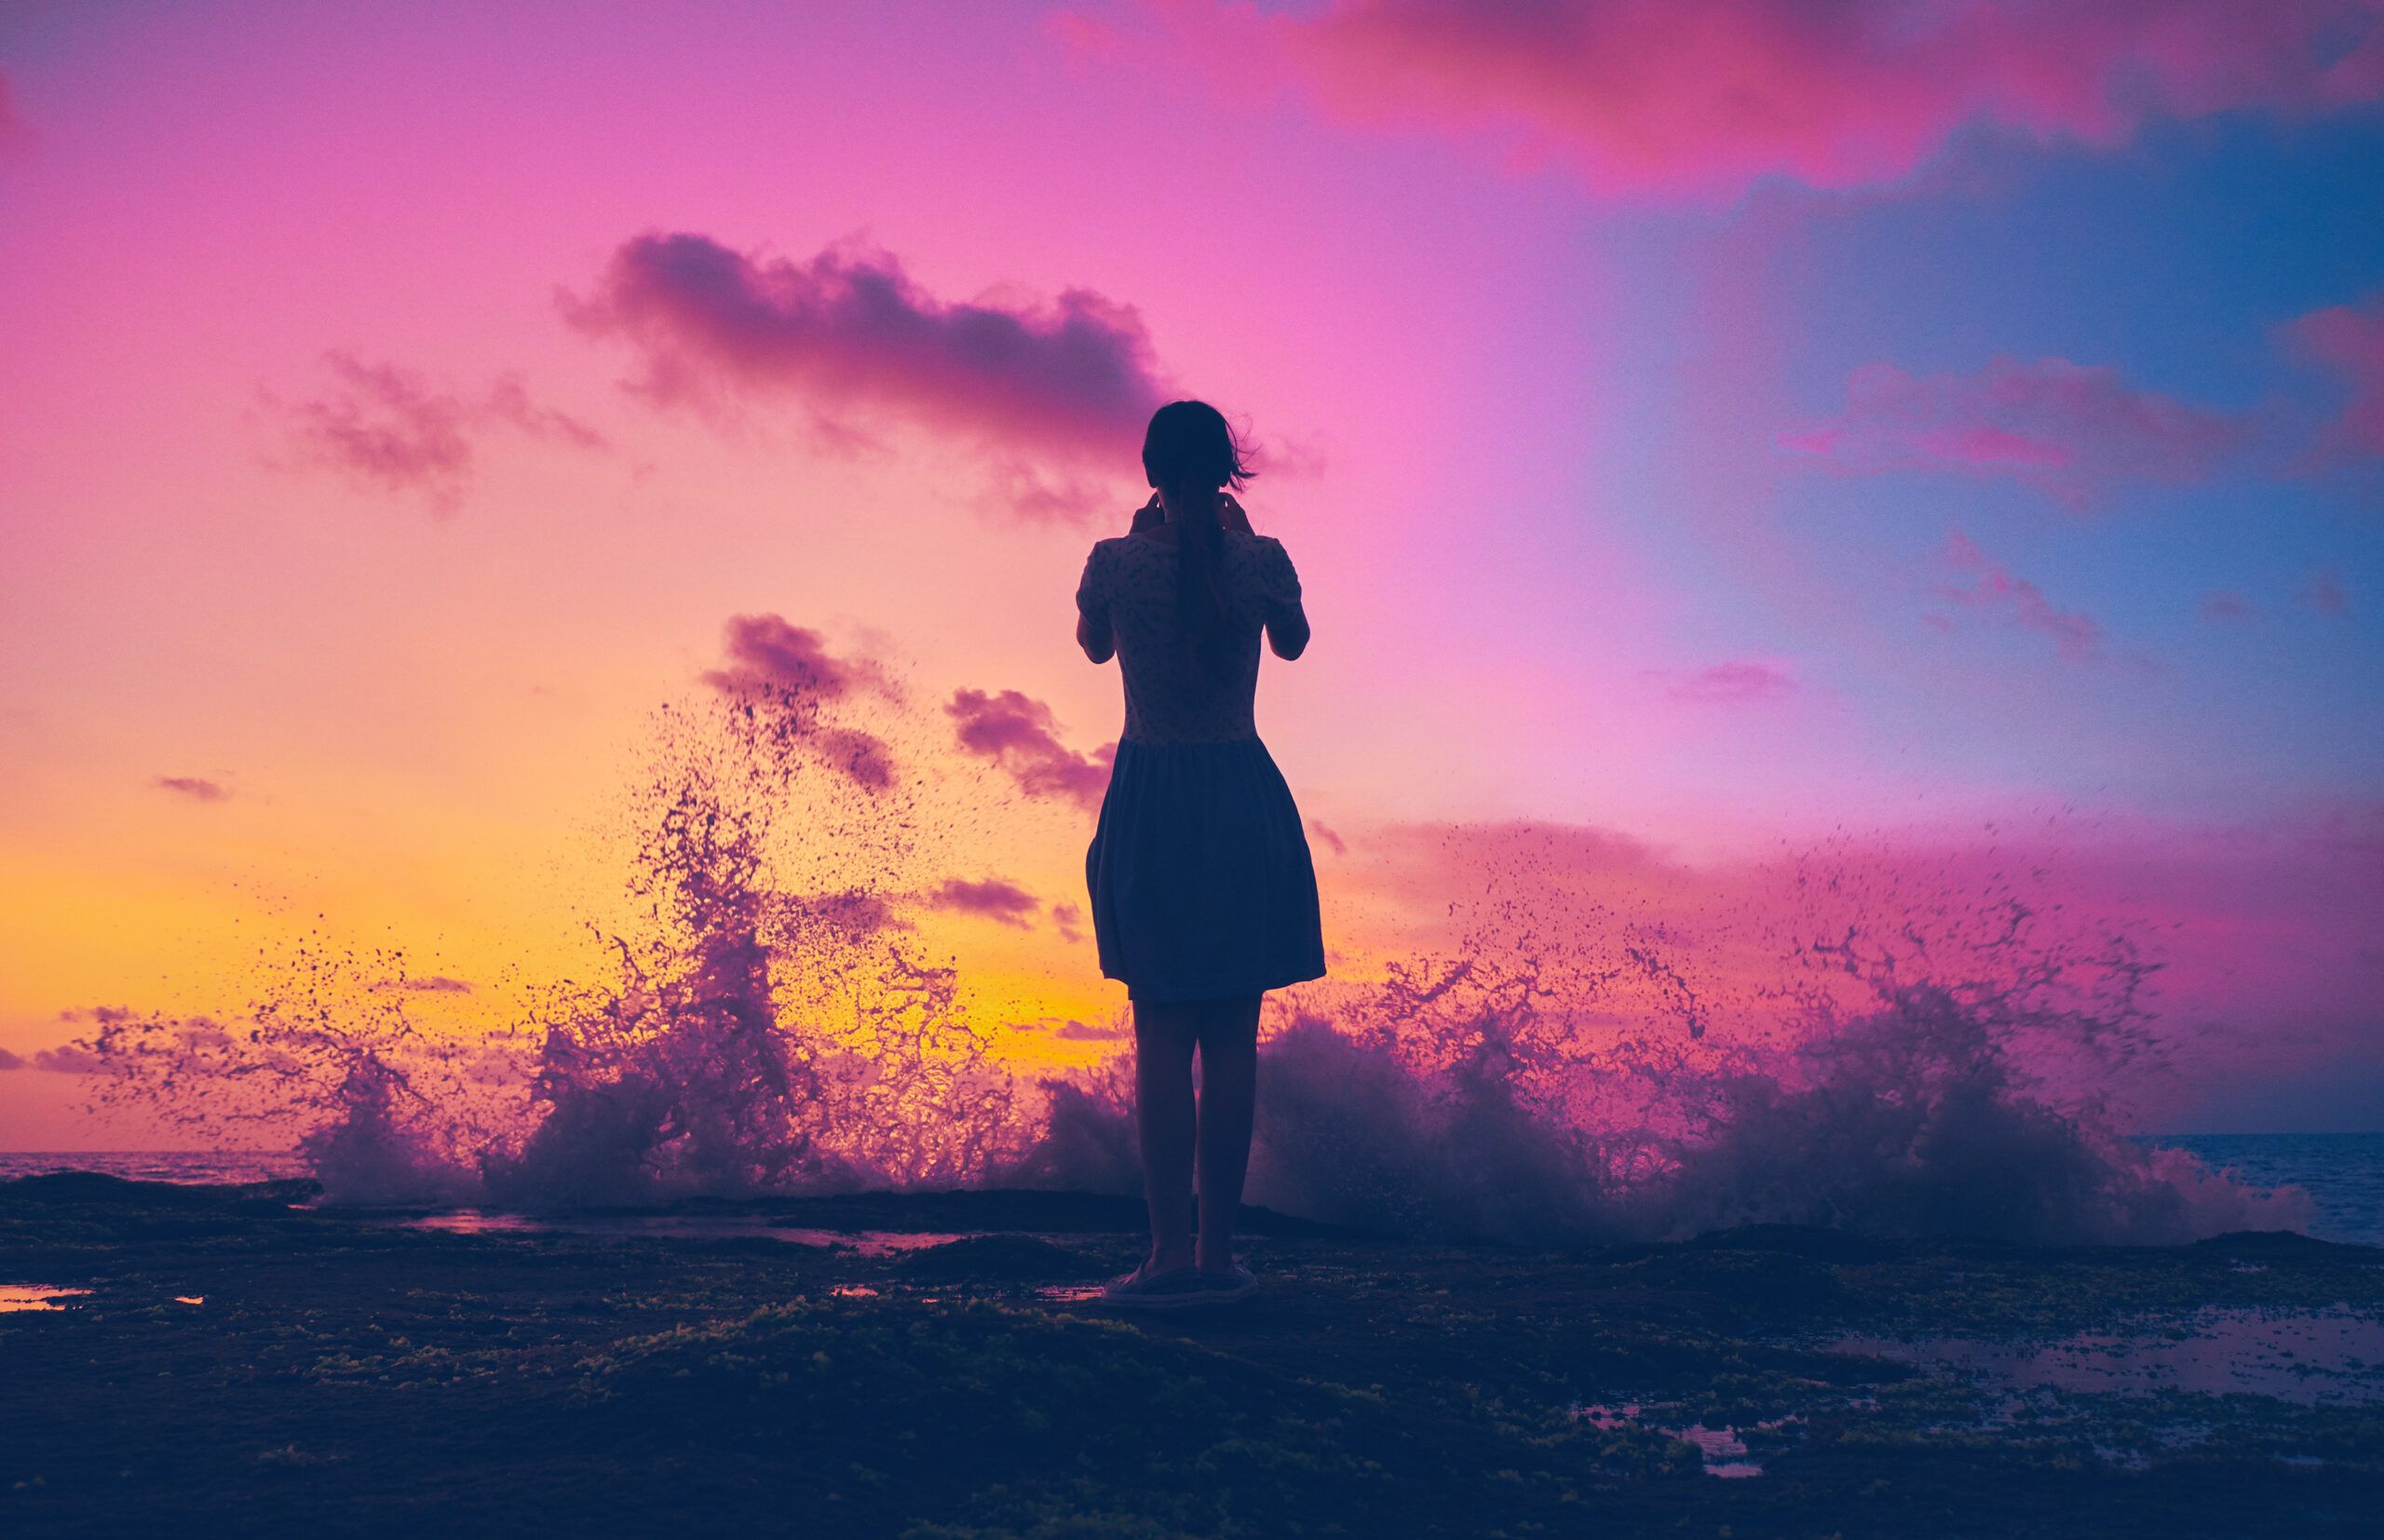
Placing the light source behind the subject, with the subject in between the light and your camera, will create a backlit effect. This can be a great opportunity to play with silhouette and long shadows in your photography. The potential downside to backlit photos is that if the exposure is off, you’ll be left with a sad lack of detail in your subject or a blown out light source. This works well for silhouettes, but if you still want to see some detail on your subject, this is the time to pull out your light diffuser to reflect some of the light from the background onto the front of the subject, or fill it in with a flash.
Soft Light
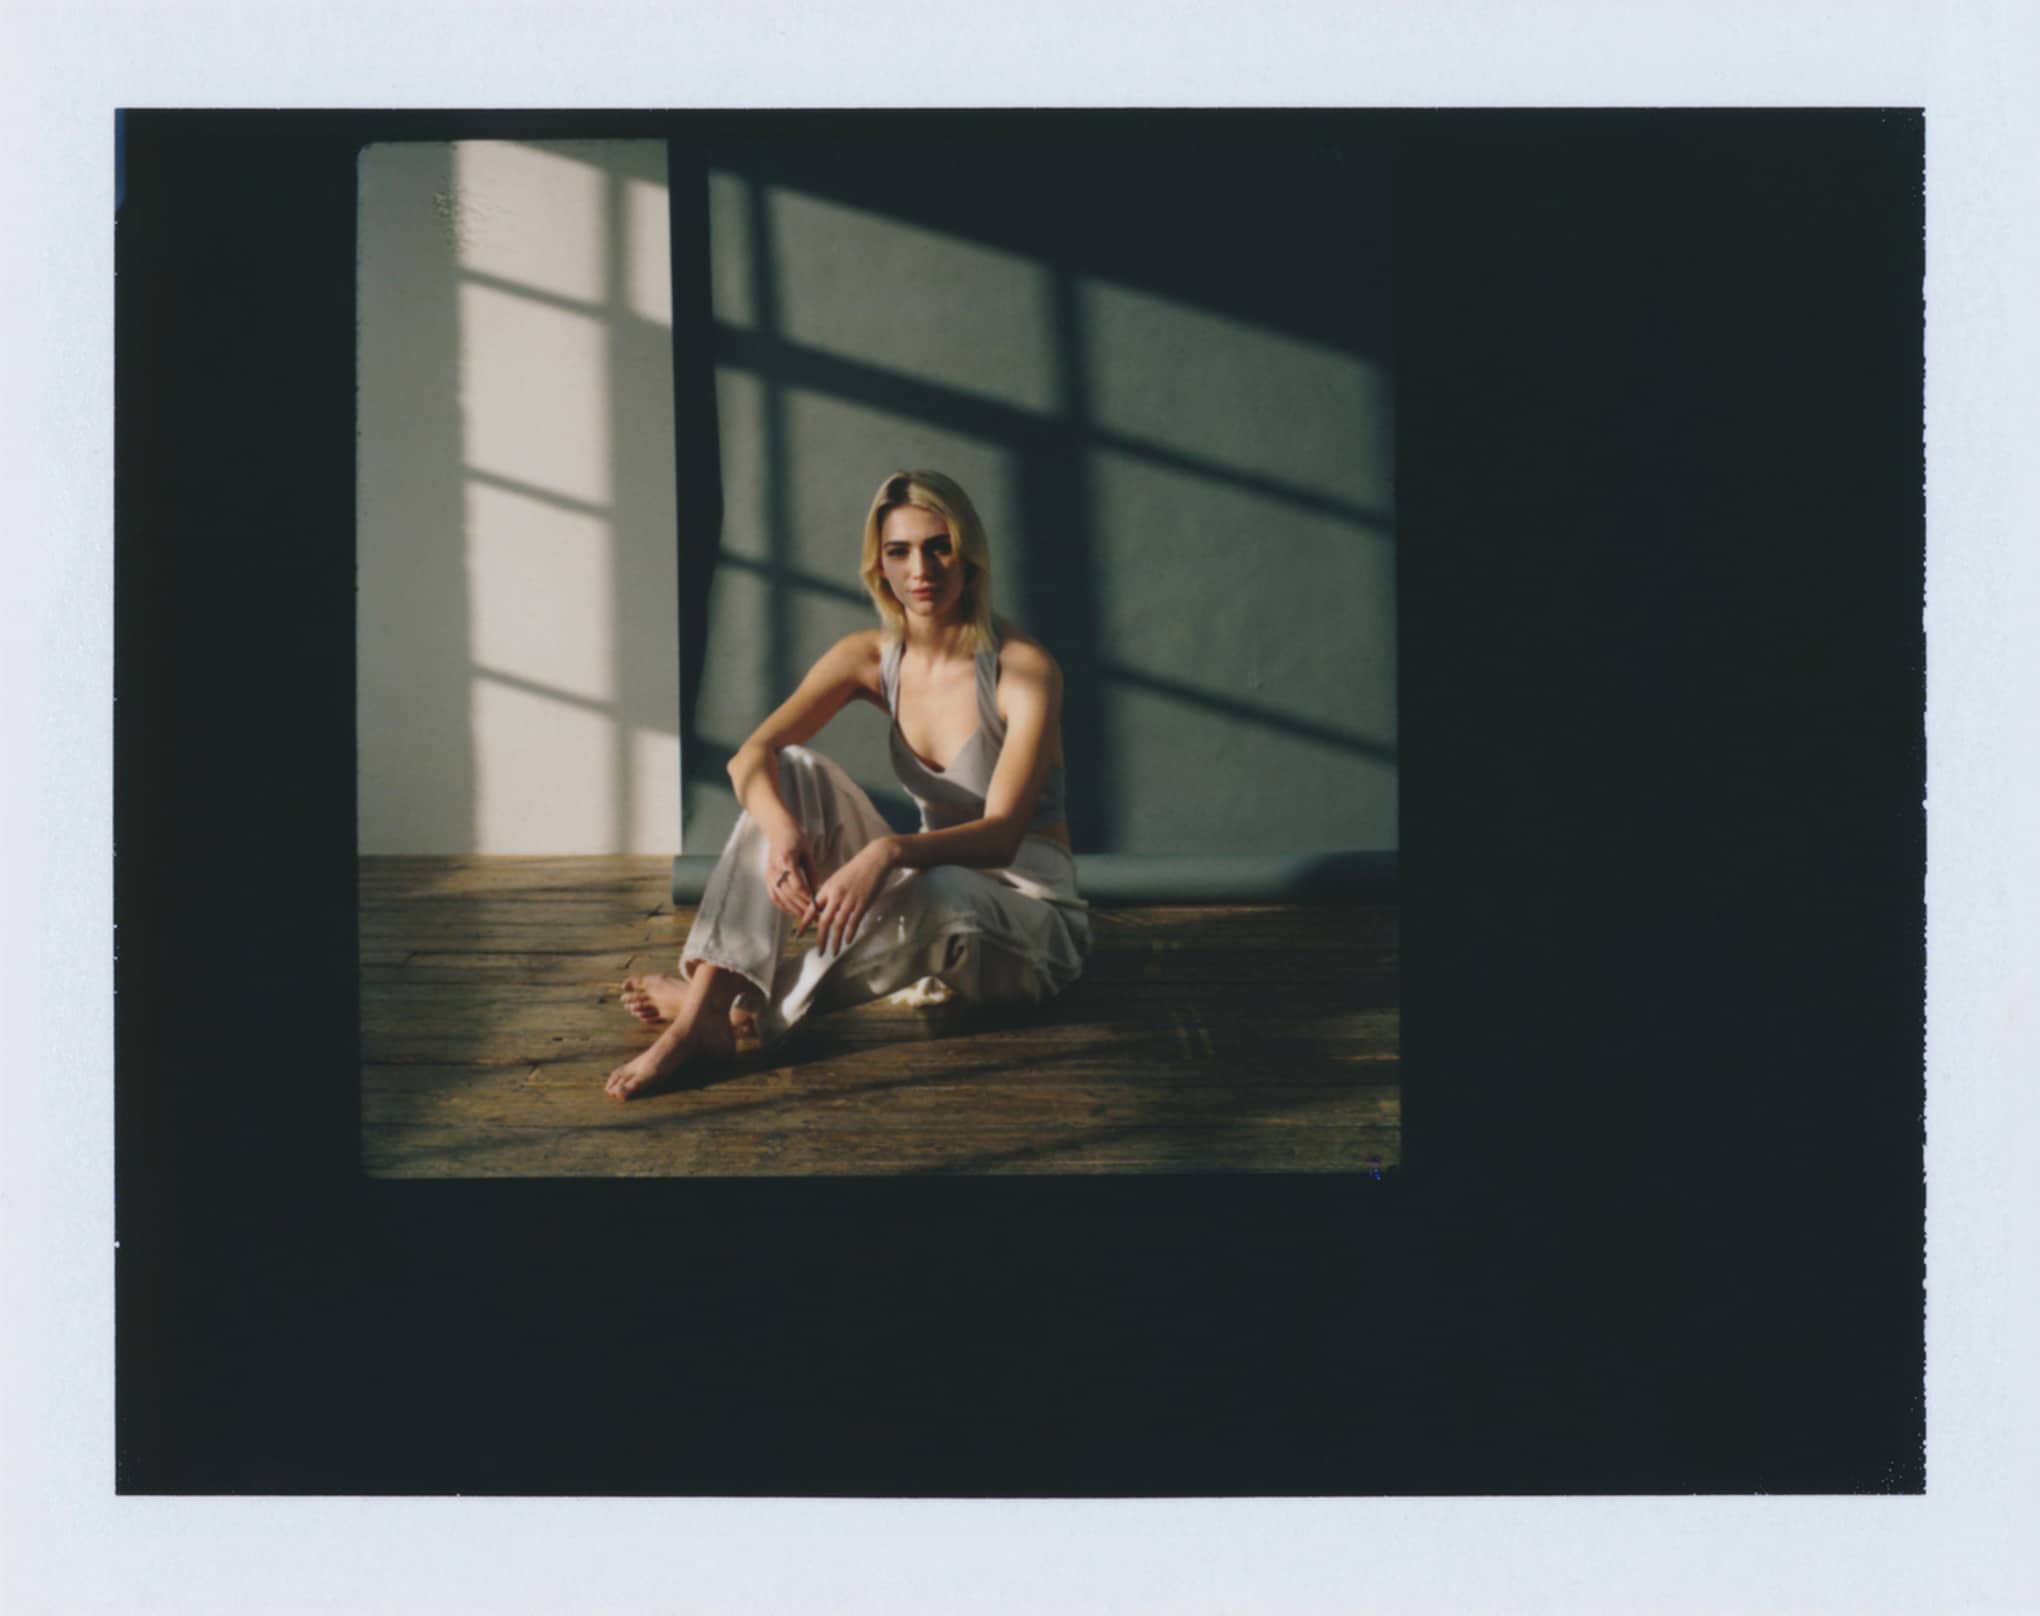
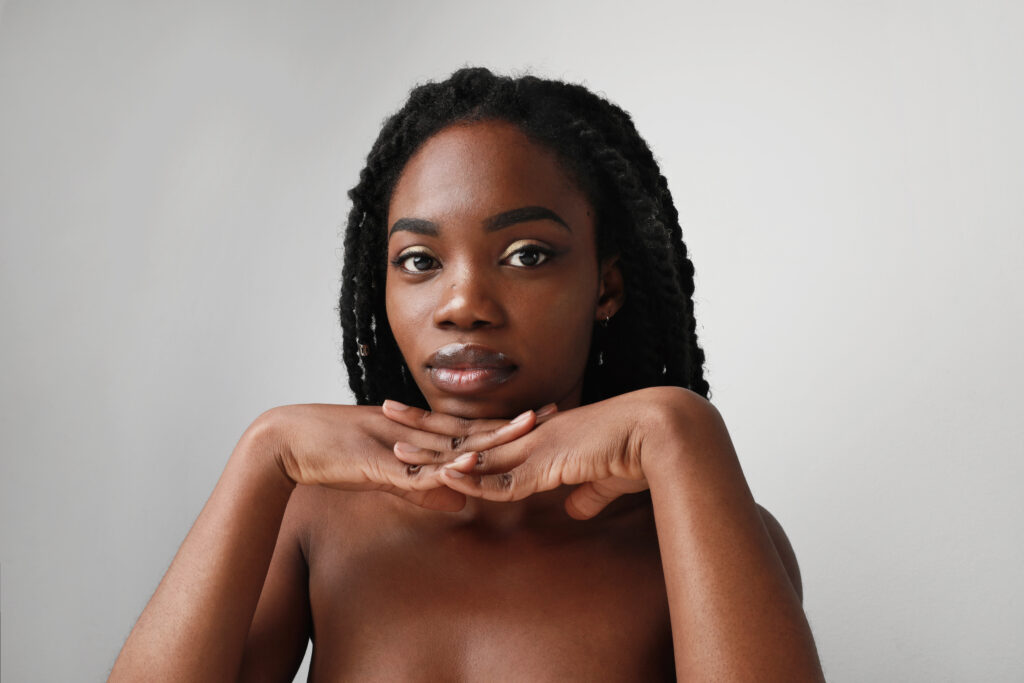
With your light source diffused, either by bouncing or screening light, the effect is more subtle than it would be with a direct source of light. By using soft light, you will end up with less intense shadows, if any at all, and a lower contrast between the darks and lights in your photo.
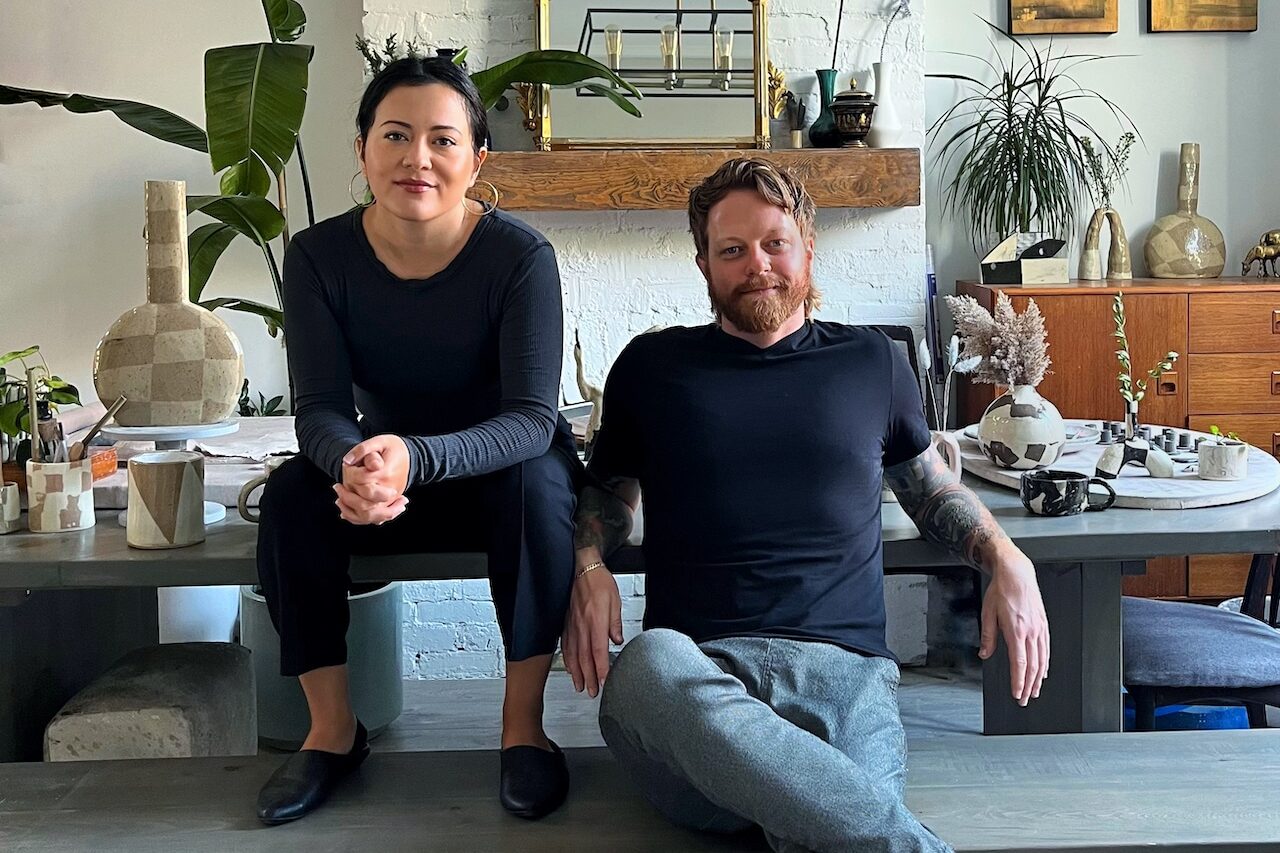
If you’re working in a photography studio, you can use a diffusion panel between the light source and your subject. This could even be a light-colored curtain over the window to diffuse the natural sunlight coming in. If you’re shooting outside, soft light will occur naturally on an overcast day, as the clouds in the sky diffuse the direct light from the sun. By keeping the light soft, you can achieve a gentle appearance in your portrait photography.
Hard Light
The opposite of soft or diffused light, hard lighting is when your light source is pointed directly at your subject. It results in high contrast and intensity, bright whites and dark shadow, and is often created by making use of the midday sun. You can also manufacture this type of light in your studio by using a spotlight or other source of light that is not diffused.
Rim Light
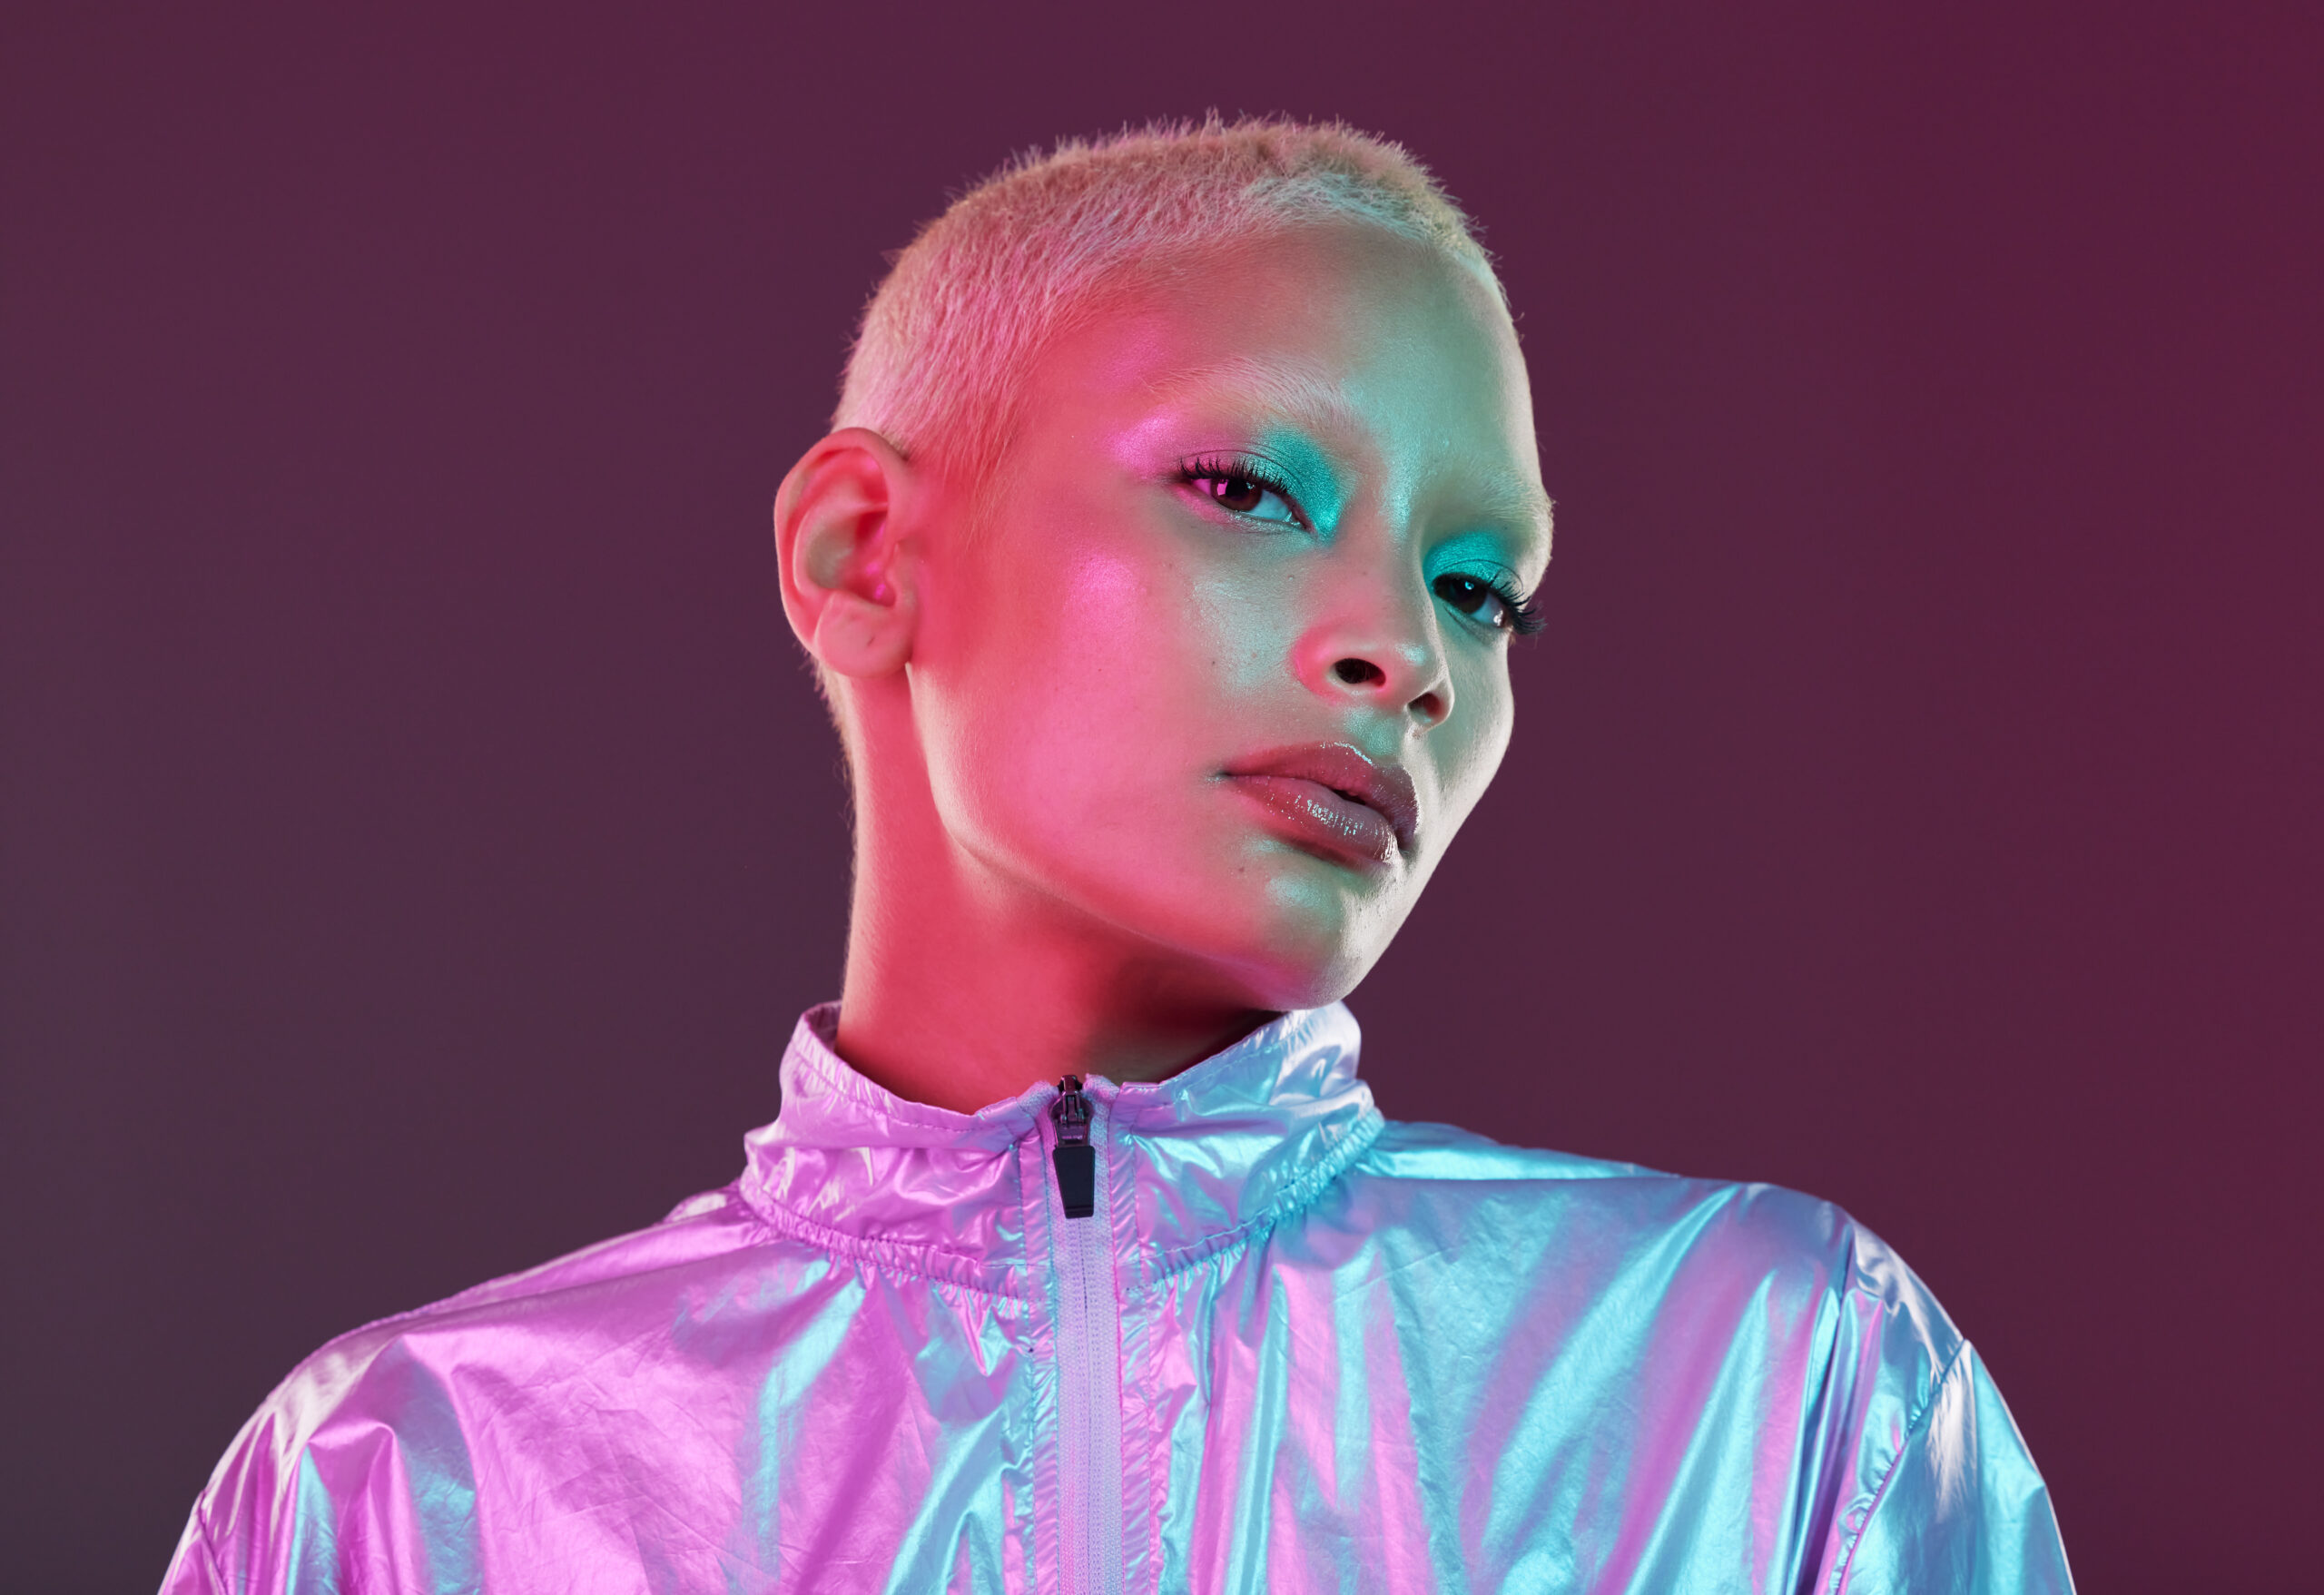
Rim light can be created using a form of backlighting, where the light is at an angle from behind or above. The light will hit your subject in a way that creates a glowing outline or highlight around the subject, depending on the direction that your light is coming from. This technique is useful for distinguishing the subject from the background by providing definition.
Position your light source above and behind your subject and adjust until you see the light rim appear. A higher contrast will bring out the rim light while a low contrast will dull the overall effect. If you’re not getting enough of the detail on the front of your subject, pull out a reflector to bring sufficient lighting to their features.
Loop Lighting
Loop lighting is a specific technique used for portraits. The name refers to a “loop” of shadow from the nose on the cheek. It is generally considered a less dramatic and intense option for portraits than some of the other options listed.
Loop lighting is pretty universally flattering, so if you have multiple portrait appointments or mini sessions in one day, this is a great trick to pull out of your pocket. Position your light slightly higher than the model’s eye level and at a 45-degree angle. You can experiment with a more or less defined loop by moving the light up and down, and can adjust the intensity of the shadow by moving the light closer or farther away from the subject.
Broad Lighting
Often used for graduation photos, broad light for photography is a type of side lighting where the side of the model closest to the camera is lit, and the side farther away is in shadow. This technique can be useful for a subject with a thinner face, as the side with the light on it will appear larger than the side in shadow, resulting in a fuller face. Position your model’s face at an angle, turned slightly away from the camera, to achieve this look.
Short Lighting
The exact opposite of broad lighting. In this case, the side of the face that is closest to the camera is in shadow, whereas the farthest side is in the light. Instead of creating a fuller face shape, short lighting will thin out the face, so be cautious of how and when you make use of both of these techniques.
Butterfly Lighting
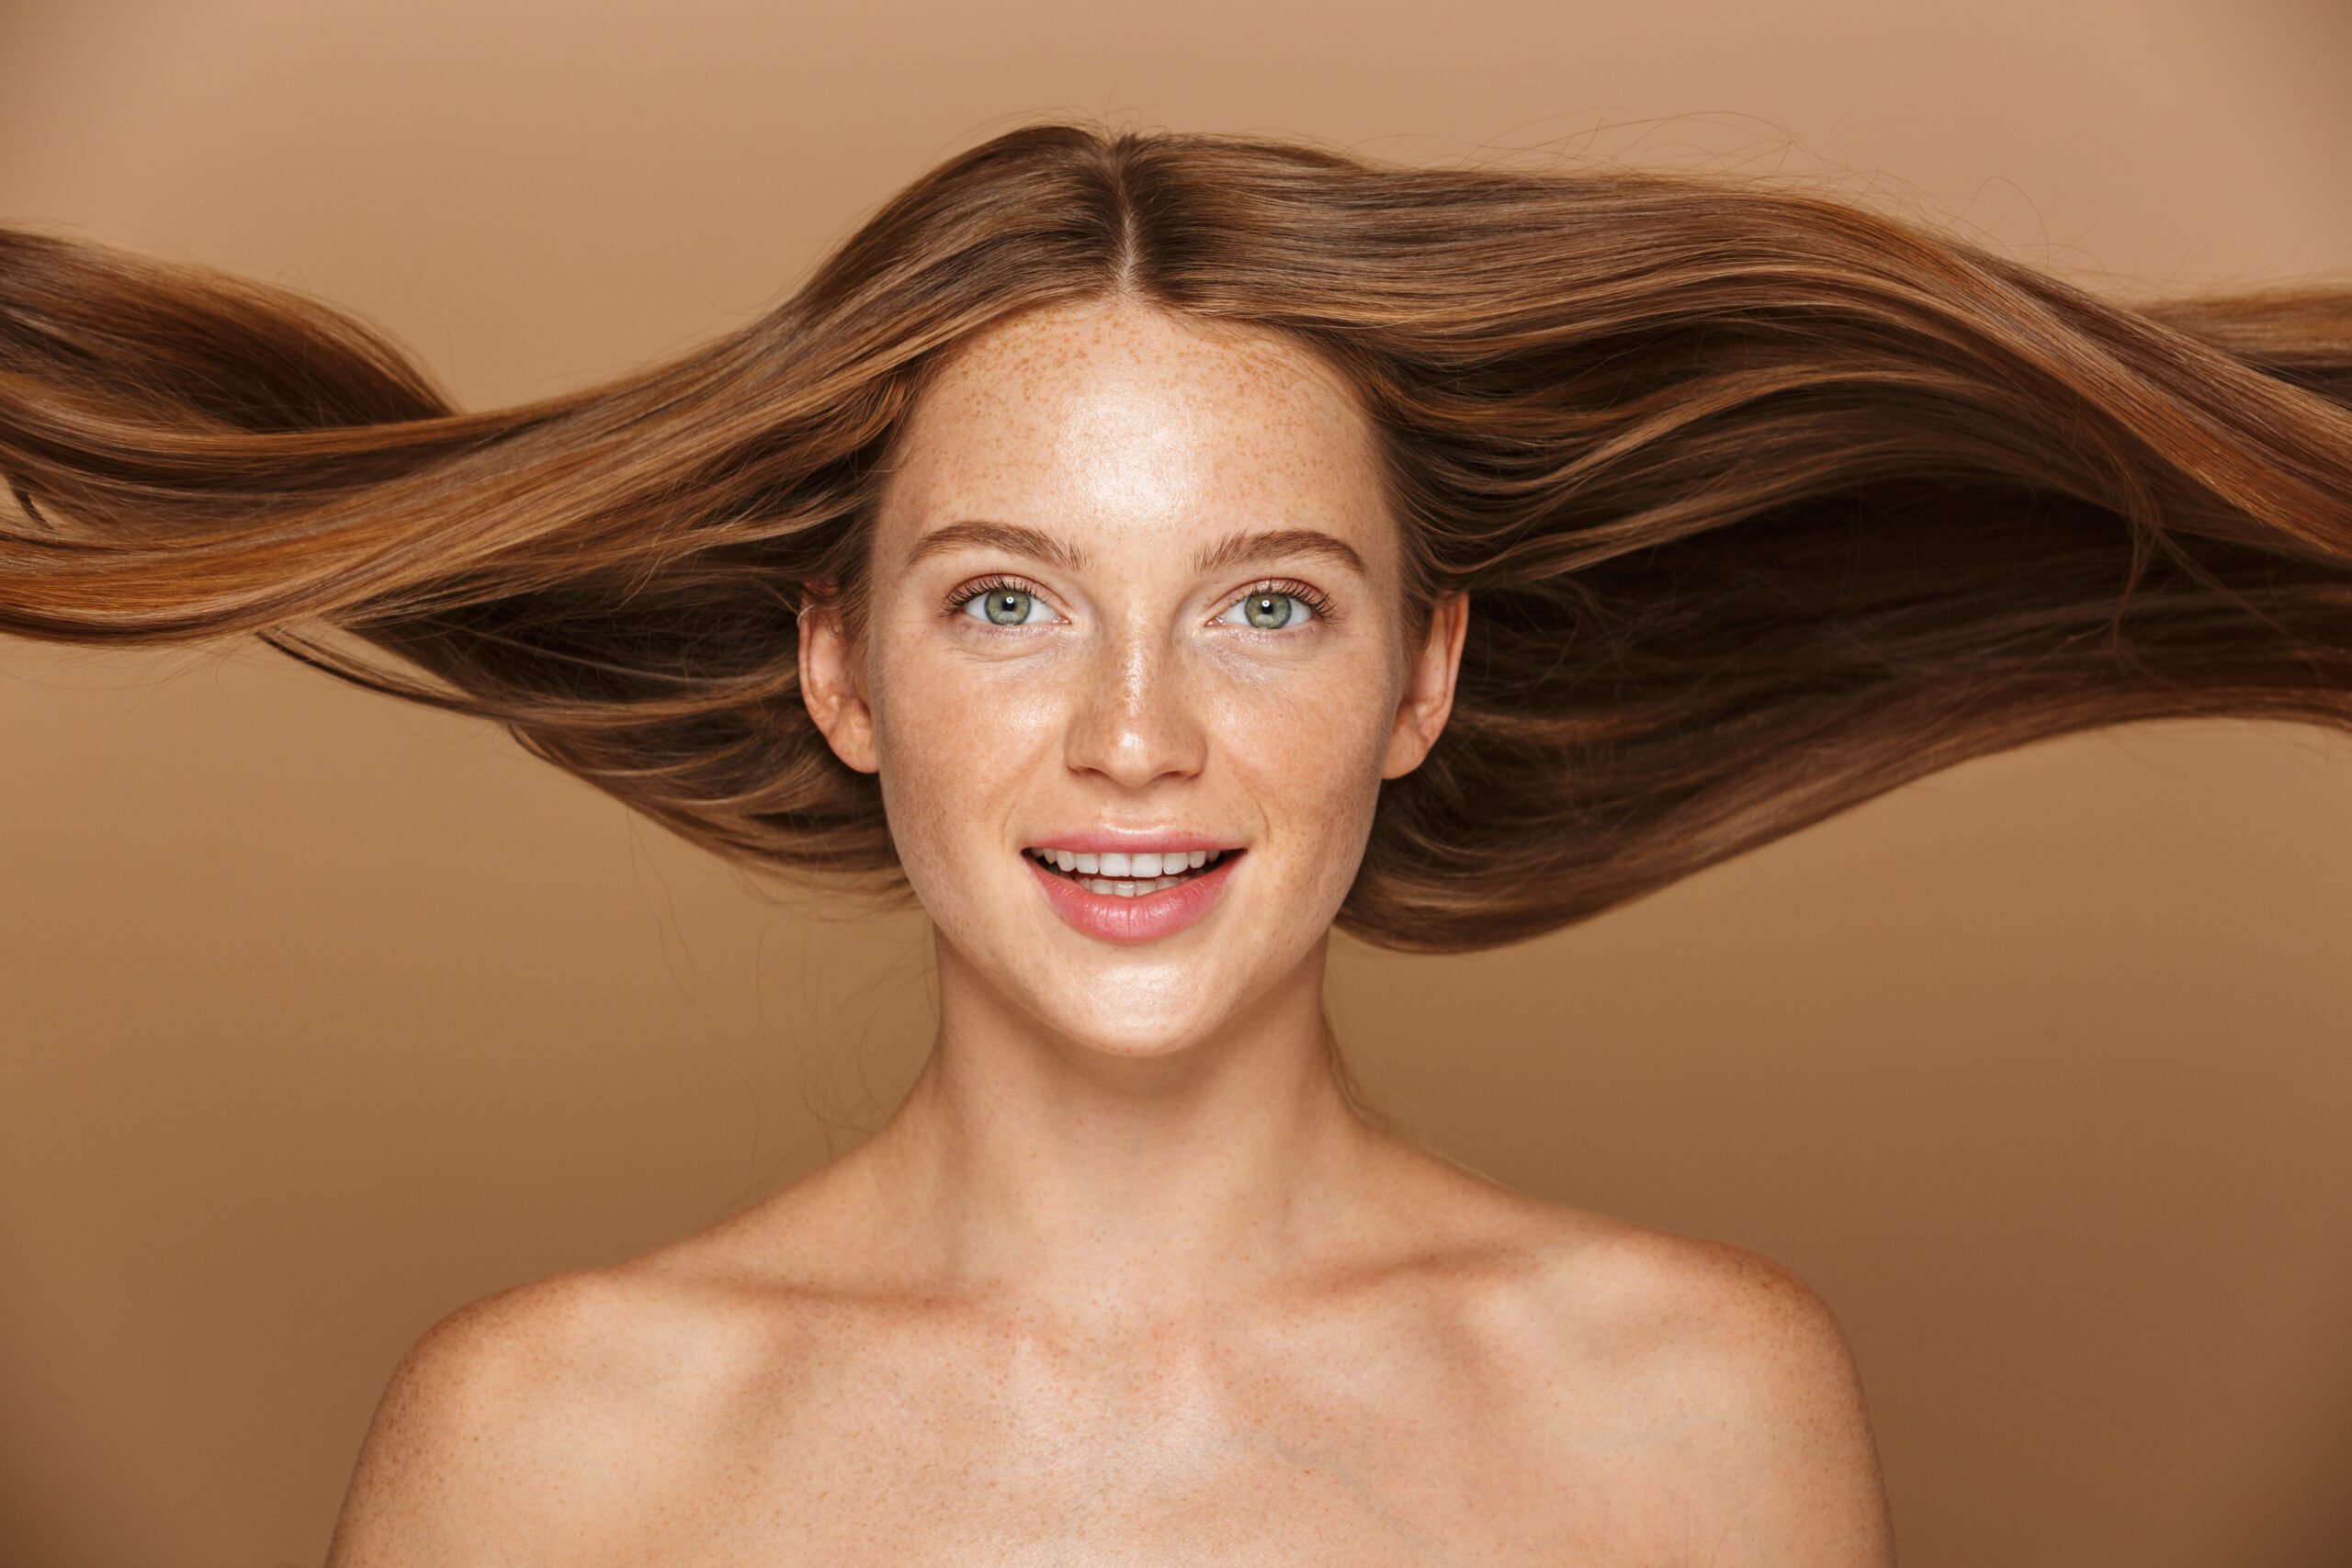
Like loop lighting, butterfly lighting is named after the specific type of shadow that is created on your model’s face. Position your light in front and above your subject to create a butterfly-shaped shadow under their nose. This lighting is often seen in glamour shots and headshots. It will also serve to highlight the other facial features with the same level of severity, which can be great for accentuating high cheekbones, but may not be useful if your model has deep-set eyes as it can result in too much shadow under the eyes.
Split Lighting
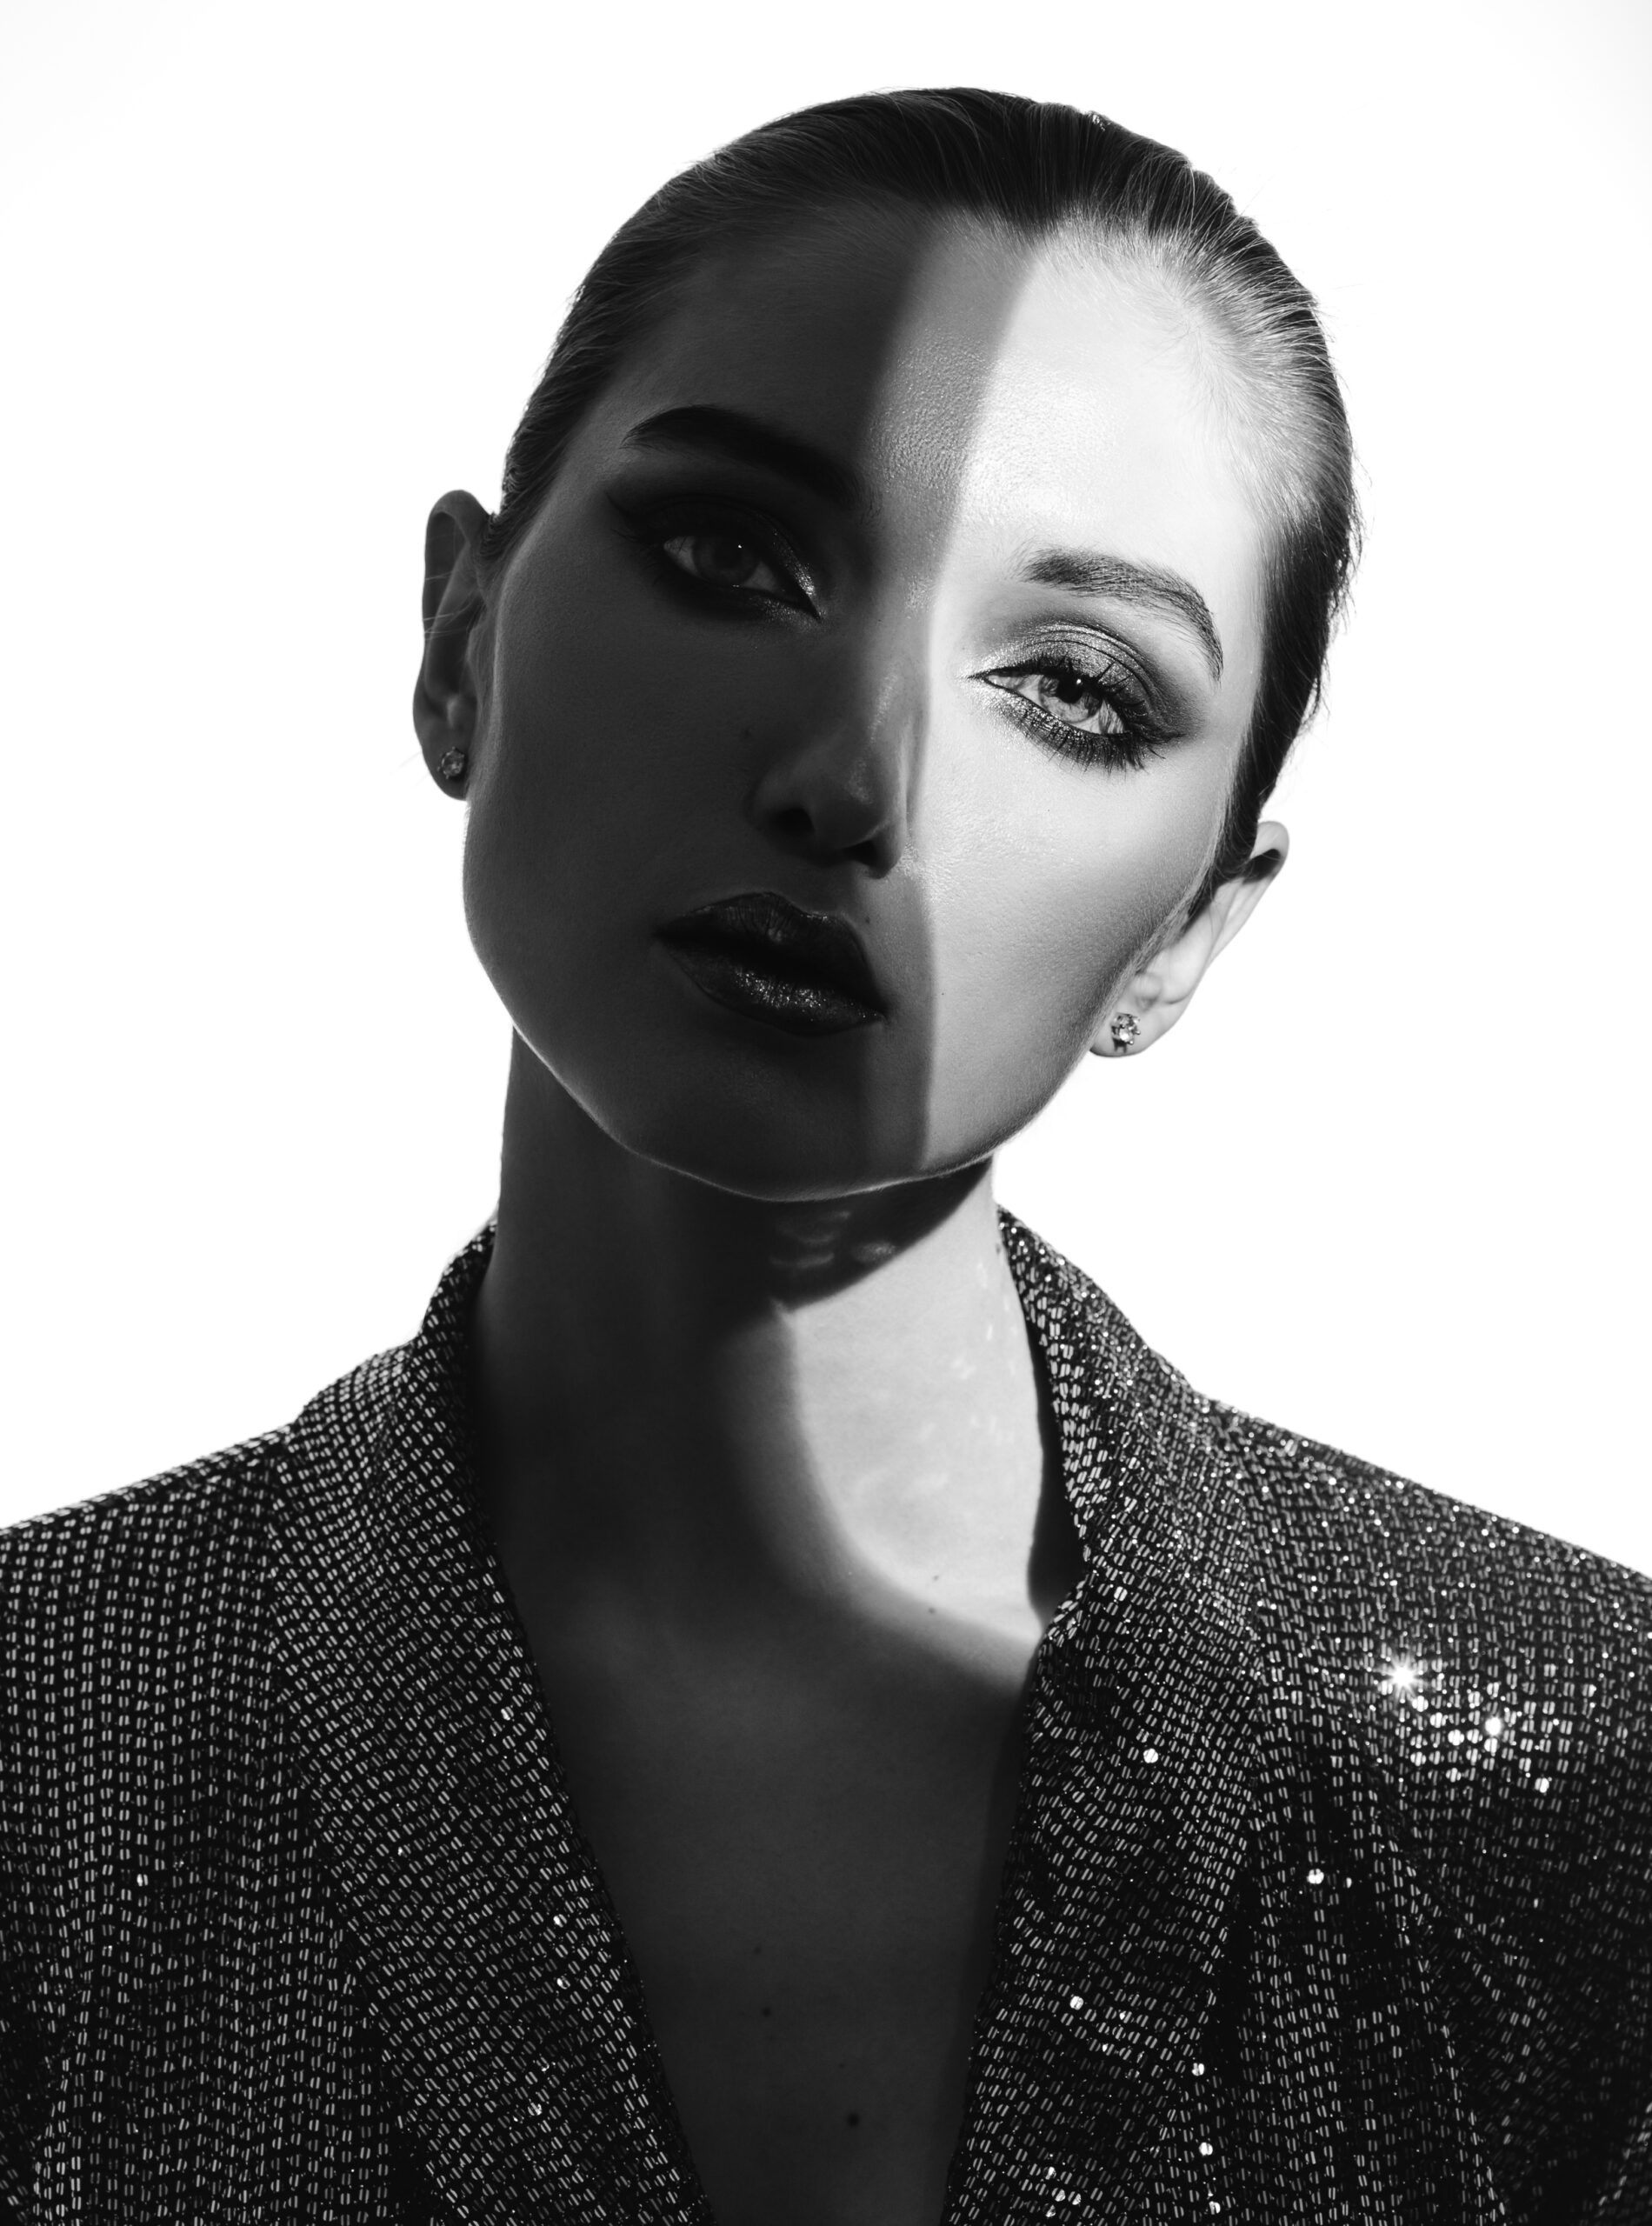
When the light hits your subject at a 90-degree angle, that is called split lighting. This results in a straight line down the center of your subject’s face, with one side entirely lit and the other side completely in shadow. This is a great option for a dramatic portrait, particularly if you are using a hard light as opposed to soft.
Rembrandt Lighting
This style of lighting is named after the way that Rembrandt used light in his portrait paintings. It is a type of side lighting, similar to split lighting, except that the side of the face that is in shadow has a triangle of light under the eye. This can be highly effective in making a two-dimensional image appear three dimensional.
Choosing the Best Type of Lighting for Your Photographs
No one method of lighting will be effective in every scenario. For example, you will need a much different lighting setup if you are photographing the milky way as opposed to doing a portrait shoot with artificial lights in your photography studio. As you practice and get more confident in identifying which types of light are best for which situations, you will be able to quickly determine what lighting to use based on your subject, setting and overall concept.
Indoor Photography Lighting
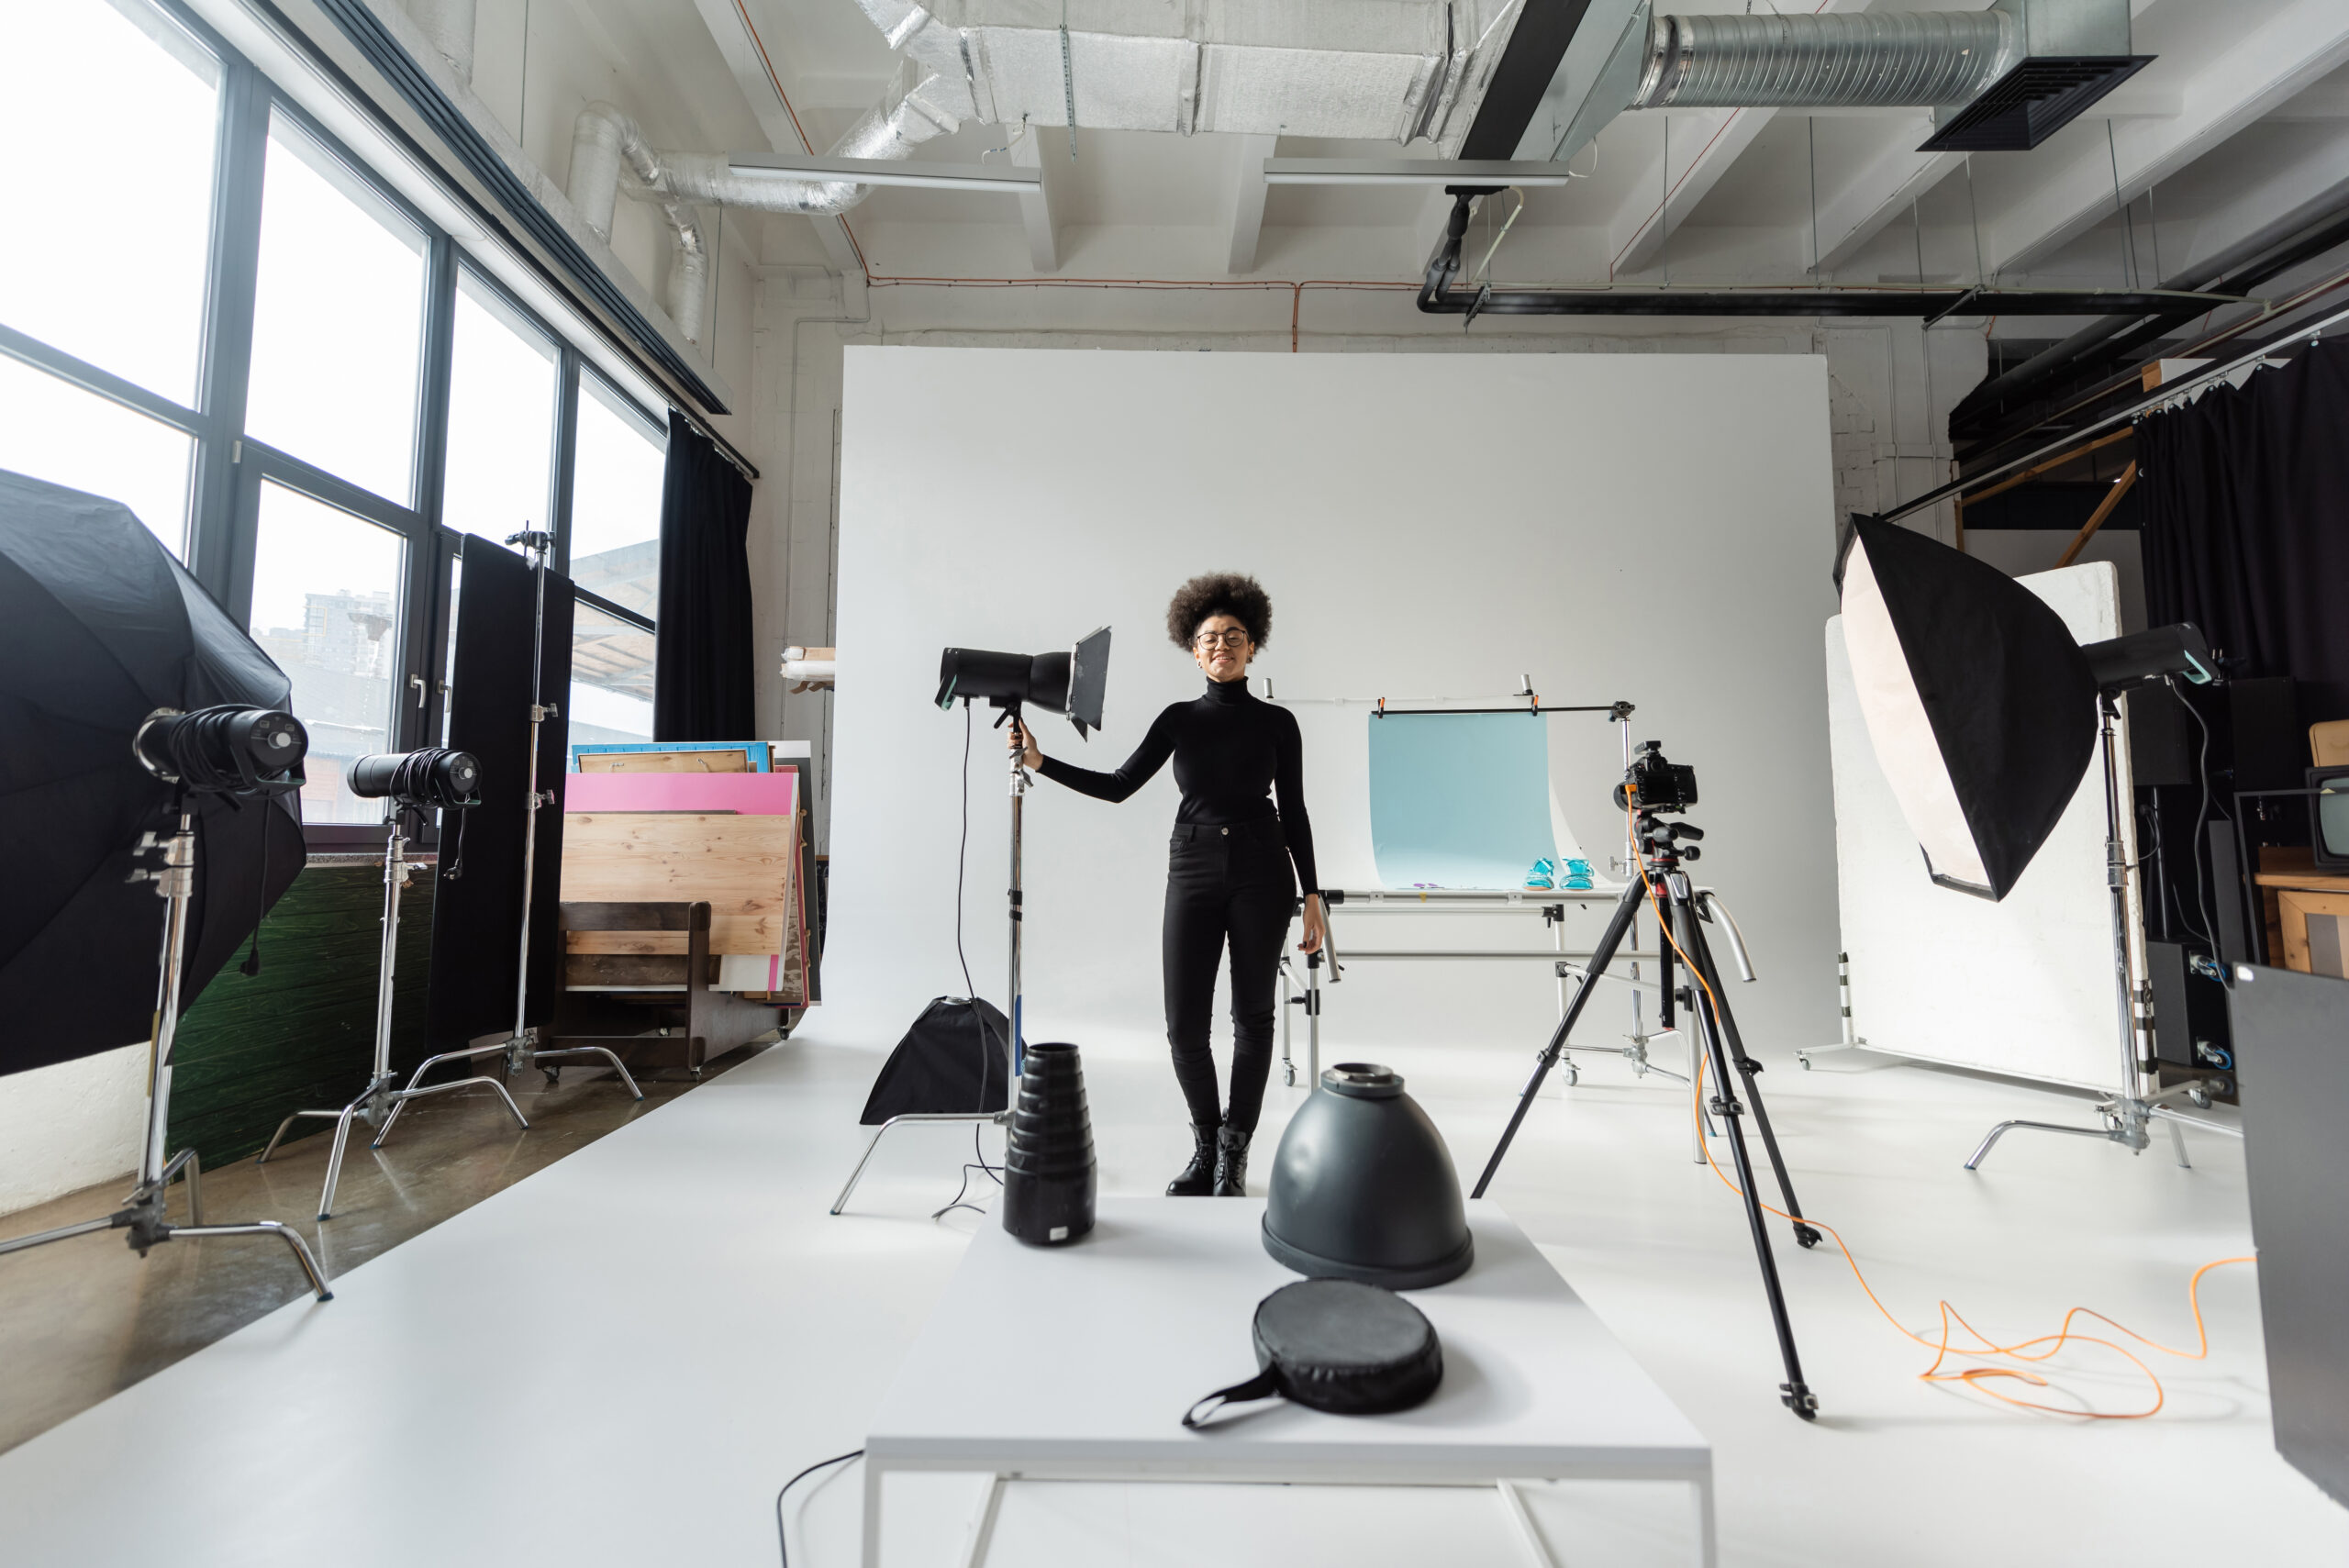
While there are many types of artificial light that you can invest in for your studio, natural light is a great option for portraits, even when you are shooting inside. Set up your model near a window, and see how the color of light changes throughout the day and alters the effect of your photo. If you do use outdoor light while indoors, make sure to turn off your indoor lights, as they may be two different colors and can create an uneven tone–known as cross or mixed lighting. Use a light-colored backdrop or lightbox so that the light will reflect off of it, brightening up the overall composition.
Lighting for Portraits
The lighting you choose will depend on your subject’s face. While options like butterfly and loop lighting are considered universally flattering, every model is different, so be open to changing things up at the last minute if you aren’t getting your desired effect.
If you want to play up the personality in your subject’s face, you might want to experiment with more severe lighting options, like Rembrandt and split lighting, although you can lessen the drama if you use a light reflector to balance the other side of their face.
Broad lighting can make your subject appear to have a wider face, and short lighting results in a thinner face, so it is not always useful for creating flattering photos. Carefully consider your subject’s face shape and what they and you want to evoke in the final image when selecting your lighting style for a photo shoot.
Build Your Portfolio With Format
Rated #1 online portfolio builder by photographers.
Now that you have a solid understanding of the different types of light, what they do and when to use them, it’s time to get out there and start practicing your new skills! Make sure to keep your online portfolio updated along the way so that potential clients and collaborators can see all of the awesome stuff you’ve been working on.
