Whether you’re looking to demonstrate a range of photography skills and styles in your student photography portfolio, or you just want to try your hand at a new skill, texture photography is a great place to start. Through branching out and experimenting with a variety of types of photography, you can develop important photography skills, and ultimately become a better photographer. With these tips, you’ll be all set to start working the sweetest photography jobs out there before you know it.
Before You Get Started
You’re going to need a photography portfolio to show off all of your awesome new work. Don’t have one yet? Choose a portfolio website with templates for photographers that allows you to create an online portfolio website quickly, so you can focus on what really matters: your art.
What is Texture in Photography?
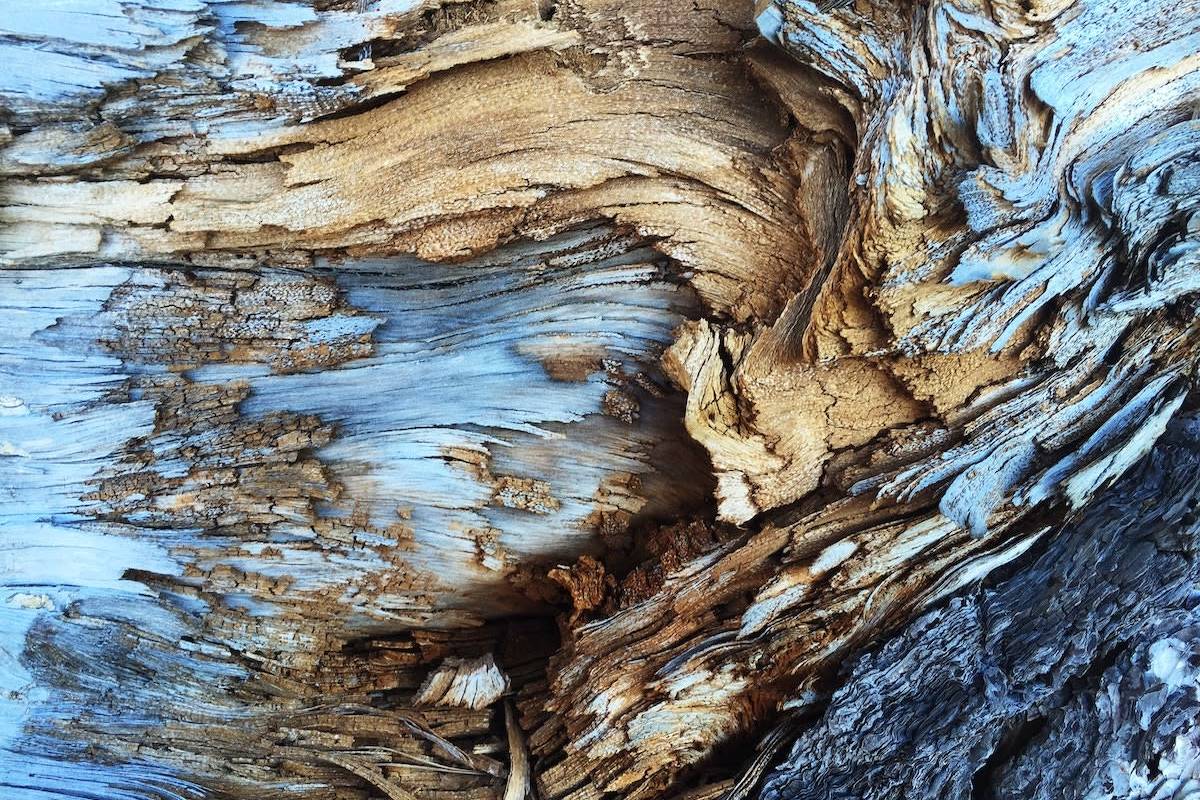
Have you read about the importance of demonstrating texture in photography, but you weren’t really sure what that meant? Let’s start off simple with a super basic texture photography definition. Picture a photograph of a snowy hill. If the hill is entirely white, that area of the photo will not have texture. However, if there are rocks or grass showing through the snow, that variation in color and shape will create texture. In other words, texture photography emphasizes the physical feel of the subject. While texture can be enhanced in your favorite post-production program, the most effective texture photography will start with a photo that captures a visually interesting texture.
How to Photograph Texture
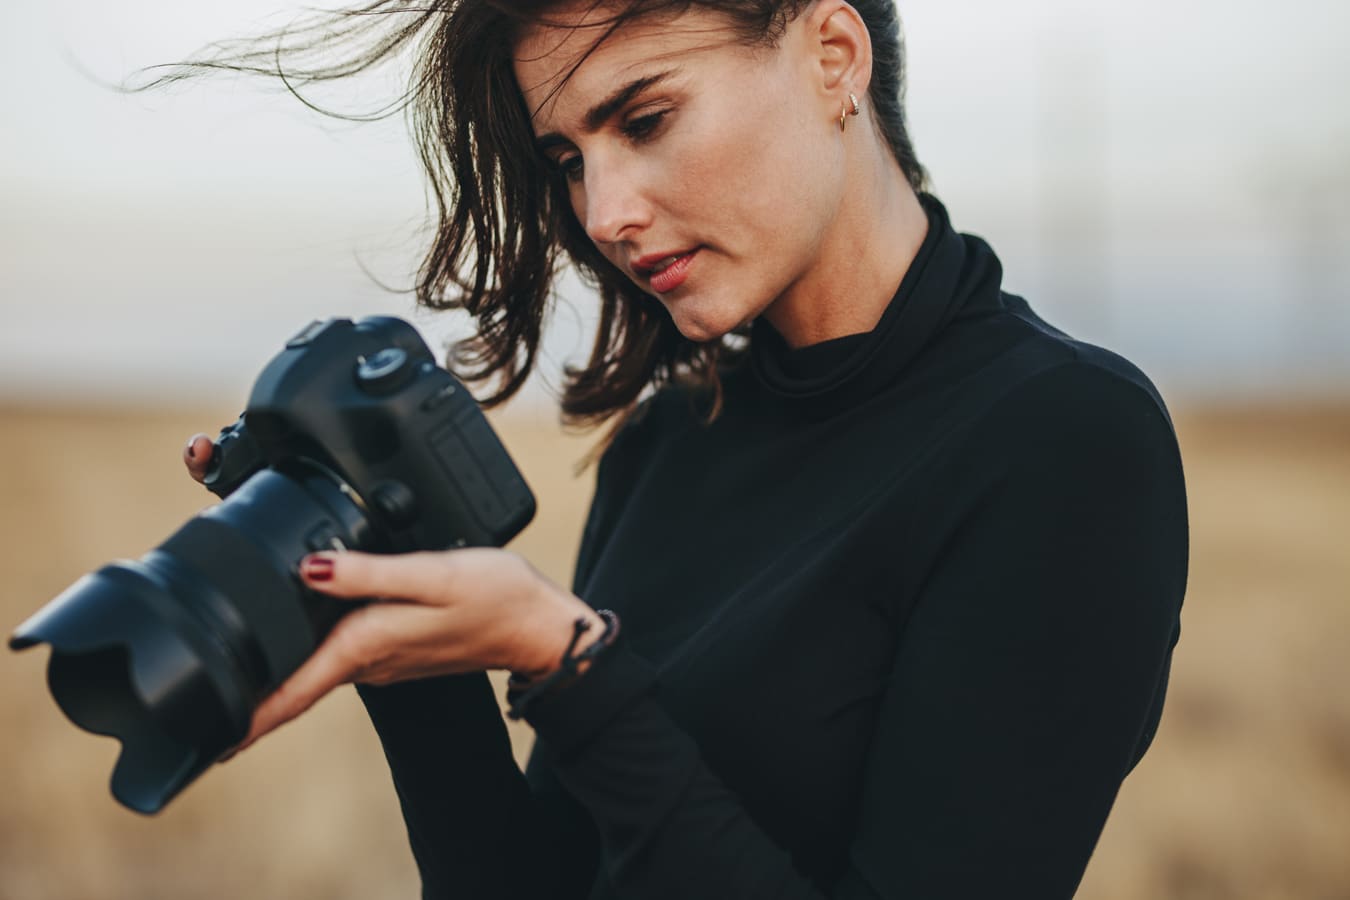
Whether you’re looking to explore texture in nature photography or dabble in abstract texture photography, these tips are sure to help. Before you can become a texture photography expert, you’ll need the right camera for the job. If you’re serious about being a professional photographer, you’ll probably want to invest in a quality DSLR camera. However, these days there are plenty of camera phones that are specifically designed to take high-quality photographs.
Brush up on your photography fundamentals, like photo composition so you’re ready to take professional photos whether you’ve been a photographer for years or you’re just starting out.
High-quality pattern and texture photography will require the appropriate camera settings, so here are some of the most important things to remember when you’re getting ready to shoot close up texture photography.
F-stop Settings for Texture Photography
Modern DSLR camera lenses use a standardized f-stop scale, which determines the aperture setting, or how much light is allowed into the camera through the lens. Using a higher f-stop or aperture setting in your texture photography will allow you to capture more detail, so for sharp close up texture photography, use f/6.0 or higher. Likewise, a lower f-stop will result in a blurrier photo. Remember, blurry isn’t necessarily a bad thing! Lower f-stop settings can be used to create a bokeh effect, great for abstract texture photography. Plus, if you want to frame the texture in your image, you use a low f-stop to create a blurred foreground with a sharp background, increasing the illusion of depth and visual interest in your texture photography.
Camera Equipment for Texture Photography
The slightest movement during texture photography can result in an unusable photo, so save yourself the headache and set yourself up for success with these camera accessories. Even if you have the steadiest hand in the world, for close up texture photography, a tripod is pretty much non-negotiable. You might also want to consider using a shutter timer or hand operated shutter release button so that when you capture your image, the camera isn’t moved at all—reducing unnecessary and unwanted blur. Another good option is tethered photography, where your camera is connected to your computer monitor. This way, you can view your texture photography in real time, make sure the quality is up to snuff, and use a remote control to take photos from the comfort of your desk. If you don’t have all of these accessories yet, just make do with what you’ve got, and put the rest on your photography wish list come holiday time.
Lighting for Texture Photography
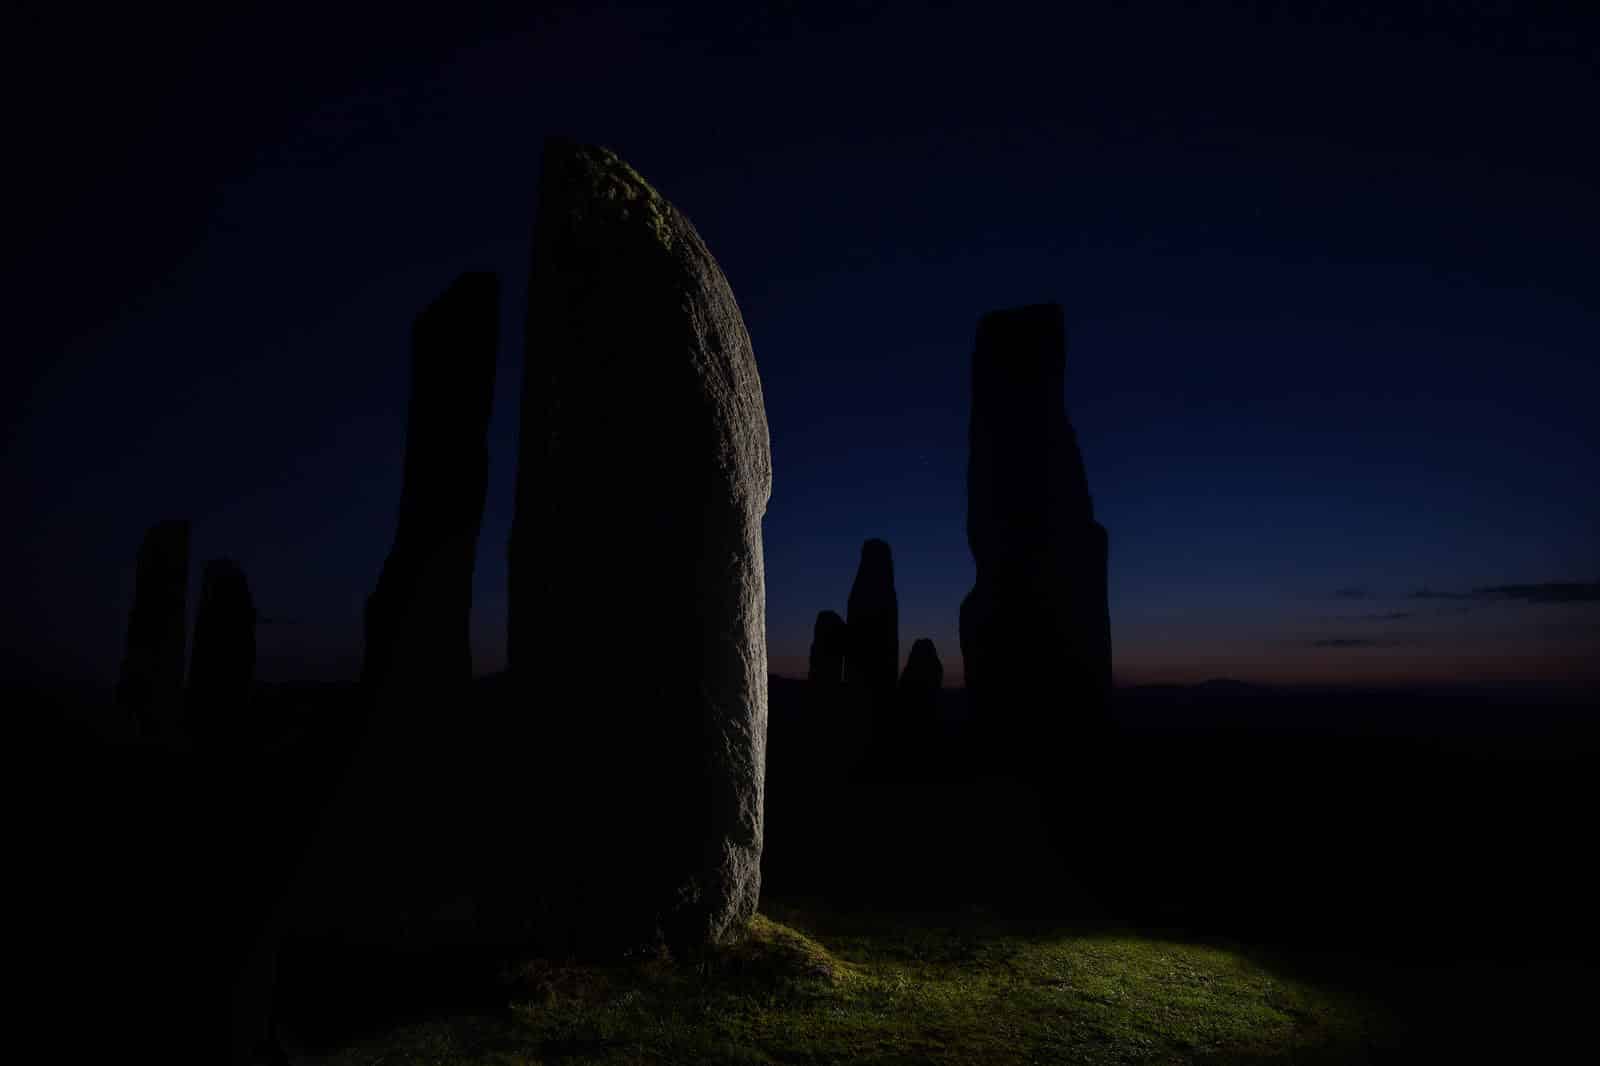
No matter what kind of photography you are doing, lighting is absolutely key to getting the image you want. Texture photography is no different – when you’re shooting photos that require a ton of sharp detail, lighting is even more important. The quality of the photos you take in natural light will change depending on the time of day. In fact, you may find yourself with a variety of effects in one short photo session if the weather and lighting conditions are changing quickly. While direct light can cause your photo to come out overly contrasted, dim or insufficient light will lead to grainy photos, which can be a big problem when you need a clear image for your texture photography. Likewise, nighttime photography has its own set of challenges, but it can still create some interesting texture photography if you know what you’re doing and how the conditions will affect your photos. If you choose to shoot your photography indoors, artificial light will allow you to have more control over your photos. Start by setting up a plain backdrop (a large sheet of paper will work). You don’t even need professional lighting equipment to experiment with artificial lighting: instead, use a lamp or flashlight combined with a light diffuser. Then, you can play around with different angles, and see how it changes the dynamics of your subject. Adjust the brightness of your light and note which conditions make for highly contrasted shadows, and which produce a more subtle effect. Through this, you may also discover what appeals to you when it comes to close up texture photography, and further develop your photography style.
Texture Photography Ideas
When you’re first setting out on your texture photography journey, it may not be immediately clear to you where to find interesting textures to photograph. Lucky for you, we’ve brainstormed some awesome texture photography examples to get you inspired.
Fabric Texture Photography
If you don’t know where to start, why not keep it simple and begin in your own home? You’re bound to have a bunch of different fabrics around, whether it’s your slept in bedsheets, your favorite furry sweater, or your mom’s shag rug in the basement. While they may not seem interesting at first, these subjects are perfect for macro texture photography. Start brainstorming some fabrics around your home that have different types of textures, and challenge yourself to create a sweet texture photography composition using these household items.
Texture in Nature Photography
Once you’ve exhausted the texture photography options in your apartment, step out into the sun and get inspired by nature. Your local park will have a huge variety of textures, from gnarled old tree trunks to the grass and dirt under your picnic blanket. If you’re lucky enough to live by a lake or ocean, the beach can provide ample inspiration for texture in nature photography. Take note of the sand, wet and dry, and the water, as well as washed up textural treasures like seaweed or shells.
Building Texture Photography
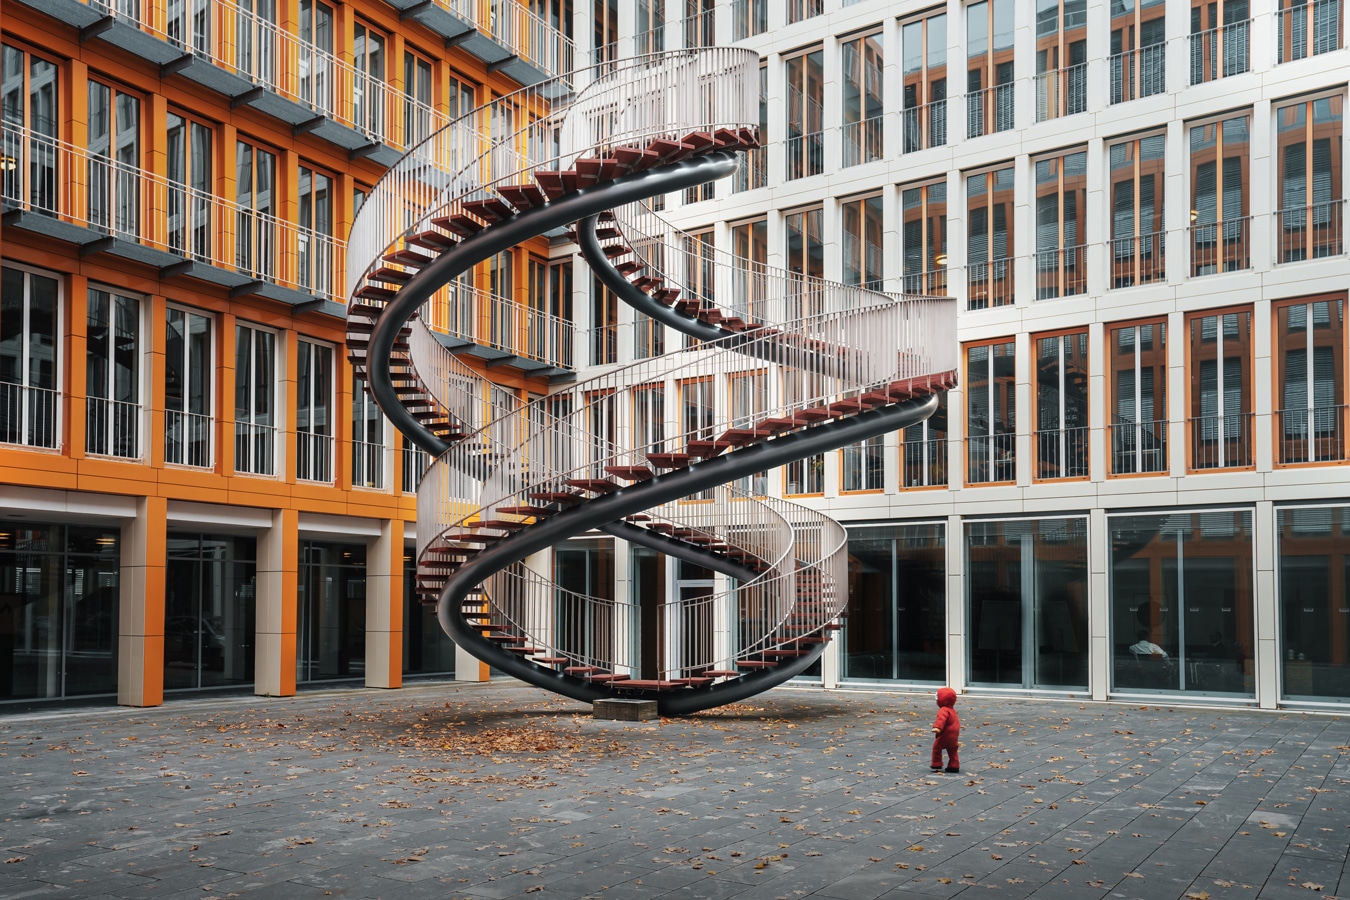
Some of the most intriguing macro texture photography can result from looking closely at manmade things, like old, peeling paint, brick walls, or even the wood that your bedside table is made from. While some of these textures may seem quite subtle, they can pack a lot of punch if you combine the right lighting conditions and post-production editing.
Kitchen Texture Photography
Your very own kitchen can be a wonderful source of a variety of textures for you to photograph. Gather things like dried beans, rice, pasta, spices, or tea, and experiment with using close up texture photography.
Portrait Texture Photography
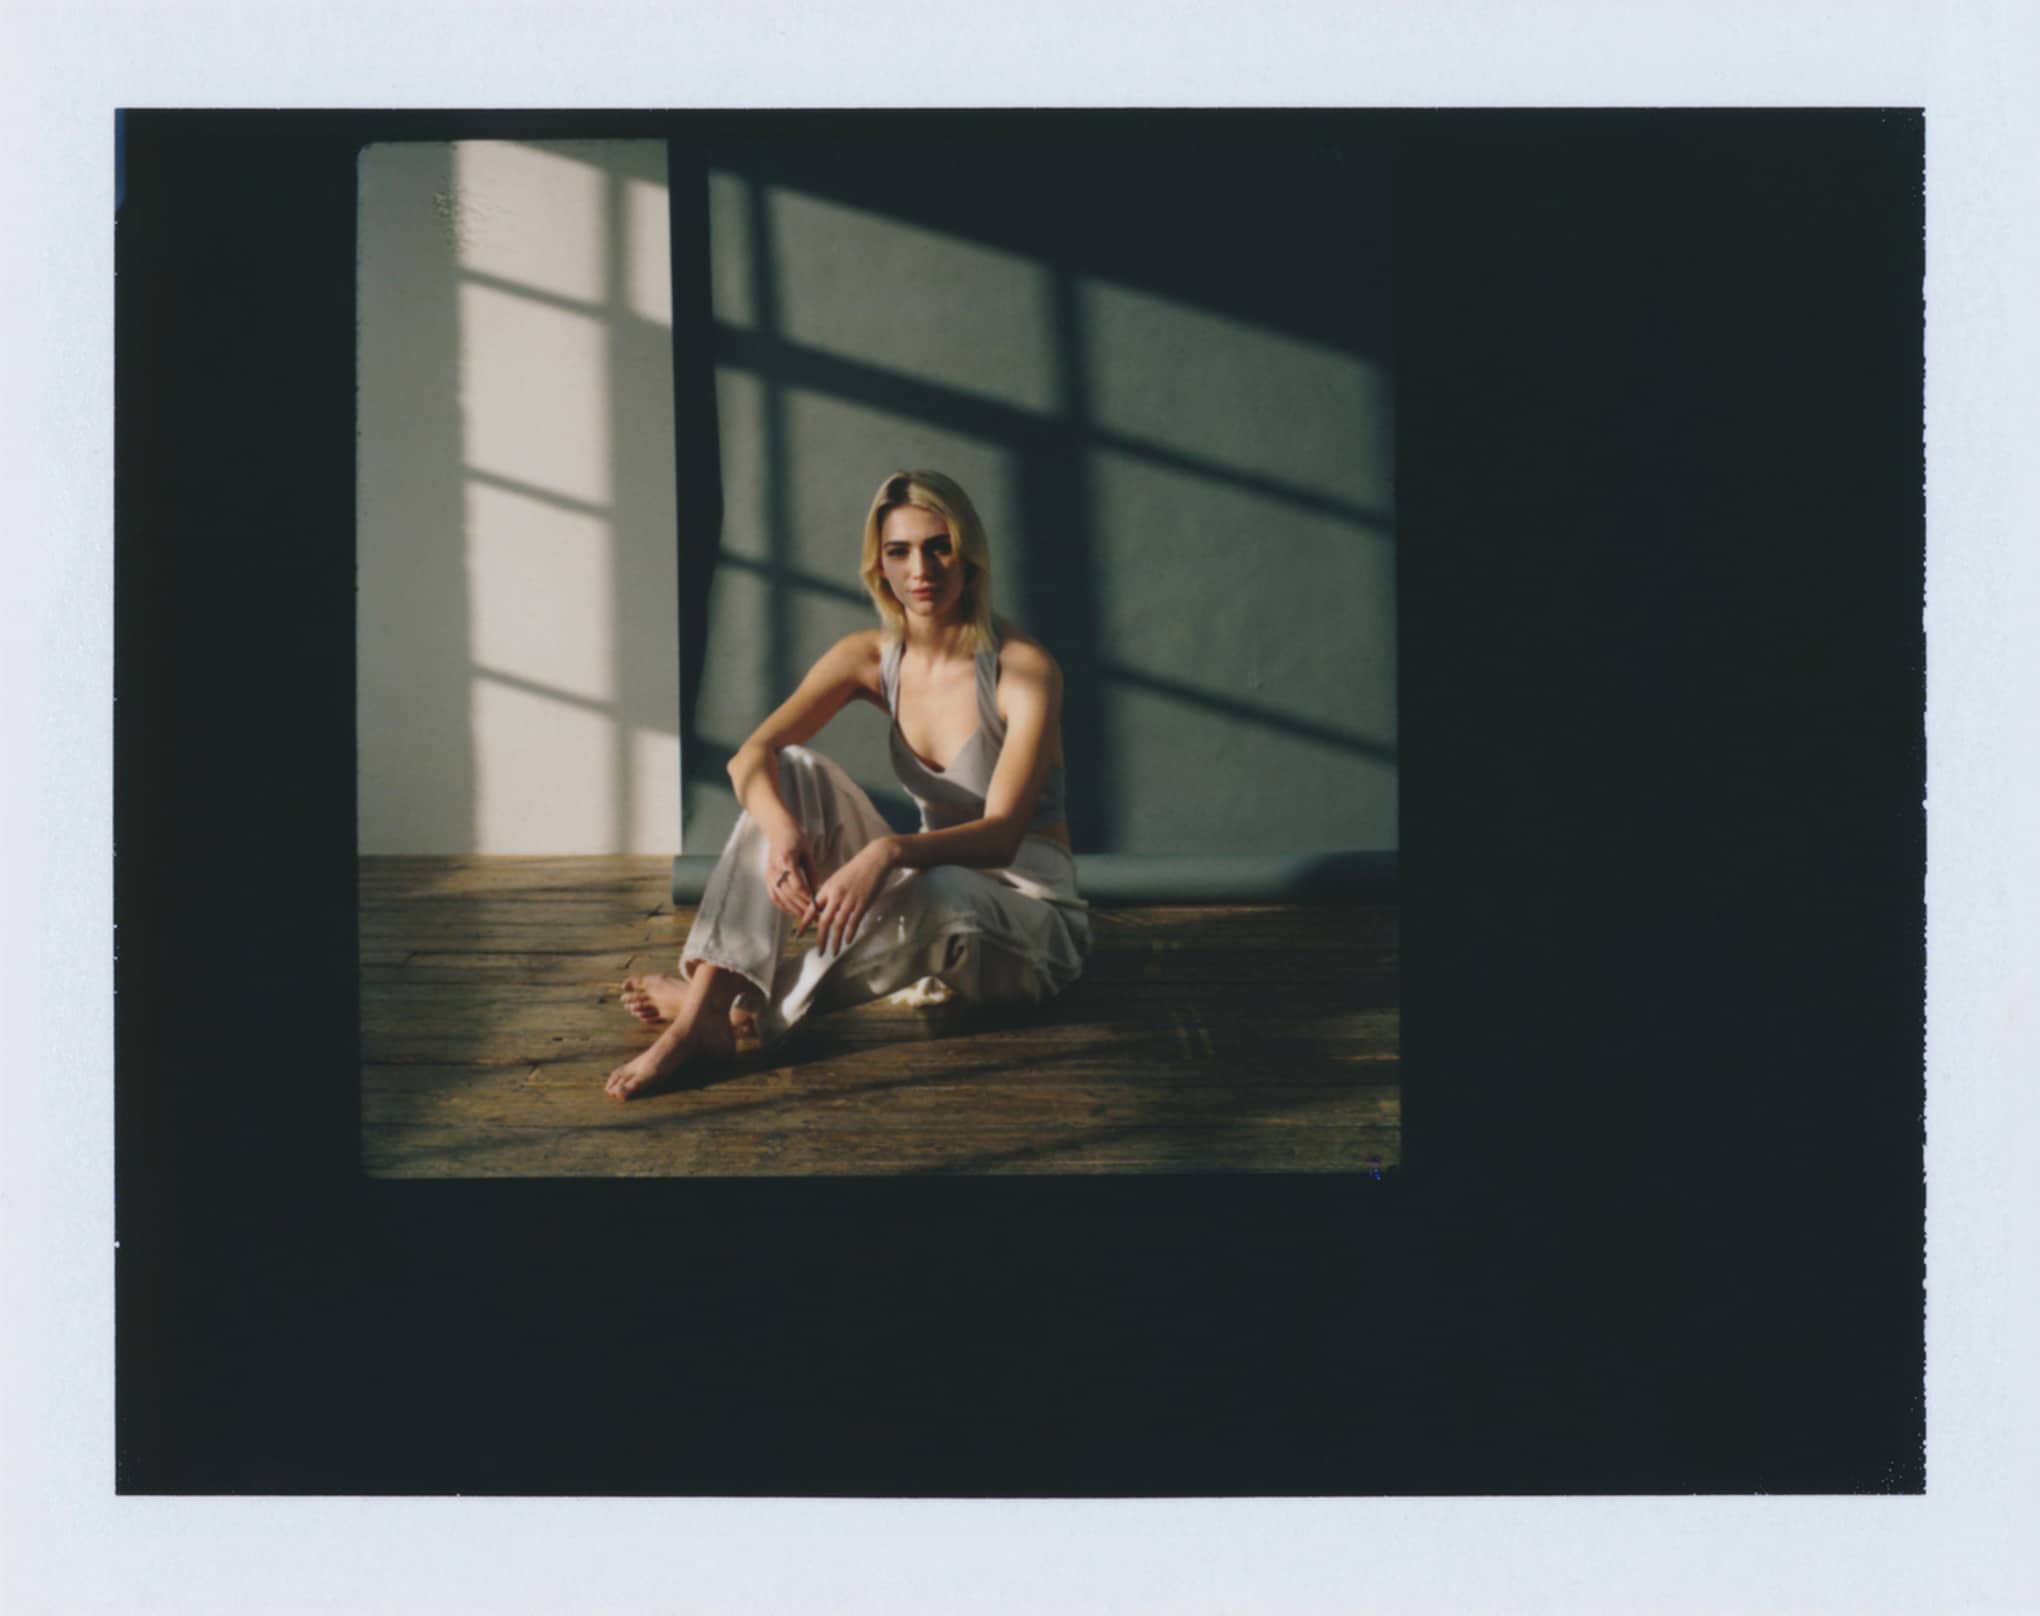
You might not think it initially, but portraits can be a great opportunity to make use of texture photography. By enhancing features like wrinkles, facial hair, and freckles, you can emphasize certain physical characteristic and create visual interest for your viewers. Focus in on your own facial texture with some cool self portraits.
Abstract Texture Photography
This may seem obvious, but remember, the objects you use in your texture photography don’t need to be recognizable in order to create a strong composition. In fact, you can use abstract texture photography to create a patterned background that emphasizes and contrasts with the focal point of your photo. If you get close enough, anything can be abstract. Think about what kind of effect you want to produce with your abstract texture photography and brainstorm objects or textures you can photograph to achieve that effect. For example, folds and wrinkles in a bedsheet could make a subtle background that adds visual interest to your composition without taking away from the main subject. However, make sure you keep your color and composition fundamentals in mind because an overly busy texture or bright, contrasting colors can take away from the intent of your photo and ruin the delicate balance.
Double Exposure Texture Photography
Newsflash: you don’t always have to photograph your foreground subject and background texture at the same time. In fact, awesome effects can be achieved when you combine two photos to create a double exposure effect in your texture photography. Consider selecting one photo featuring a figure or silhouette, and another that is exclusively texture, like a bunch of leaves, ocean waves, or grainy planks of wood. Then, combine the two to produce a photo that really tells a story.
Black and White Texture Photography
Here’s the truth: texture photography is an ideal way to get beautiful, highly engaging black and white photos. You’re already taking close up texture photography, which emphasizes contrast in texture and light. Turning them black and white just enhances the contrast even more. Any of our previous suggestions would also make great black and white texture photography, whether you choose to change your camera settings to black and white while you shoot, or just edit in post-production.
Once you become aware of all of the fascinatingly varied textures you can find, you’ll start noticing photographable textures everywhere. Keep your camera handy and snap a few pics whenever something inspires you: you never know when and how they might be useful in the future!
Edit Your Texture Photography
So you’ve taken all these glorious photos, now what? Open up your favorite photo editor and play around with the effects until you get the perfect image. For texture photography specifically, focus on features like contrast, shadows, and black point. These features will allow you to really showcase the tangible feeling in your photos. Just don’t go overboard: overly dramatic shadows can take away from your texture photography. Instead, focus on emphasizing the texture you’ve already got from all your hard work during your photoshoot.
What Next?
Make sure you’ve got your photography website ready to go, so that you can share your awesome texture photography with the world! Choose a website builder with an online store so you can offer prints and digital downloads of your beautiful pattern and texture photography. Then upload your photos to your favorite stock photography websites, where you can make money from your texture photography with zero additional effort on your part. Study up on the best photography hashtags to get your work seen by even more people, and you’ll be well on your way to a successful business as a photographer!
Now go out there and get shooting, you pro texture photographer, you! We can’t wait to see all the awesome texture photography you come up with.
Do you want even more helpful ideas to level up your photography business?
How To Make Money With Your Photography
The Best Photo Management Software for Photographers
Photography Business & Camera Insurance: A Complete Guide
