If you’re spending most of your time at home due to the COVID-19 pandemic, you may be thinking that your options for photography projects are pretty limited. You might be lacking inspiration or frustrated that you can’t go to cool locations.
But there are lots of interesting options when it comes to photography ideas at home. These projects can help you maintain your photography skills, keep your creative juices flowing, and master some new types of photography.
From interesting self-portrait ideas to exploring the possibilities of still life photography, here are some photography projects well-suited to trying out at home. All you need is a camera, a tripod, and some common household items.

Self-Portrait Photography Ideas at Home
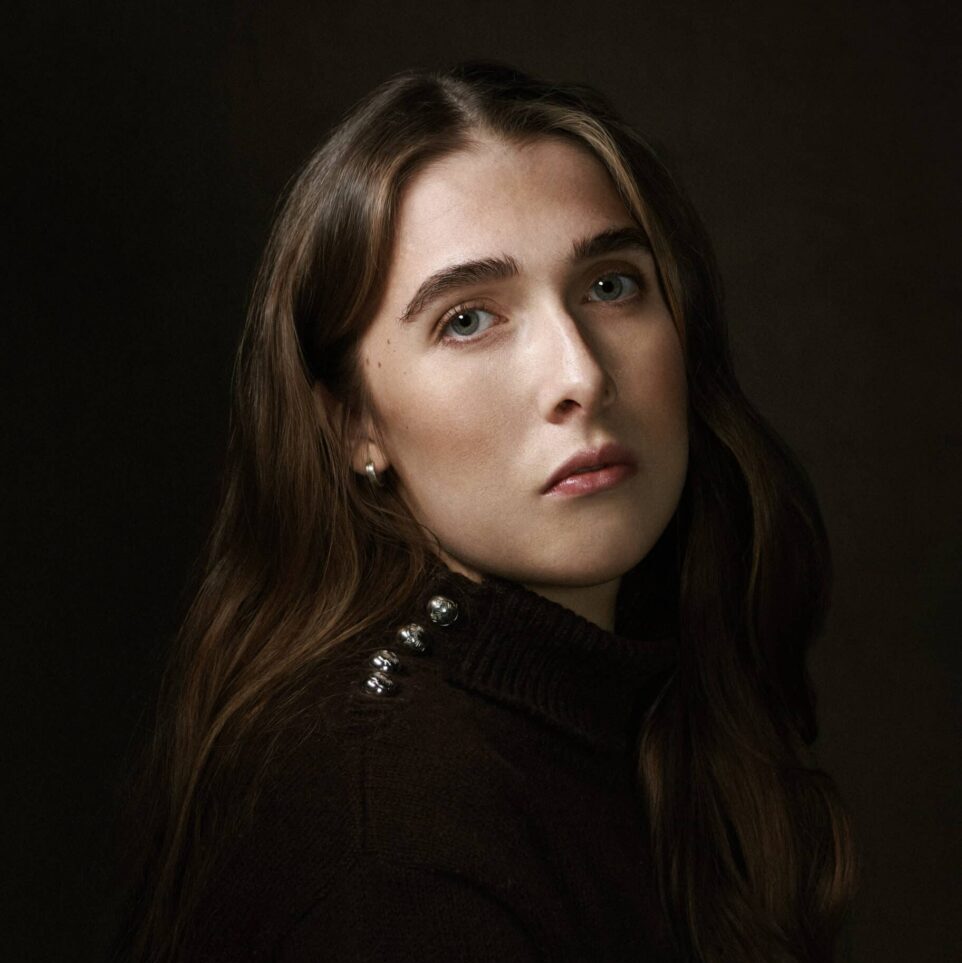
Besides being useful in the time of social-distancing, self-portraits are a great choice for photoshoot ideas at home. For one, they make it easy to experiment with different portrait photography techniques.
As opposed to shooting another person, you get to take all the time you want, and you don’t have to direct a model to get the pose you have in mind. Also, having some great self-portraits can come in handy such as for the About Me page on your website. So here are a few options for self-portrait photoshoot ideas at home:
Experiment with Motion Blur
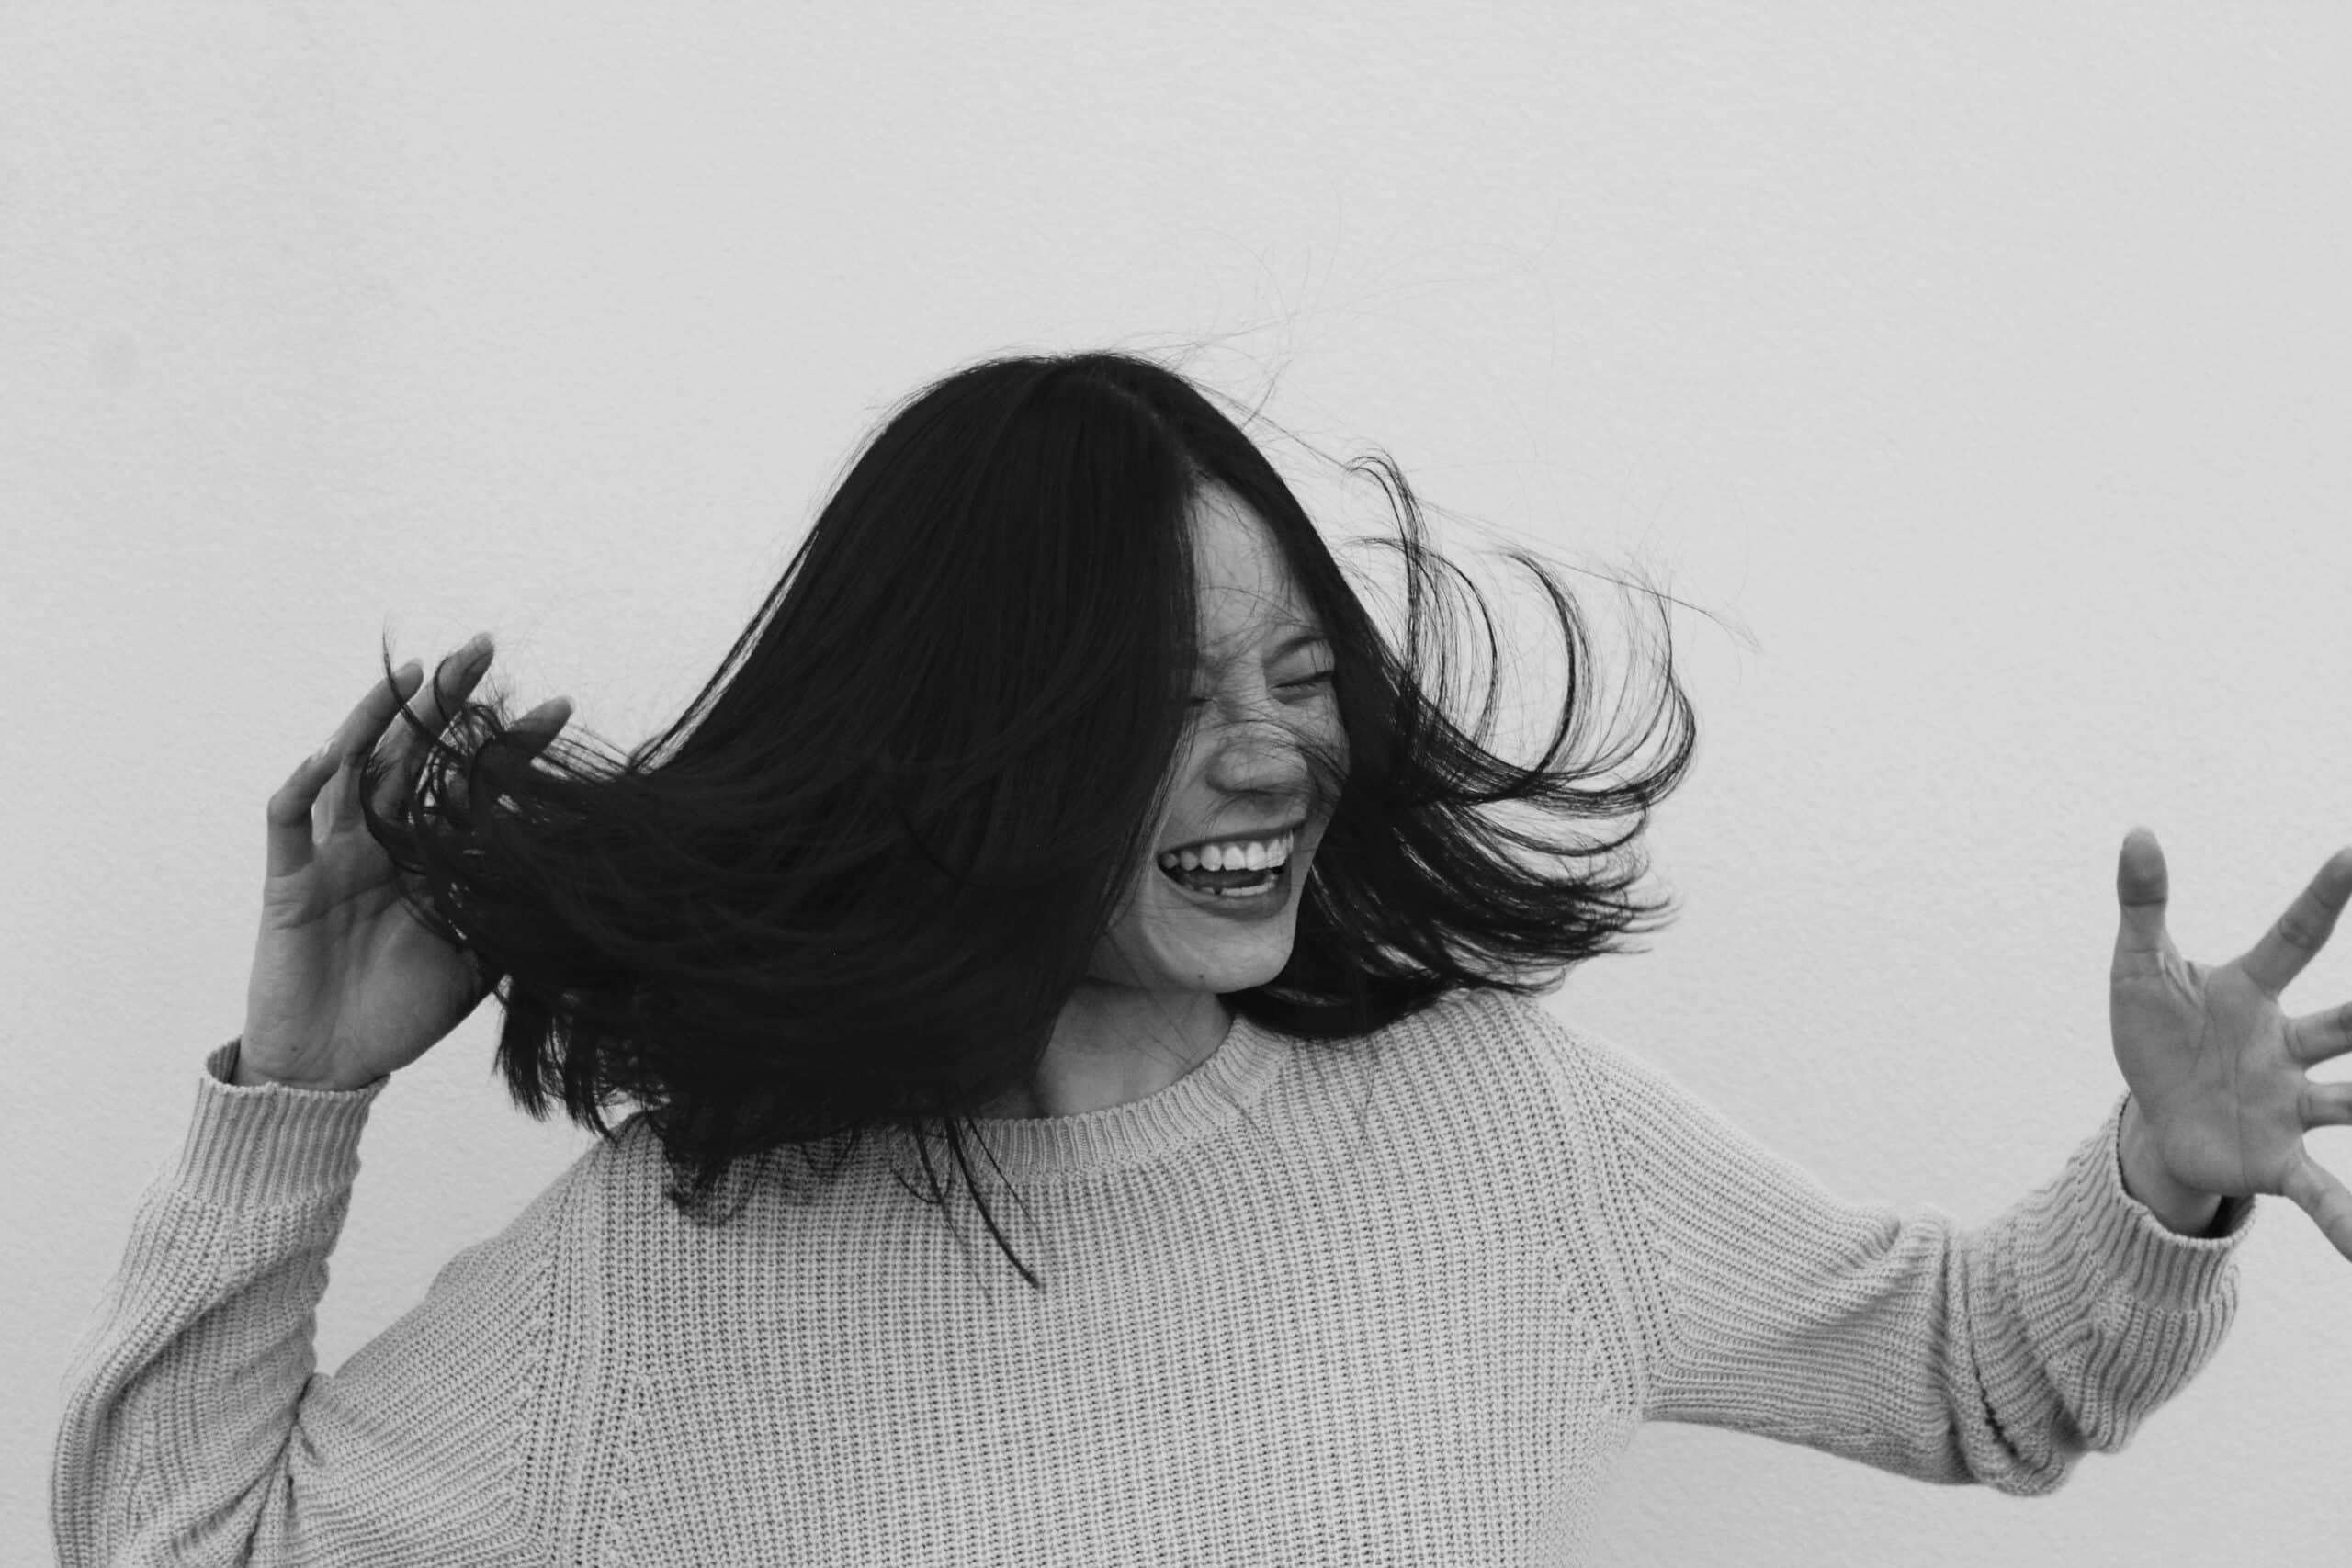
Motion blur can add a sense of movement to your photos, and it’s easy to do in a photoshoot at home. Simply set a slow shutter speed and then perform an action in front of the camera. You can try walking, jumping, or waving a flashlight around to create light trails.
The right shutter setting will depend on how fast of a motion you want to capture—the slower the subject, the slower the shutter setting should be. But as a rough guide, to create motion blur from a person moving at walking speed, you should use a setting of 1/60 or slower.
But that’s not the only setting to keep in mind, because a slower shutter speed can lead to overexposure. The easiest way to avoid that is to use your camera’s shutter priority mode. It will automatically adjust the other settings so your motion blur images aren’t overexposed.
Grab a Glass of Water
You’ve probably seen those eye-catching images that use water droplets or glass objects to create an optical illusion. Due to their shape, these objects can refocus light as it passes through them, making it seem as though whatever is on the other side is flipped upside-down or otherwise distorted. This effect is called refraction.
So try grabbing a glass of water and placing it between the camera and your face. Move it around into different positions and distances to see how the effect changes. It’s a simple way to create an interesting self-portrait.
Create a Soft Focus with Household Materials
This is a fun exercise that can create dreamy, soft-focus portraits. Of course, you could always achieve a similar effect through lens filters or editing. But this DIY technique is ideal for home photography—and it’s more satisfying when you pull it off correctly.
Grab a piece of plastic wrap that’s large enough to cover your lens.
Cut an “X” shape in the center of the plastic
Use an elastic band to fasten the plastic around the lens, so the X is in the center.
The edges of the plastic wrap should create a soft, out-of-focus border and the cut in the middle will let you capture a sharp self-portrait. In addition to plastic wrap, you can try a variety of household materials to achieve similar effects, making this one of the more flexible creative photography ideas at home. Just some examples include bubble wrap, gauze, lace, crochet, or cheesecloth.
And if you’re still looking for more portrait photography projects, check out our list of cool self-portrait photography project ideas.
Still Life Photography Ideas at Home
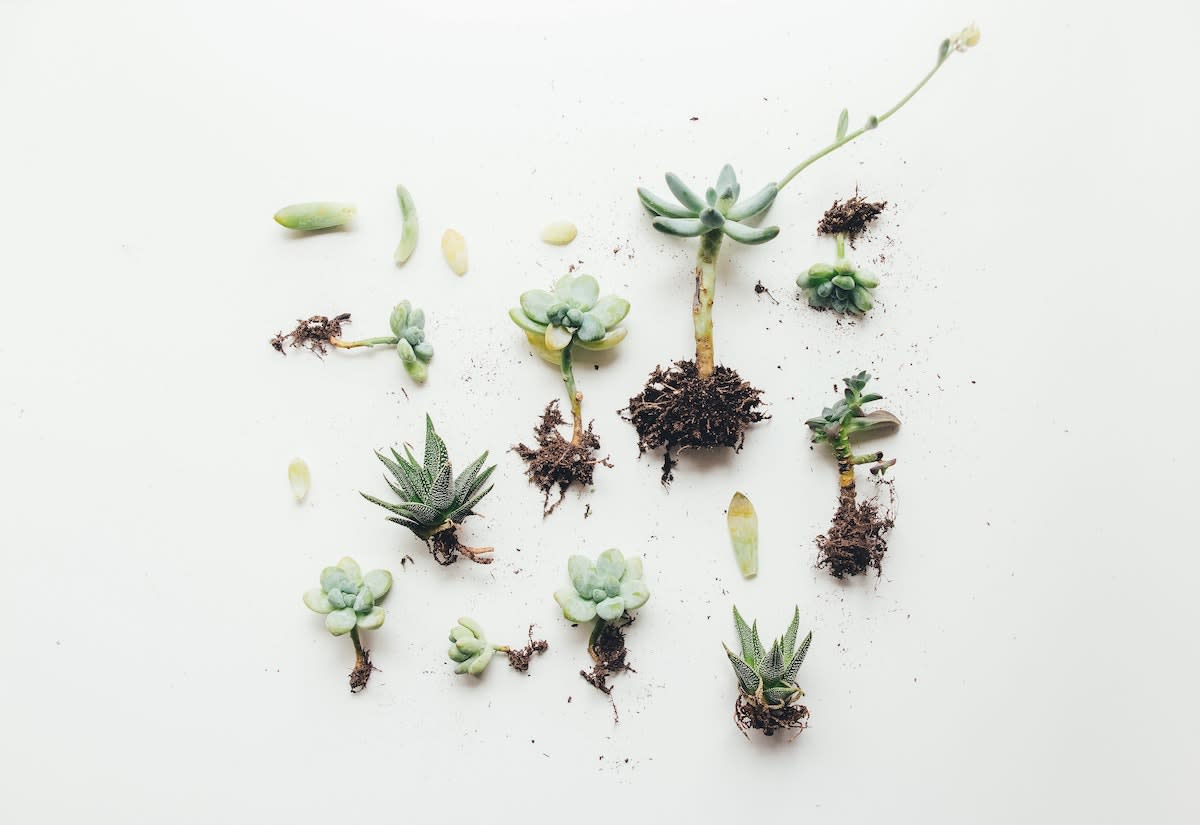
Still life is one genre of photography that is ideal for finding photography ideas at home. That’s because it typically involves shooting commonplace objects.
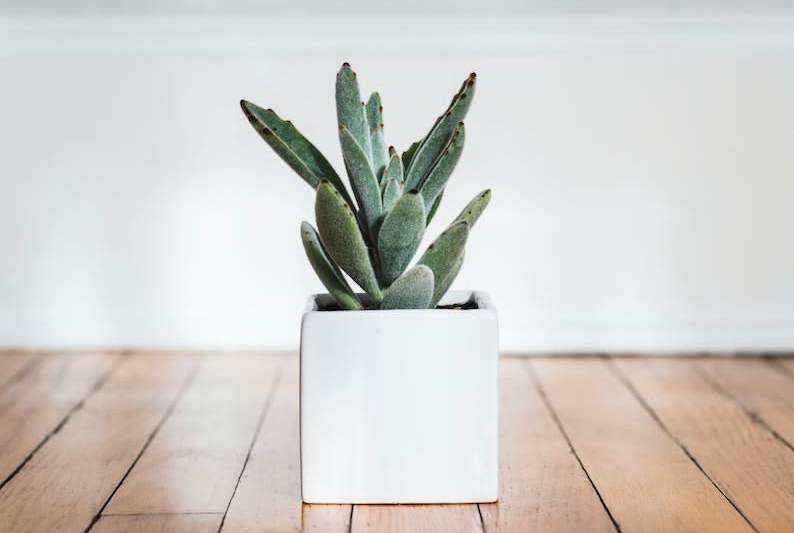
For example, your subject could be a houseplant, a vase, or an item of clothing. In still life, you have to make the subject interesting through the composition. That means manipulating the lighting, framing, and arrangement of the items to add meaning.
Here are some still life photography projects to get you started.
Choose Something Old
Old items can make interesting subjects for your still life photoshoots at home. One reason for that is they often offer interesting textures. Think of the worn and cracked cover of an old book.
Also, sometimes the wear and tear can tell a story, such as with a pair of dirty and beat-up work boots. So grab something old, and focus on the damage or dirt that makes the viewer think about where that item has been.
Another interesting way to use old items is to juxtapose them with something new. For example, if you have an antique item that you can place next to a newer version, such as a typewriter next to a computer.
Try a Flat Lay
Flat lay is a type of still life photography. It involves arranging objects on a flat surface such as a table and then shooting straight down from above.
Creating a flat lay still life is a great exercise as a photoshoot at home because it will challenge you. As opposed to a regular still life, you’ll have less freedom to play with perspective and depth.
Grab at least three items that are related in some way (such as a baseball, a glove, and a hat).
Put them on a flat surface such as a table or the floor.
Experiment with how to add interest by arranging the items in different ways.
Force Yourself to Stick to One Object
Another way to develop your still life photography skills is to pick one object and create several different shots with it. You can add and remove other items from the shot as you like, but keep that single object as the focus of your whole photoshoot.
This will force you to think outside the box, experiment with different angles and arrangements, and see all the ways you can use an object to convey a story or message.
For more ideas, take a look at this guide to still life photography.
Food Photography Ideas at Home
Food photography isn’t just for showing your lunch off on Instagram, it is also a lucrative field for professional photographers. From restaurants to cookbook publishers, there are a lot of opportunities for photographers who know how to take mouth-watering photos of food.
If you use some of your time cooped up indoors to develop your food photography skills, some of those opportunities may come your way in the future. An important part of that is creating some stunning examples to show off in your portfolio.
So here are some food photography ideas at home for beginners:
Include a Human
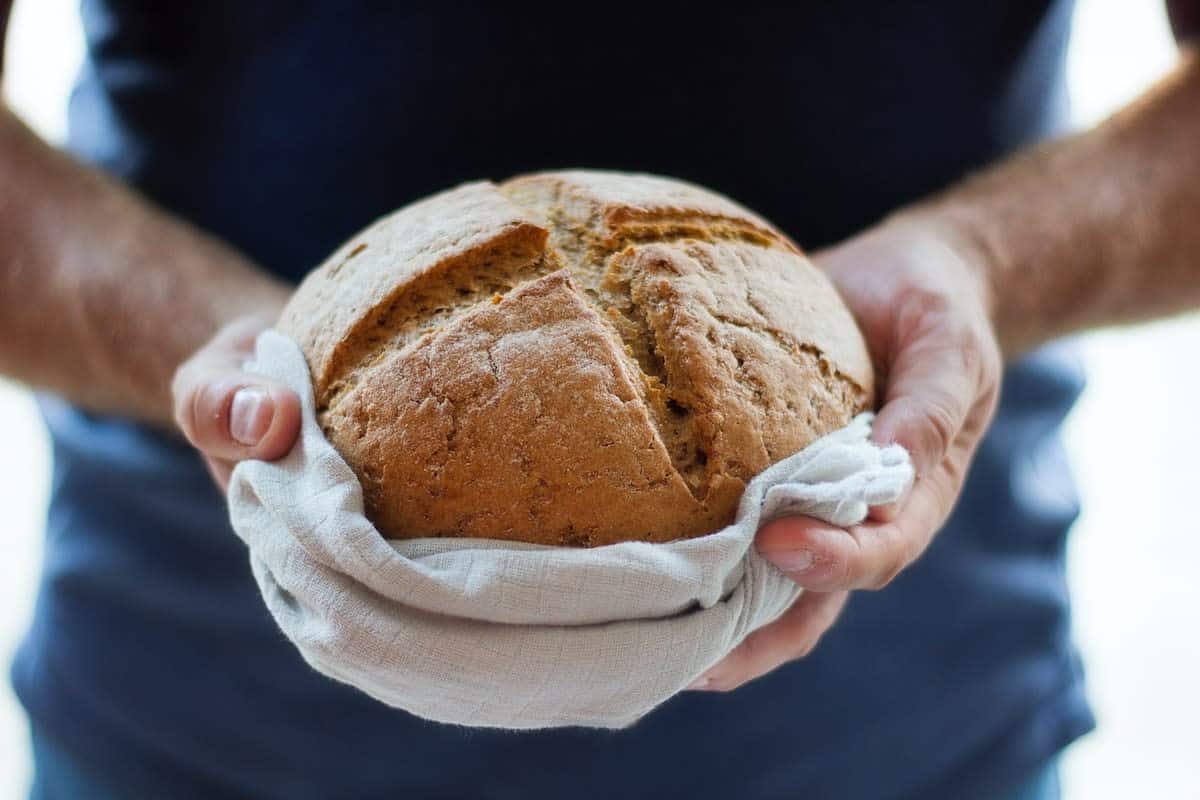
Making interesting photos of food alone can be a challenge. By simply including a hand holding an item of food, it can humanize the image, add interest, and encourage viewers to want to taste the dish themselves.
The challenge is to ensure the focus is still on the food, despite whatever human element you introduce. First, include just a hand or arm. Next, try to include more of the person but use a shallow depth of field or different perspectives to avoid taking attention away from the dish.
Show How it’s Made
The first thing that probably comes to mind when thinking of food photography ideas at home is to shoot a fully prepared dish. But to change things up, try creating an image that illustrates how the food was prepared. That could be as simple as putting a steaming cup of coffee next to a coffee maker or a pile of coffee beans.
Another example would be to shoot your hands as you’re chopping up some vegetables. This is a simple way to break free of the mold of typical food photography.
Slice it Up
Using fruit and vegetables, you can easily create some interesting shapes. For example, simply slicing an orange and arranging the slices in different ways can create an eye-catching repetition of shapes and patterns.
Paint with Condiments
Thick liquids like honey, syrup, ketchup, mustard, and barbecue sauce can offer an opportunity to get really creative with your food photography ideas at home. Think about those dishes at fancy restaurants that have an artistic drizzle on the plate. In this way, you can use them to complement your main subject.
You can use these liquids to create interesting shapes, lettering, or designs. If you’re having trouble getting the liquid to stay exactly where you want, one useful tip is to cut some templates out of paper. Due to surface tension, thick liquids will tend to stay on the paper instead of spreading out over the edges. Here’s how to do it:
Grab a piece of paper, a pencil, and scissors.
Draw the shape or letter that you want.
Cut out the shape, and place it in your composition.
If you’re using a clear liquid, shoot on a white surface so the paper blends in.
Carefully drizzle the liquid onto the paper.
Shoot!
Take a peek at this helpful guide for more food photography project ideas and tips.
Product Photography Ideas at Home
Similar to food photography, product photography can be considered a sub-category of still life because it involves shooting inanimate objects. However, with product photography, all of the focus is put on the object.
It is also another genre that is easy to experiment with different photoshoot ideas at home.
The key to mastering it is removing distractions and making expert use of lighting. So to help you achieve professional-looking results, here are some product photography project ideas.
Create a Sweep
You know those product photos that seem to show the product in front of a seamless white background? If you’ve ever tried it yourself, you know it’s not as simple as shooting in front of a white wall.
That’s because your camera will pick up imperfections in the wall, as well as the seam between the wall and the surface the product is on.
But you can easily recreate those professional-looking images during your photoshoots at home, and all you need is a large sheet of white paper and a piece of tape.
Use a countertop, a table near a wall, or another setup where you have a flat horizontal surface next to a vertical one.
Tape the top of the paper to the wall, so the middle of the paper curves past the bottom of the wall, and the end of the paper drapes onto the table.
Place the product on the paper.
This setup is called a sweep. The gradual curve of the paper won’t get picked up by your camera and it will look like the product is in an endless white void—perfect for putting all the attention on the product.
Build a DIY Diffuser
Here’s another simple photography project idea that can go a long way to making your product photos look more professional. That’s because it can prevent the harsh lighting and shadows that distract viewers’ attention from the product.
There are a lot of options and tutorials out there on how to make your own flash diffuser. But here’s a couple of the simplest and cheapest methods.
Make a diffuser out of paper (no need for tape or glue!)
Make a diffuser out of frosted plastic
Create a Mock Ad Campaign
Choose a product as your subject and try to shoot a mock ad campaign that shows off the product with a variety of images. Think about the commercial product photography you’ve seen, and try to recreate it with your home photography.
First, shoot the product from a variety of angles. Next, try including people in the shot to show how the product is used. But similar to food photography, whenever including people or a complex background in the shot, you need to find ways to prevent them from distracting from the focal point.
So try using a shallow depth of field (if you’re unsure how to do that, try shooting in portrait mode).
Brush Up on Your Editing Skills
If you’re getting tired of shooting things around the house but are still looking for photography projects to expand your skills, practicing your photo editing is a great option. Using Photoshop, there are many opportunities for creative photography ideas at home. There are also many ways to use photos you’ve taken in the past to create something brand new. Here are a few ideas:
Combine Multiple Shots into a Composite
Being able to take elements from different photos and seamlessly blend them into a composite image is an immensely useful skill. It opens up so many opportunities to get more creative with your photo ideas at home.
So for this challenge, combine at least two photos to create something new. Whether it’s simply moving a person to a different location, or adding a skyscraper to the middle of a wheat field. The point of this photography project is to learn how to convincingly blend parts of different photos together.
Here’s one helpful tip: adding a noise filter to the entire image can make it seem like all the different elements were shot together.
Create a Surreal Landscape
Using images you have in your portfolio or searching the Web for free stock images, try creating an otherworldly landscape. One cool example is this Photoshop tutorial on how to create a fantasy-like micro society on a floating island.
However, the options are endless. So take a look at some of the surreal Photoshop tutorials out there, come up with your own idea, or just experiment with the goal of creating an abnormal landscape.
When you’re done with that, go through this list of Photoshop tutorials to find more fun photography project ideas that will teach you all the ins and outs of photo editing.
Work on Your Portfolio
Now that you have some ideas on how to master new types of photography during the quarantine, you should also make use of your time indoors by doing some work on your online photography portfolio.
That’s important because if you want to use your photography to attract clients, you need to build a great website to show it off. If you don’t yet have an online portfolio website, it’s time you got one. And setting it up is easier than you might think, as long as you choose a website builder specifically for photographers.
On the other hand, if you already have a portfolio, let’s talk about how you can use this time to improve it. Here are a few things to try:
Set up an online store — Make it as easy as possible to make money from your photography, right from your website.
Create a logo — Look more professional, build a brand, and stand out in clients’ minds.
Work on your “About Me” page — Let visitors get to know you. Believe it or not, this is often the most visited page on any online portfolio.
Still looking for more photography ideas at home to expand your skills?
How To Take Double Exposure Photos Without Photoshop
Best Free Online Courses and Tutorials for Photographers
50 Lightroom Tutorials To Make Your Portfolio Shine
