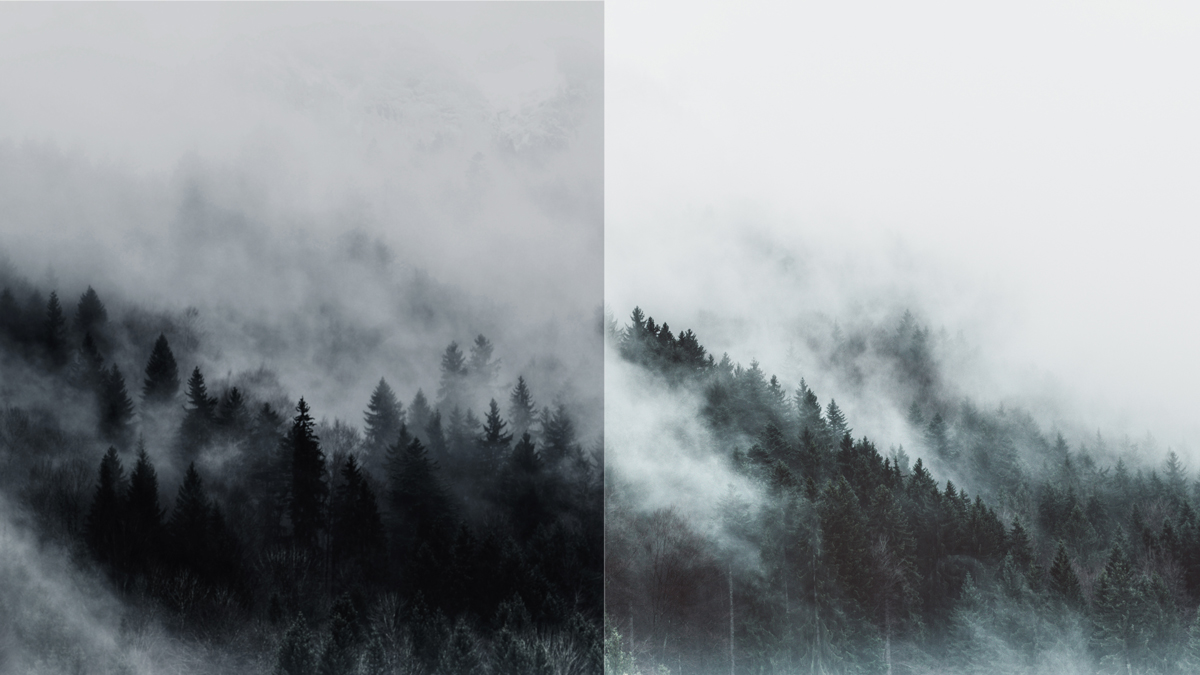
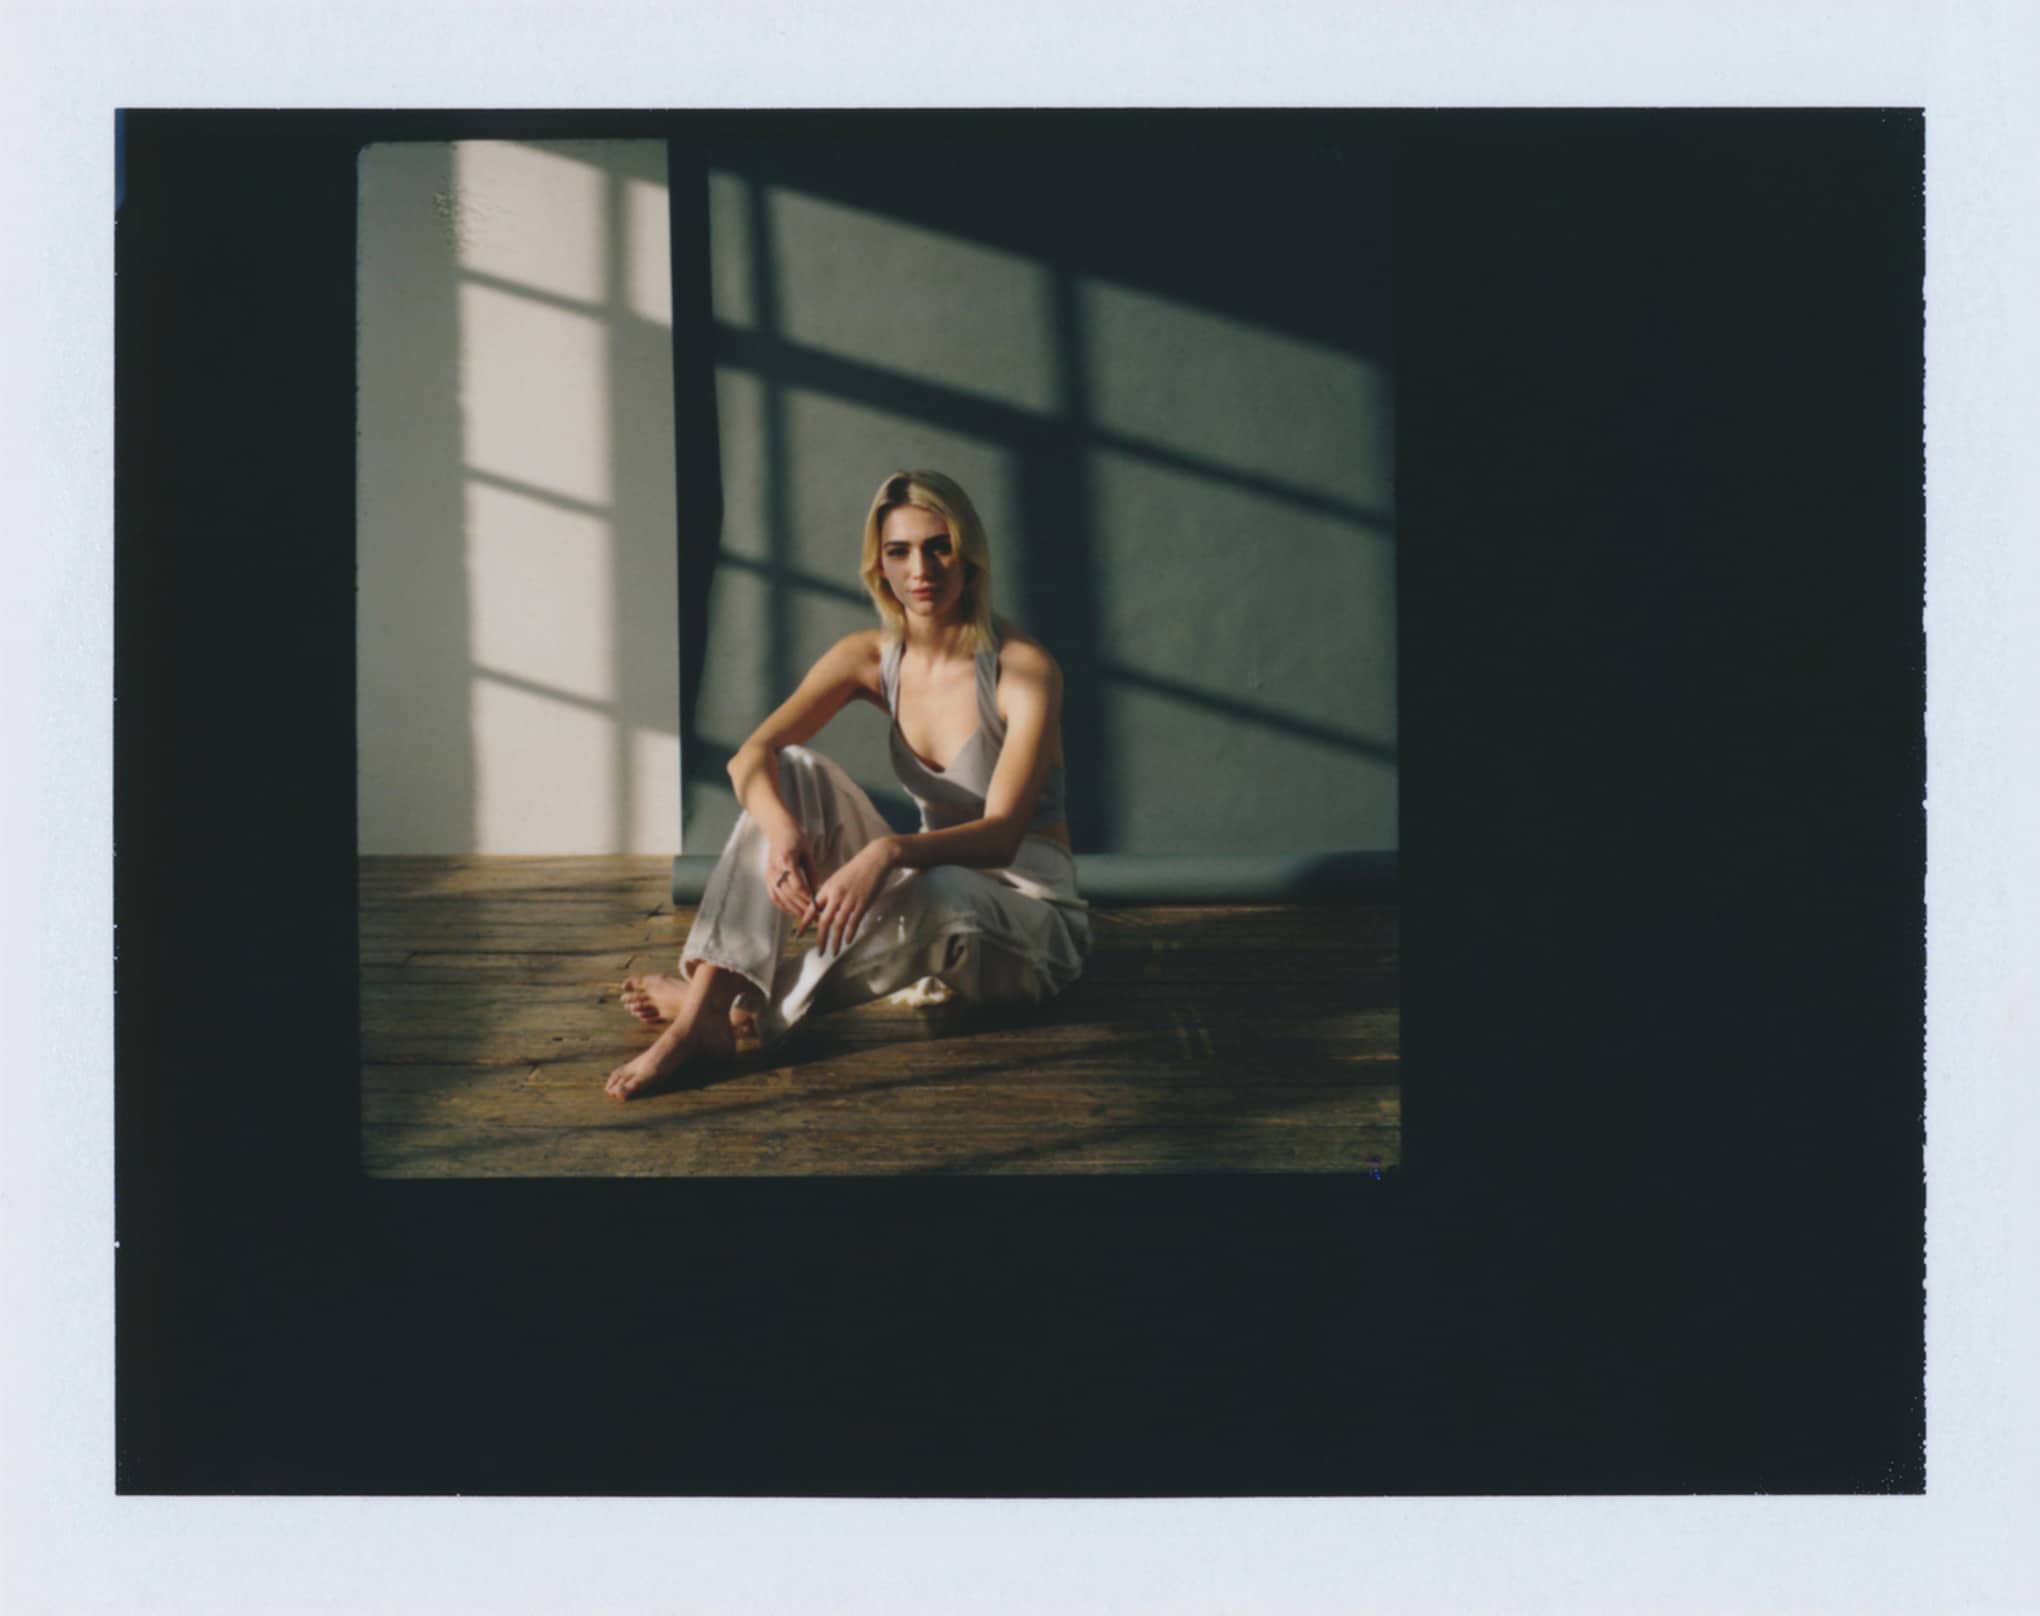
One of the first rules of photography–as conveyed by my photo program’s faculty–is that the process of image-making is at least 40% post-production. This applies not only to digital, but also analog photography. As darkroom photography has become rare, there’s been a common misconception about film vs. digital: that there is some purity to the former, that what you shoot is exactly what you get. It’s probably a bit of nostalgia driving that bias. It’s important to understand that images printed straight from negatives, with no adjustment, are often flat and muddy. Even in the darkroom, photographers use filters and different paper types to enhance tone and contrast, as well as dodging and burning their prints.
Digital photography is closer to 60% post-production, and there is a lot you can do with current technology to turn a mediocre photograph into something lovely. It’s also crucial to understand that depending on how you shoot, your images may only appear mediocre due to settings that, by design, need adjustment.
Thankfully there are incredible photographers interested in sharing technical expertise onlne–which means you can learn these techniques without having to do an undergraduate degree in photography…What a time to be alive!
We have chosen the best free video tutorials for you to navigate the most common image issues, and correct the flaws that are easy to spot.
1. Why Your RAW Images Are Dull: Understanding RAW Files and Post-Production
As a beginner, you’ve likely heard that you should be shooting RAW, only to then see your images transfer into Lightroom looking…blah?
To explain: RAW images represent the full, uninterpreted information written directly from the camera sensor. If you exposed your frame well, you’ll have as much information in your shadows and highlights as possible, which makes decisions in editing all the more creative.
Is this cheating?
Think of an interview being recorded from start to finish with no editing, you’re going to hear the ahs, the ums, and all the dead air–editing really is where the art comes in.
RAW files are a recording of all information, and part of your vision as a photographer is being able to create an image that conveys your perception of a scene–you need to interpret that information by editing the image.
Here is a brilliant explanation from photographer Simon d’Entremont of how to process RAW photos in Lightroom:
2. Your Image Appears Distorted: Lens Correction
No lens is perfect and glass will always lend some level of distortion. The kind of lens and your focal distance will determine to what degree this impacts your image. Thankfully for every combination of gear, there is a corrective setting!
Photographer Scott Kelby covers the Lens Correction panel here:
3. Your Whites Are Color Cast: White Balance
Setting white balance perfectly when shooting can be tricky and camera screens can be deceptive. If you know how to edit, this is an easy fix–which is why left unedited, it betrays a lack of experience. Let’s fix that!
For Lightroom Mobile, a 20 second tutorial from @watzac that also applies to the desktop version.
This could not be more concise!
If you want to slow it down and get a little more detail on the accessories and color math behind the process, this longer form tutorial from Photo Feaver is for you:
4. Your Angle is Skewed: Straighten Perspective Distortion
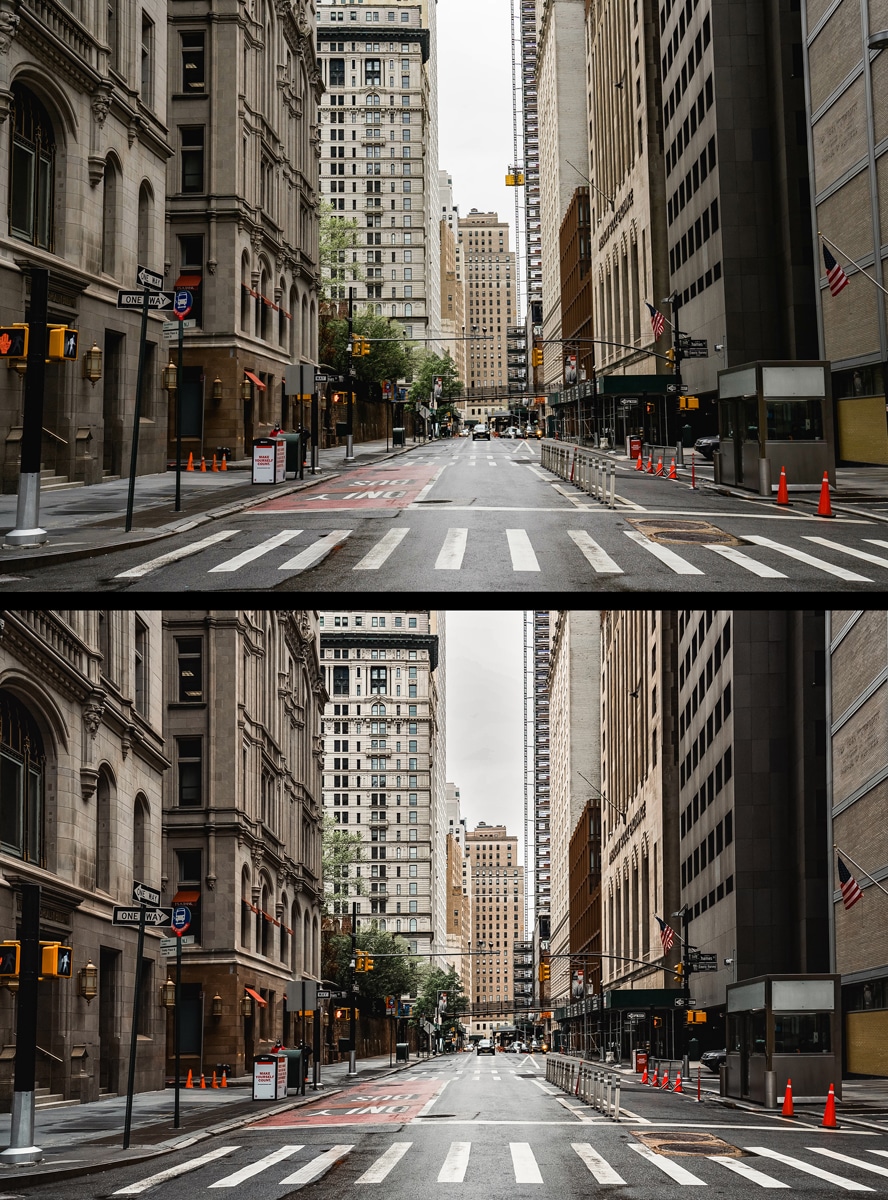
Often beginners overlook this step, and it’s one of the first indicators of amateur photography.
This is key in photography specializing in architecture, real estate, art documentation, and even portraiture.
This is one of our favourite recent tutorials from YouTuber Photo Genius:
Because complex images can easily food the eye, Demas Rusli goes over some tricks for recognizing lines that need straightening, correcting these in Lightroom and Photoshop:
To expand from this, pun intended, sometimes your crop to straighten an image means you lose crucial information around the corners. For some photos, this can now be easily solved with Adobe’s generative (content-aware) fill.
Here is a tutorial from YouTuber PHLEARN showing you this function:
5. Your Lines Have a Magenta/Cyan/Yellow Outline: Fix Chromatic Aberration
You likely saw this toggle option when you were in Lens Correction, but what is it?
Chromatic aberration is an acute cast of color, related to lens distortion, especially present in areas of sharp contrast in light–think of the outline of a white shirt on a bright day. When it appears, this flaw is a clear indication that an image hasn’t been fully edited, and so easy to fix: just toggle that button!
Landscape photographer Christian Möhrle covers this, as well as some of the advanced ways to fix chromatic aberration if the auto settings let you down, in his video here:
6. Unsightly and Distracting Elements: Content-Aware Remove & Healing Brush
Like the aforementioned ahs and ums of an otherwise brilliant interview, there are just some little bits in an image that can distract from its message or subject: stray hairs on a forehead, reflections in glass, signs in the background, a sock on the floor.
This is an amazing tool that will save your images from these little ums and ahs.
Marco Valdez provides a quick and easy tutorial on Content-Aware Remove:
For those glaring objects in a simple scene this will do the trick, while more complex scenes and patterns may require more precision using the Healing Brush tool.
Photo Feaver covers the slightly more complicated healing brush, which will allow you to select the sample area you’re using to patch over your unsightly object:
7. Softness and/or Dullness: Sharpen, Clarity, and Vibrance
Let’s say you’ve made your RAW file adjustments but there’s still some room for improvement, or you’re working straight from a jpg that needs some punching up.These are the fine-tuning elements of an edit that can push an image from good to fantastic.
Often, those just starting in photography will over-rely on Sharpening in post-production to do all of the work of creating distinction between objects. Thankfully, there are other elements to adjust in balance with this so you don’t overdo it.
Clarity, Sharpening, Texture, and Dehaze
Parker Photographic explores the settings that control the detail of your image
Saturation and Vibrance
Similarly to the difference between Sharpening and Clarity, Saturation can be like using a chainsaw when a small knife will do. It runs into the danger of blowing up colors, while Vibrance is specific to colors that are more subtle.
PhotographywithAntonio gets right to the point here:
While we made this list specifically for Adobe Lightroom (it’s an industry standard), these settings are not just unique to Lightroom, so keep an eye out within your preferred editing software as you’re likely to find these distinct settings there.
With these fixes you can correct and enhance your images to a professional standard, all without going into student debt… Thanks YouTube!
Build Your Portfolio With Format
Rated #1 online portfolio builder by photographers.
