If you’re a photographer who loves to shoot outdoors, you’ll know that the time of day is a major factor in planning your shooting session.
Understanding natural light is a critical factor in photography. While you may be familiar with golden hour, blue hour also offers stunning natural light conditions just before sunrise and after sunset with shades of blue and cool light.
Golden hour and blue hour in photography are known as magic hours.
Unlike daylight, where the sun is high up in the sky, casting harsh shadows on the subjects, these magic hours offers interesting color and diffused light effects for outdoor photography.
Because blue light generally occurs in low light conditions, many photographers feel intimidated by blue hour photography and pack up their camera gear before blue hour sets in. In this article, we’re answering everything you need to know about what blue hour is in photography and offer some tips to capturing portfolio-worthy photos in this magic hour.
What is Blue Hour in Photography?
Blue hour is one of the most enigmatic genres in natural light photography. Many people find blue hour challenging and steer clear of it because of the relatively short window of time to capture your images, and the lighting conditions can vary drastically from one day to the next.
Blue hour happens when the sun’s elevation is between -4 degrees and -6 degrees, just below the horizon line either before sunrise or just after sunset.
Despite these challenging light conditions, don’t be discouraged to try blue hour photography.
Most digital cameras are equipped with the technology designed to capture a decent photo in low lighting conditions on automatic mode these days. However, you can elevate your blue hour photos from good to stunning with predictable results using some techniques and tips that we’ll get into in this article to elevate your photography portfolio.
How Long Does Blue Hour Last?
Despite its name, blue hour isn’t a full hour. The length of blue hour ranges between 20–40 minutes, depending on the weather, air quality, and your geographical location.
If you’re shooting in the city, you may have the street lighting on, offering more unique lighting layers for your photograph, allowing you to shoot later into the blue hour.
Because there is such a limited time frame to capture your shots during blue hour, you may want to plan your session ahead of time to take advantage of the stunning natural light and its uncommon effects.
What Does Blue Hour Look Like?
Blue light photography happens when the sun is just a few degrees below the horizon line. At this position, the sun doesn’t directly illuminate the foreground (or your subjects). Instead, this indirect sunlight produces predominantly blue hues caused by an effect called the Rayleigh scattering.
The Rayleigh scattering is a physics phenomenon that explains why the shades of blue appear in the sky. It’s due to the sun’s light wavelength molecules scattering in the atmosphere.
As the sun hits just above the horizon line, light passes through different air densities, bending light wavelengths—similar to light passing through a prism—to produce orange, pink, and purple hues.
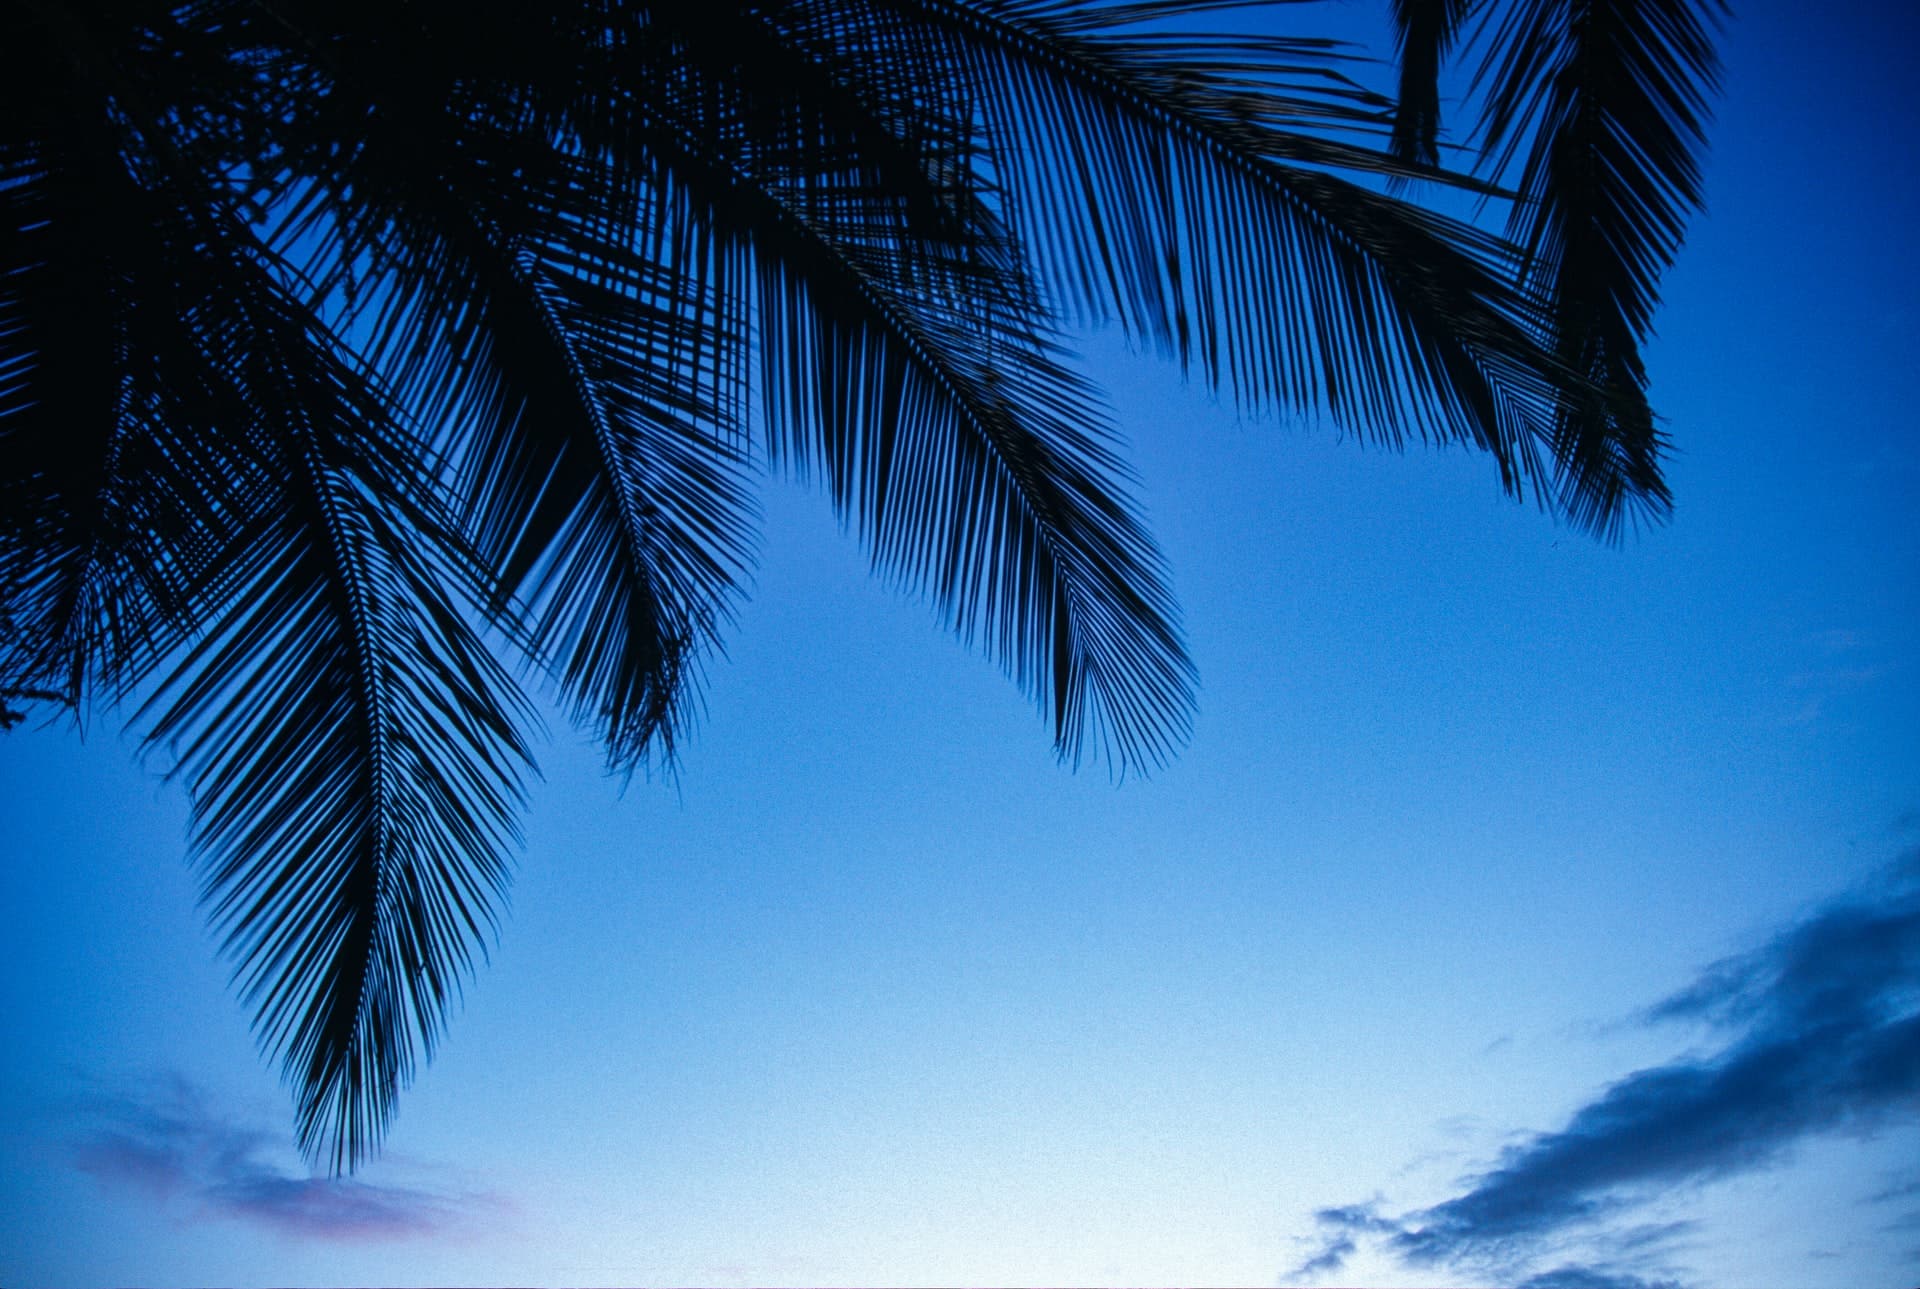
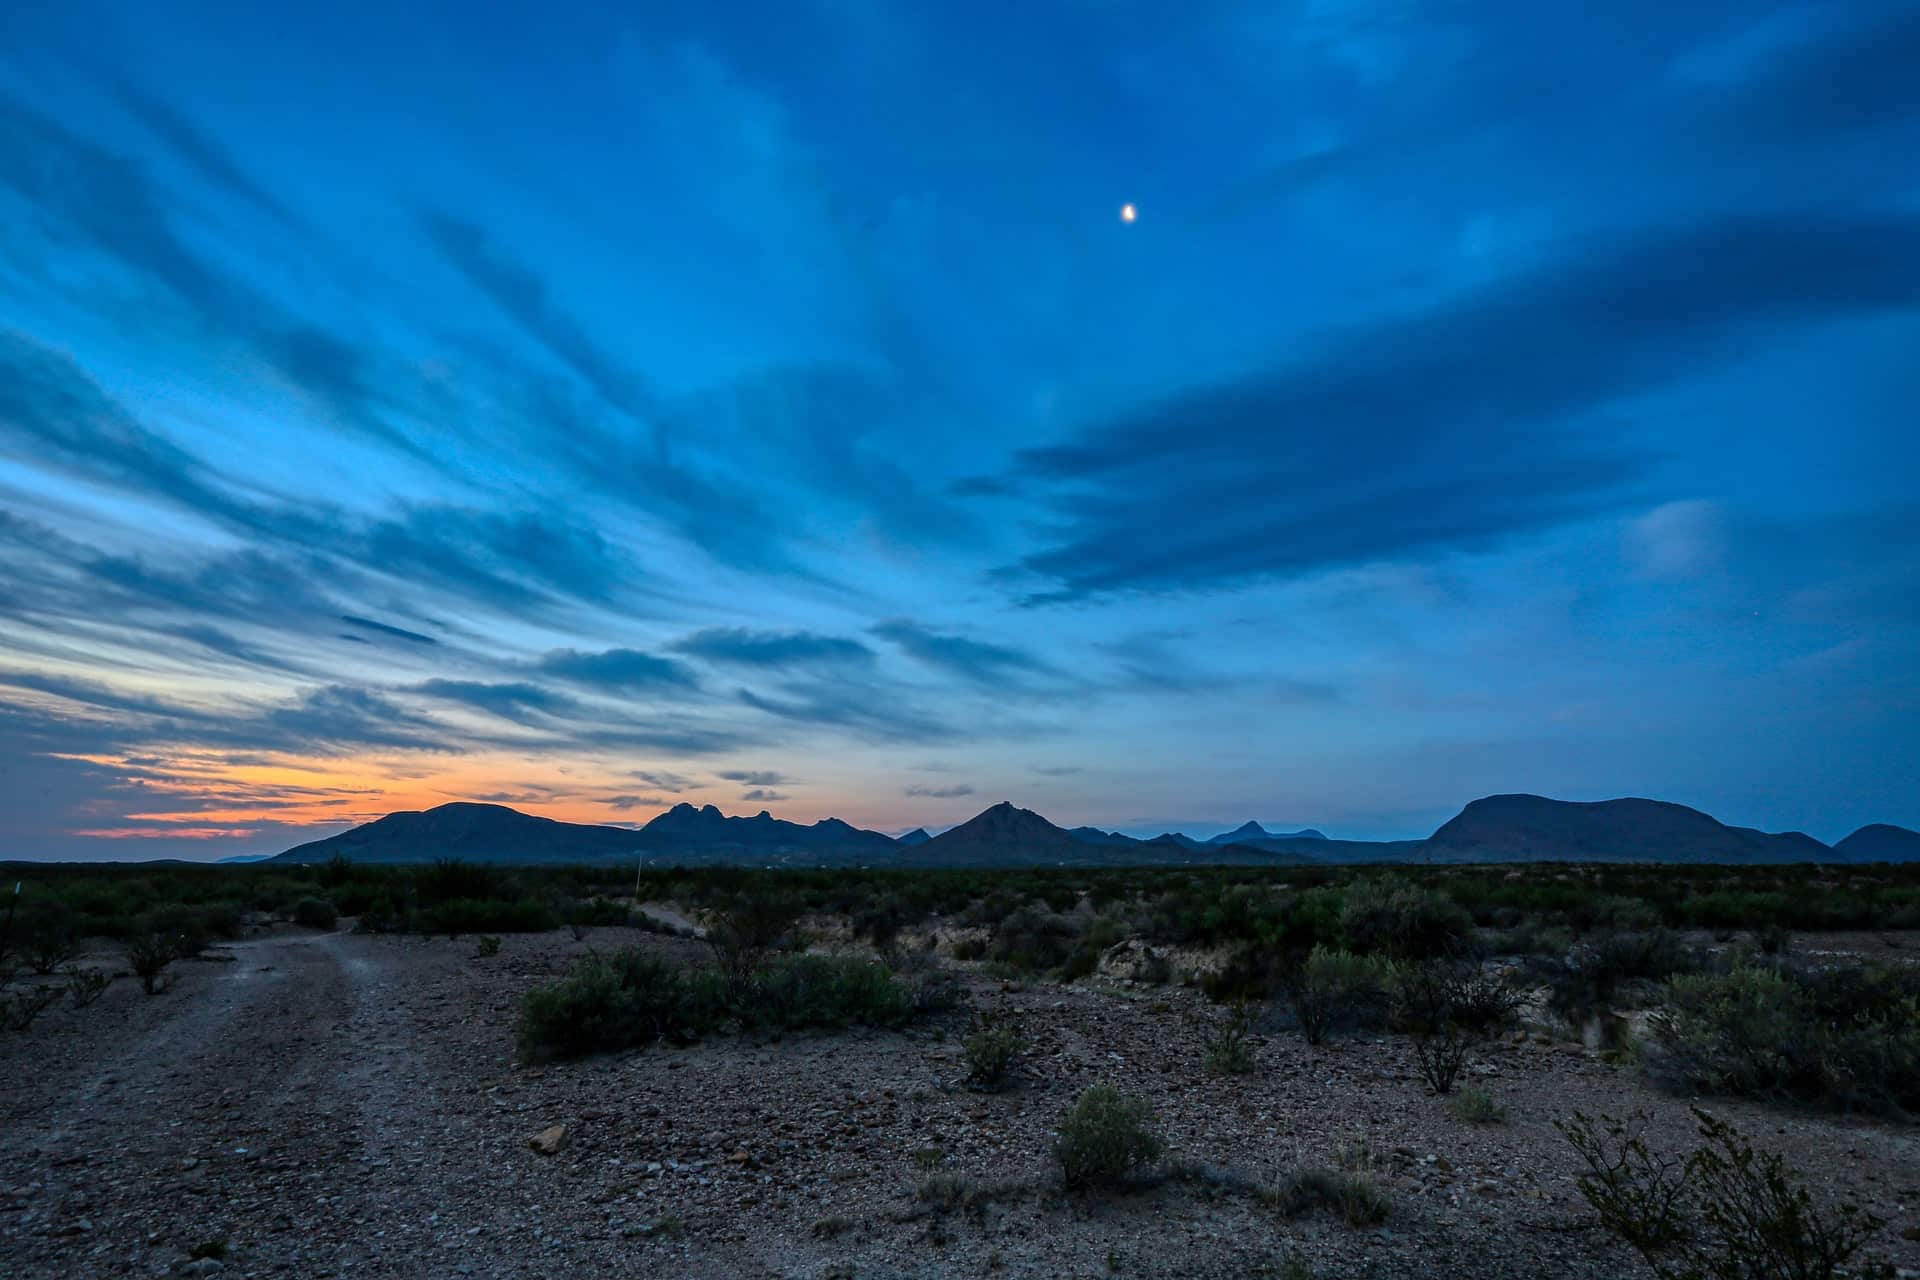
Blue hour is characterized by inky blue skies that may meld into the hint of orange and pink colors from the sun rising or setting. The lighting during blue hour is relatively low and soft with predominantly cool, blue shadow tones.
Blue Hour vs. Golden Hour
Golden hour is hailed as the perfect time for outdoor photography. It occurs at sunset or sunrise when the sun is between 6 and -4 degrees of elevation in the sky. Orange and pink hues fill the sky with a soft, diffused warm light. Golden hour is also a good time to take advantage of backlit photography.
Blue hour may not be as widely discussed as its golden counterpart, but mastering blue light conditions can produce remarkable results in your photography that can make your portfolio stand out.
We’re not here to say which hour is better. These magic hours both have unique characteristics and produce beautiful conditions for portrait, landscape, and cityscape photos. Your preference will depend on your style and subject matter, but it’s worth mastering both light conditions to improve your skills as a photographer and add diversity to your professional portfolio.
Blue light photography is more challenging than shooting during golden hour, simply because you don’t have much time to work (barely an hour), and the lighting conditions can vary drastically from one minute to the next. These unpredictabilities and short time-frame make blue hour photography so rewarding when you manage to capture that shot.
An even more magical time is the sweet spot in the blue and golden hour transition called “civil twilight.”
Civil twilight contains part of the golden hour and the beginning of blue hour when the sun is between 0 degrees and -6 degrees. This is where you’ll see a blending of gold, pinks, and blue hues in the sky.
If you enjoy moon photography, civil twilight is the best time to capture the moon because of the colors reflected in the sky, and with the right exposure settings, you can get a well-lit moon and foreground or subject.
It can be difficult for those new to shooting blue hour to manage the sky’s deep inky blues and the blown-out highlights to get a well-balanced image, which brings us to these tips to help you improve your outdoor low light photography skills.
6 Blue Hour Photography Tips
Now that you’re ready to start shooting, here are some ways to take the perfect shot during blue hour.
1. Scout Your Location
Scouting your location is a best practice for any photography session. It helps you stay intentional about your shots, so you can manage your time effectively and mitigates risk for potential obstacles. Your location sets the tone and context of your photo, so scouting your location ahead of time lets you make the most out of your short time window during blue hour.
Evaluate the area for potential obstacles such as cars, people, or any other environmental factors that may be a challenge when you start shooting and take several test shots to plan your framing. You may also want to look for even ground where you can place your tripod.
2. Get Your Timing Right
We recommend scouting your locations in the daylight and shooting between golden hour to blue hour.
Since the time of the year and your geographical location will change the sunset and rise times, you could look to your local weather app to find the predicted times. PhotoPills is an app for your phone designed to help photographers time their golden hour and blue hour shooting sessions with precision based on your location.
3. Try Shooting Early
If you want to capture photos in an urban landscape but want to avoid crowds and cars, you can try shooting blue hour before sunrise for a quieter, calm scene.
When you’re shooting before sunrise, you always want to keep an eye on your histogram for your exposure. The sun is coming up quickly, and the light is gradually getting brighter. If you’re not checking your camera settings regularly, you risk overexposing your sky.
Don’t rely on the backlit LED display that could distort your actual image information. Always refer to your histogram. The scene is dark, so your histogram should be pushed more to the left and show some highlights touching the right side of the graph.
Getting up before sunrise isn’t easy for everyone, but the results and the serenity of shooting before the world wakes up are worth it.
4. Use A Tripod With A Remote Or Timer Shutter Release
You want to bring your tripod with you for your blue hour photography sessions because it allows you to be more creative with multiple exposure settings.
You may find your photos come out more crisp when you use a tripod. Low light conditions mean that the shutter has to stay open longer to allow enough light to enter the lens. If your hand isn’t steady enough, you can end up with a lot of noise and blurry images.
Adding a remote or timer shutter helps keep the camera as still as possible to avoid camera shake when you hit the shutter.
5. Shoot In RAW
Shooting RAW format images will give you more control in your editing process to produce a stunning blue hour photo. RAW files capture more information in the scene to later adjust and compensate for your editing software.
Especially when you’re learning how to shoot in blue hour, you’ll want as much room to play within your editing software to adjust your shadows and highlights to get your desired outcome.
6. Blue Hour Photography Camera Settings
Get out of automatic shooting mode and switch to manual settings. This will allow you to control aspects of your exposure to compensate for the changing light conditions.
Low light is tricky to shoot in because your camera will struggle to find the subject to focus on, so take your autofocus off and take the time to focus your subject manually.
Most digital cameras are designed to function well in low-light photography, so you won’t need to increase your ISO too high and risk adding noise to your images. You can stay within the range of 100–400 but check your histogram often to make sure you’re not blowing out your highlights.
Because blue hour is a low lighting condition, you’ll want to choose a lens that allows for a small to medium aperture from f/7–f/11. There isn’t a specific lens that will work better for blue hour, especially when you’re working with a tripod that allows you a steady shot with a longer shutter speed.
Get Out There And Shoot
If you’re someone who loves to shoot outdoors during golden hour, we hope this article convinced you to hold off packing your gear as soon as the sun sets and stick around to try your hand at blue hour photography.
The time of day is a major factor in natural light photography, and improving your skillset to accommodate for the most challenging of lighting conditions will drastically improve your photos.
We hope this article helped to make shooting during blue hour less intimidating. Although you have very little control of how blue hour will turn out on any given day, which is what makes blue light photography challenging and exciting.
Besides all the camera settings, tips, and equipment, the best thing you can do to start capturing stunning blue hour shots is getting out there and shooting.
When you’re happy with your shots, upload your best work on your website portfolio.
If you’re not already set up with a portfolio site to showcase your photography work, it’s time you get started. Format members enjoy a wide range of templates designed for creative professionals to show their best work, so try it free today!
More tips and tricks to take pictures outdoors:
Landscape Photography: Learn the Basics of Photographing Nature


