Every painter is familiar with a stretched canvas. It’s a simple structure of cotton duck stretched from the four sides into a taught epidermis. The canvas skin becomes the foundation for a painting and it’s the ground that everything is built upon. It supports the gesso, the paint, the oil or acrylic mediums, and finally an optional varnish.
As with any foundation we should treat it with the utmost care. How you prepare the primary structure of any object affects the integrity of the entire artwork. Because this is an essential skill for anyone working with paint, we put together an essential guide to stretching canvas that you try in your studio.
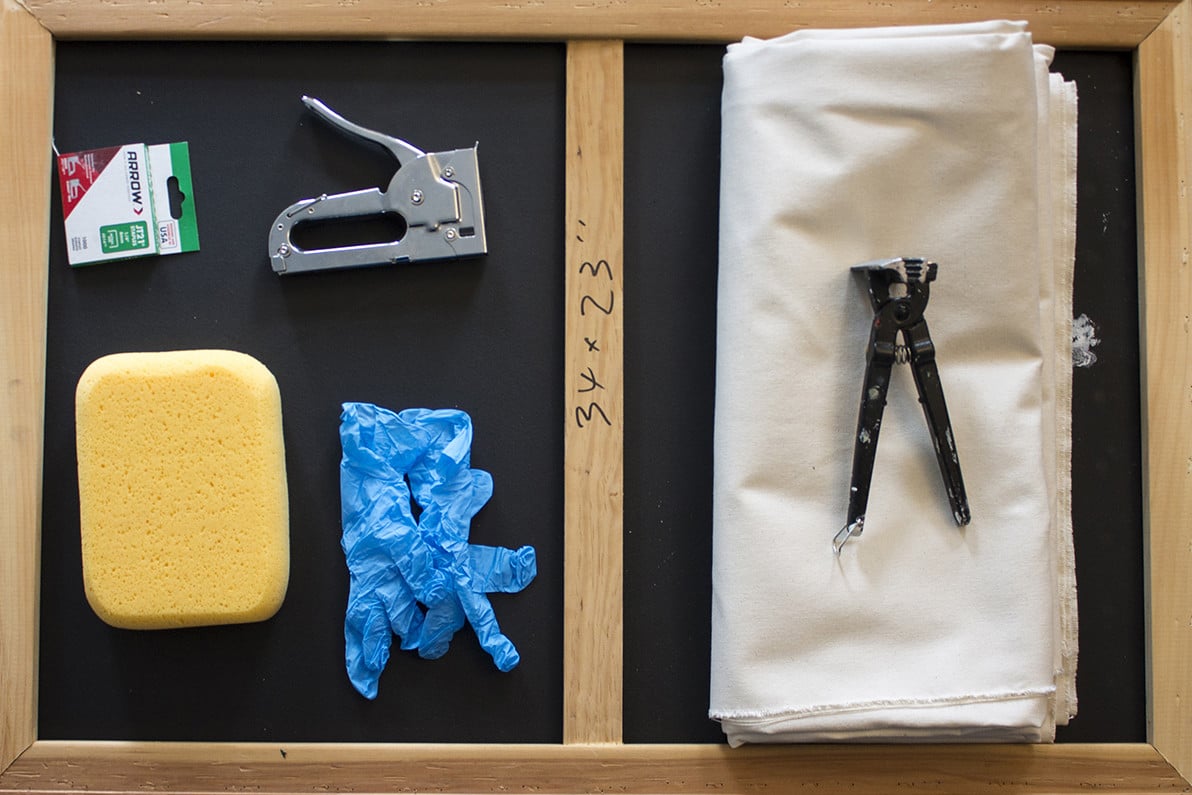
Here are all the tools you need to stretch a canvas: staples, stapler, canvas, canvas pliers, sponge, nitrile gloves (optional), and the stretcher bars surrounding the tools.
What to look for in stretcher bars
For this demonstration I’m using a mid-scale canvas at 34 x 23 inches. The brand of stretcher bar is Fredrix, a well-known professional company. There are a vast range of styles and brands of stretcher bars to choose from. The most important thing to look for is straight kiln dried bars. This prevents the bending of the wood and keeps the canvas straight and square.
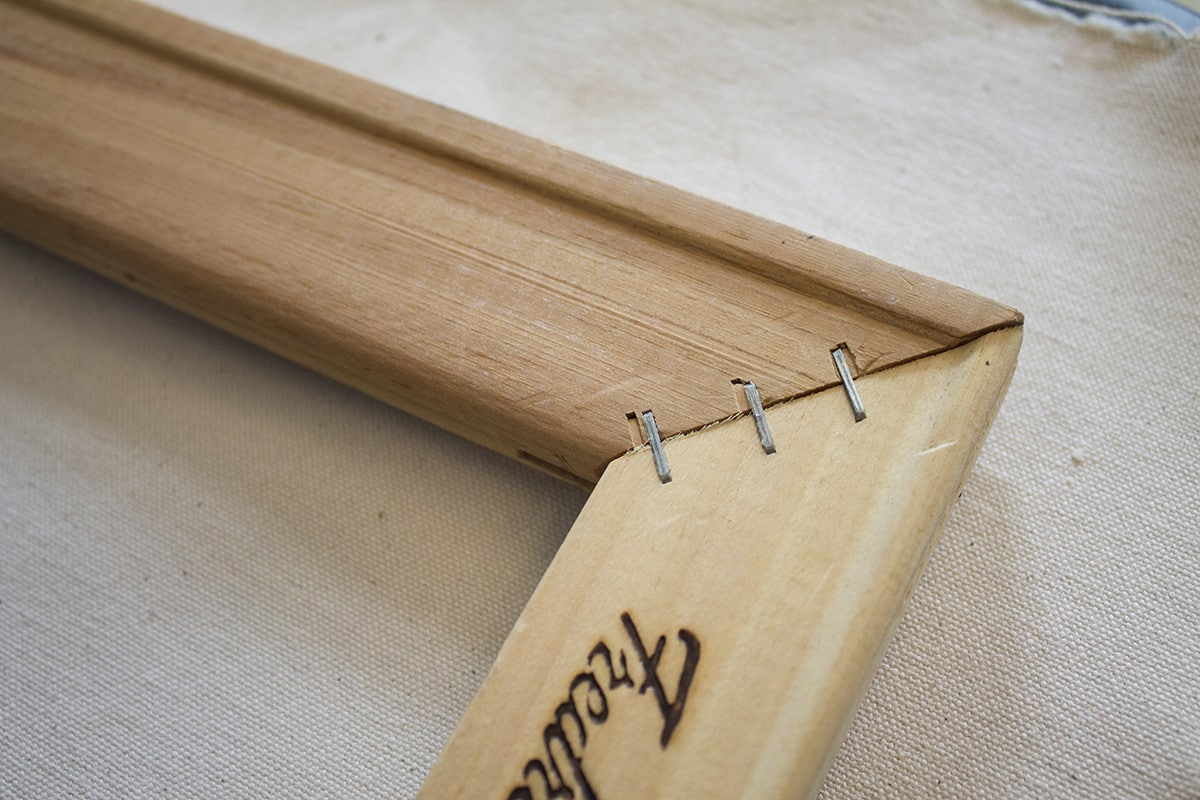
Stretcher bars come in different sizes. The standard sizes are usually 3/4 or 1 5/8 inch thick. However, you can find lots of different depths to suit your desired look. Typically, artists choose thicker bars when displaying larger canvases without frames. Ultimately the decision between these two depths is personal and aesthetic. Canvas above 36 x 48 inch inches should have thicker depth to prevent warping. A crossbar or double crossbar should also be included in the design of larger canvases. The canvas pictured above is 3/4 inch depth and has a small canvas lip to stretch the canvas across on the front side. This is about as shallow you can get for a stretcher bars.
You need to leave an extra angled edge to prevent “ghosting”. Ghosting is when the stretcher bars are visible through the canvas and this happens when the canvas is too close to the bars. The canvas may even press against the bars or sit on them. If this happens, when you’re painting you run the danger of rubbing your brush against the bars through the canvas and producing an accidental rubbing in paint. This becomes like a ghost of the frame that is visible on the canvas surface.
A quick note to consider when using stretcher bars: the stretcher keys are not useless—they are the “key” pieces in keeping the canvas square. They allow the tightening of the canvas at future stages of the paintings life.
The lip on the front side of the stretcher bars should always be facing the down against the back of the canvas during stretching. Finally, it’s important to ensure the squareness of the frame. You can use a metal square in the corners to double check its at a right angle. And you can measure from corner to corner to ensure the distance is equal.
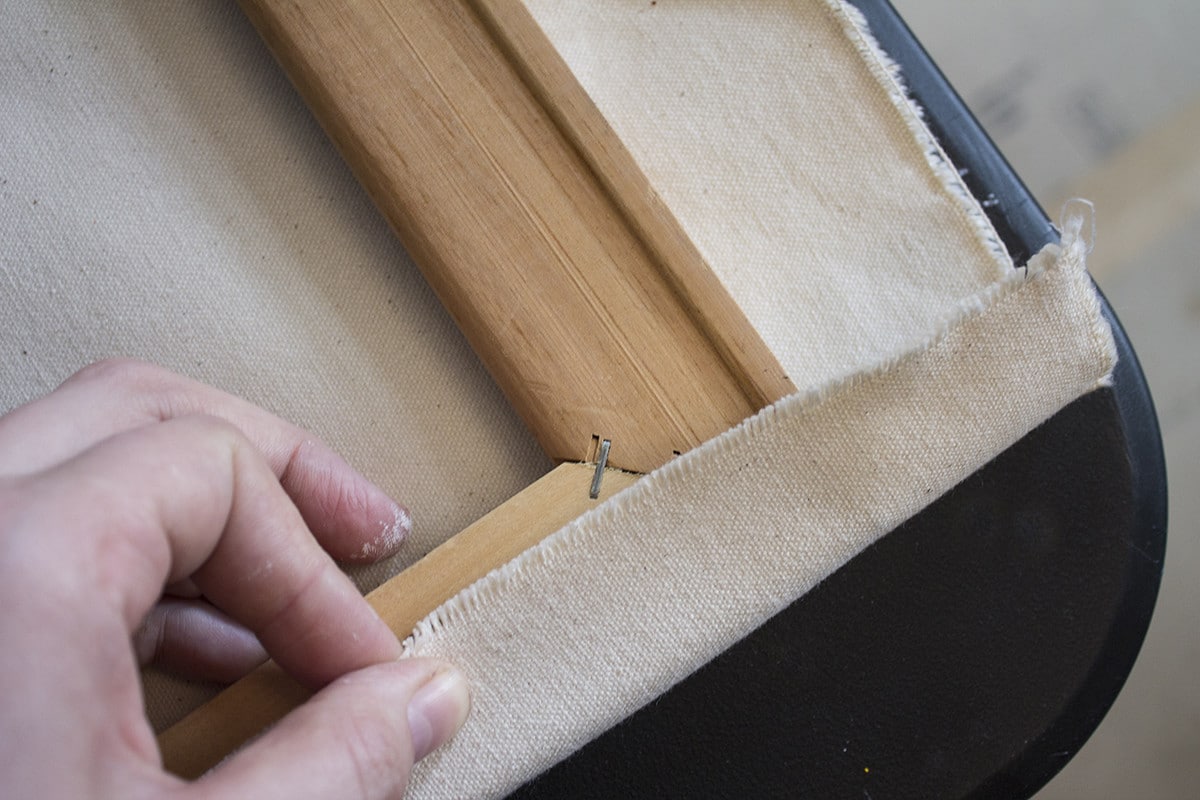
Measure the appropriate length for the canvas surplus at the edge of the canvas bars. It should be no less than an inch wrapped around the back side of the stretcher bars.
Cutting canvas
You’ll want to cut the canvas to leave enough fabric to stretch around the back of the frame to staple. You don’t want a surplus because it makes it difficult for the canvas pliers to grab the fabric. Excess often creates bulk when hanging the painting on the wall in the future.
One rule of thumb is to cut a three inch border around the size of the frame. You can always trim more later, but this is a good guideline. If you want to make the most economical use of your material than you should measure against the thickness of your frame. Leave about an inch of fabric to wrap around the back of the stretcher.
Cutting canvas is really easy because canvas has a very clear warp and weft. You can cut an inch in at your measured mark and then rip the canvas the rest of the way. It rips only at the separation in the warp and will rip straight across. This is the simplest way to make a straight cut.
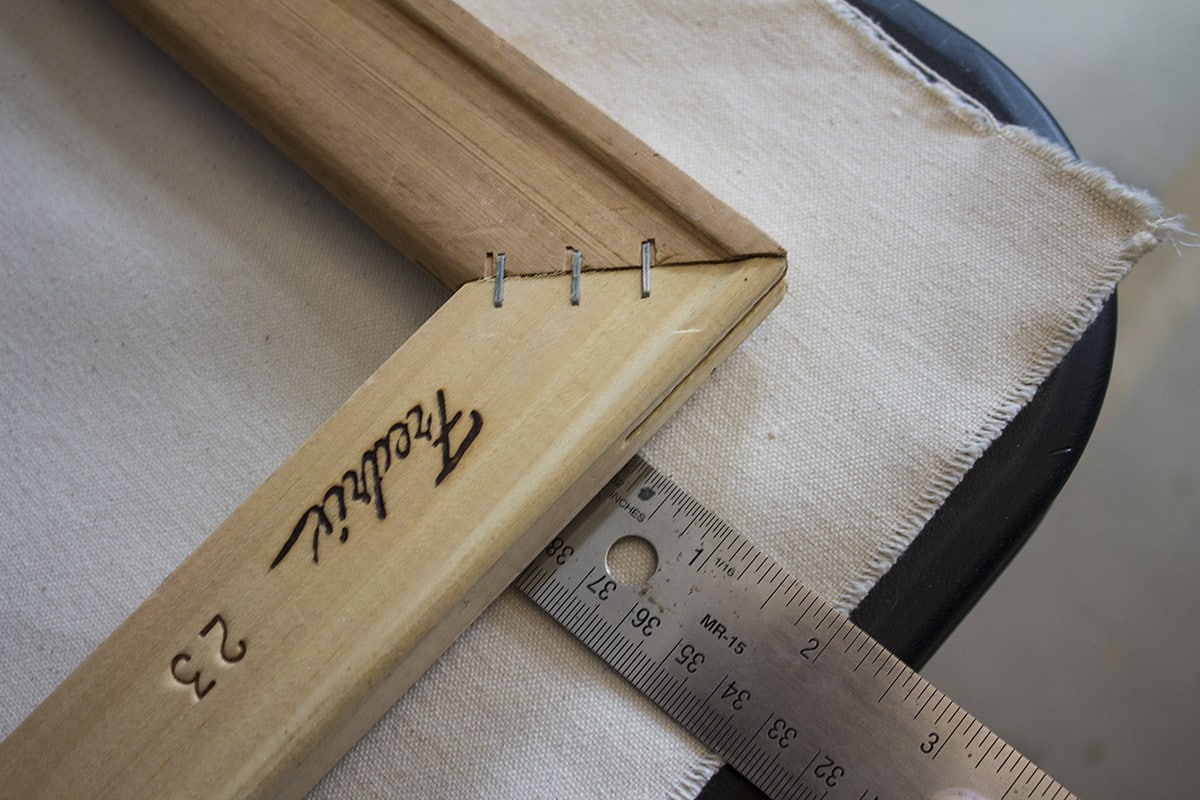
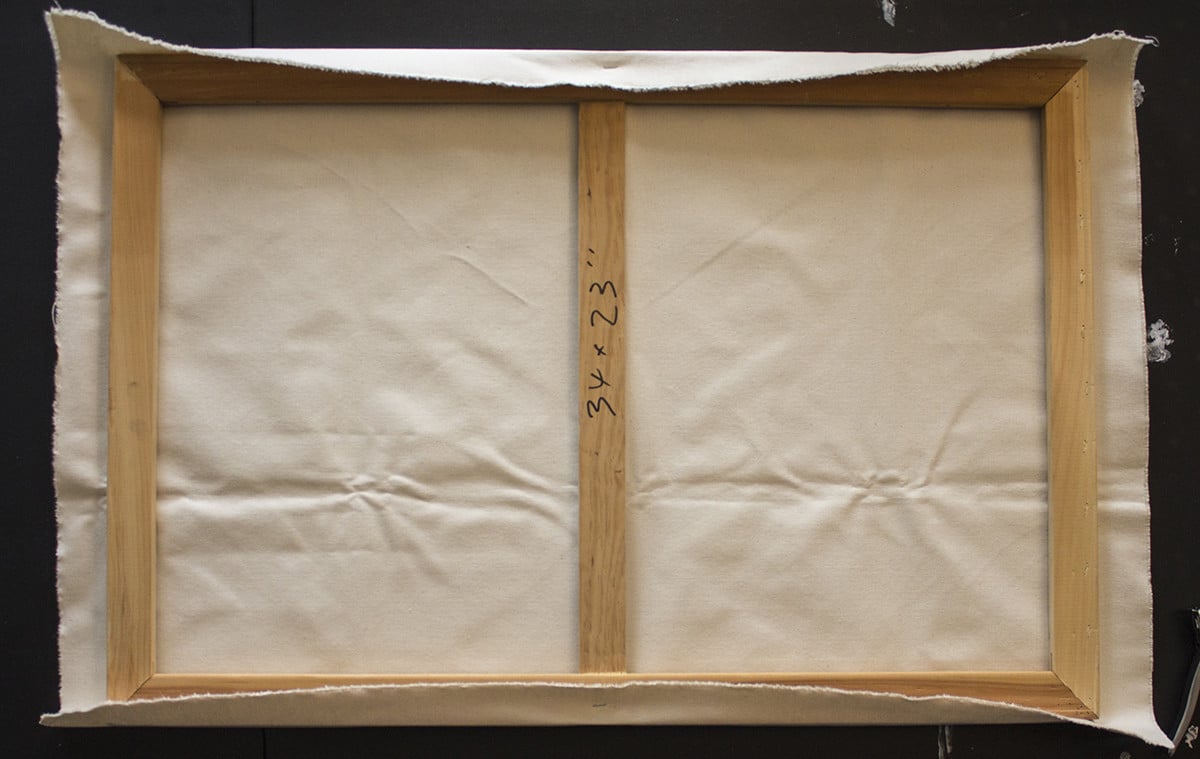
For this 3/4 inch canvas frame we need about two inches of canvas surplus.
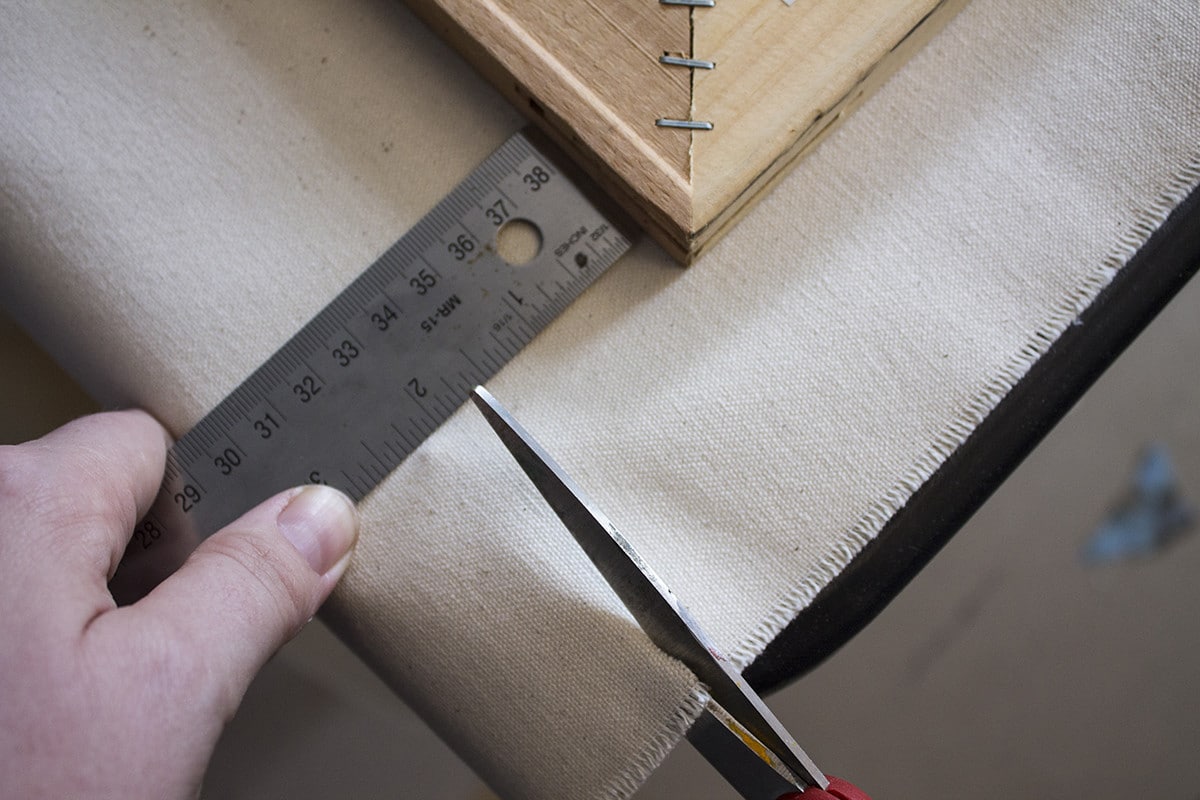
Measure the two inches out, and make a two inch slice in the canvas at this mark.
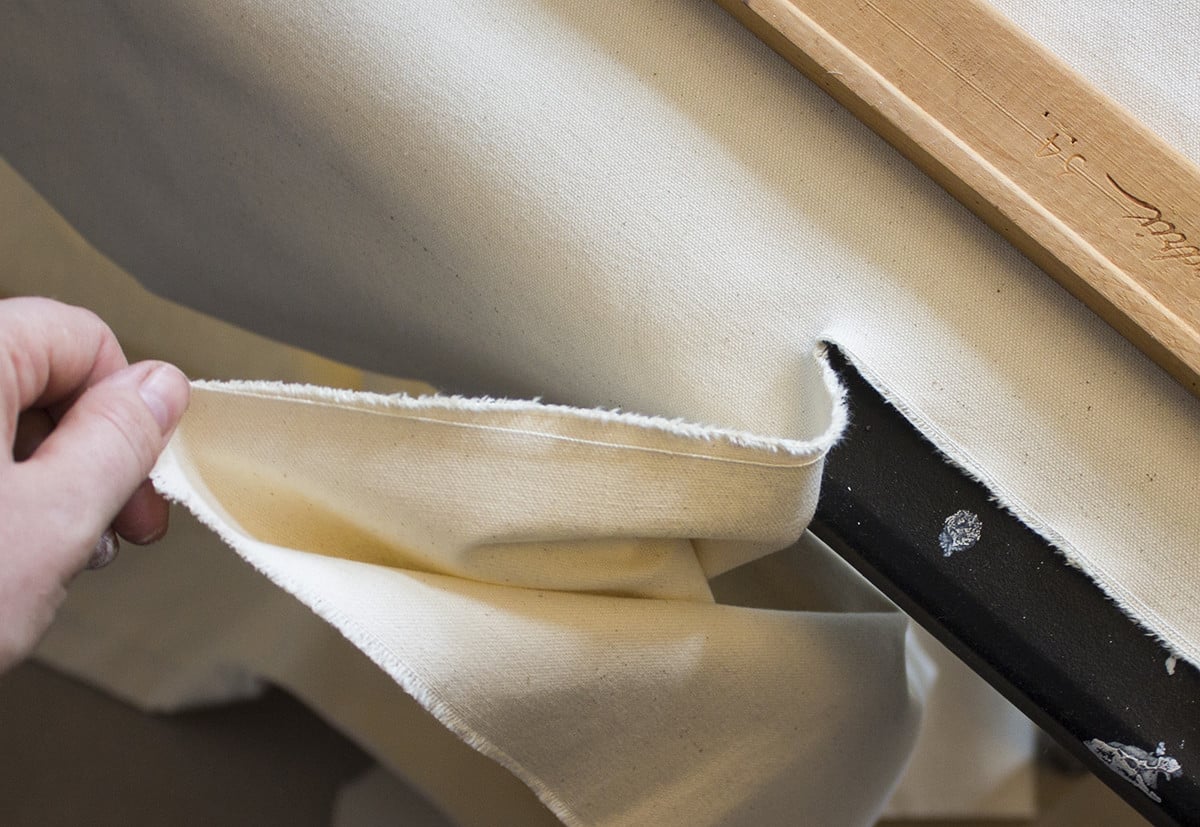
*After cutting a two inch slice, you can rip the canvas the rest of the way on a straight line caused by the warp or weft in the canvas. *
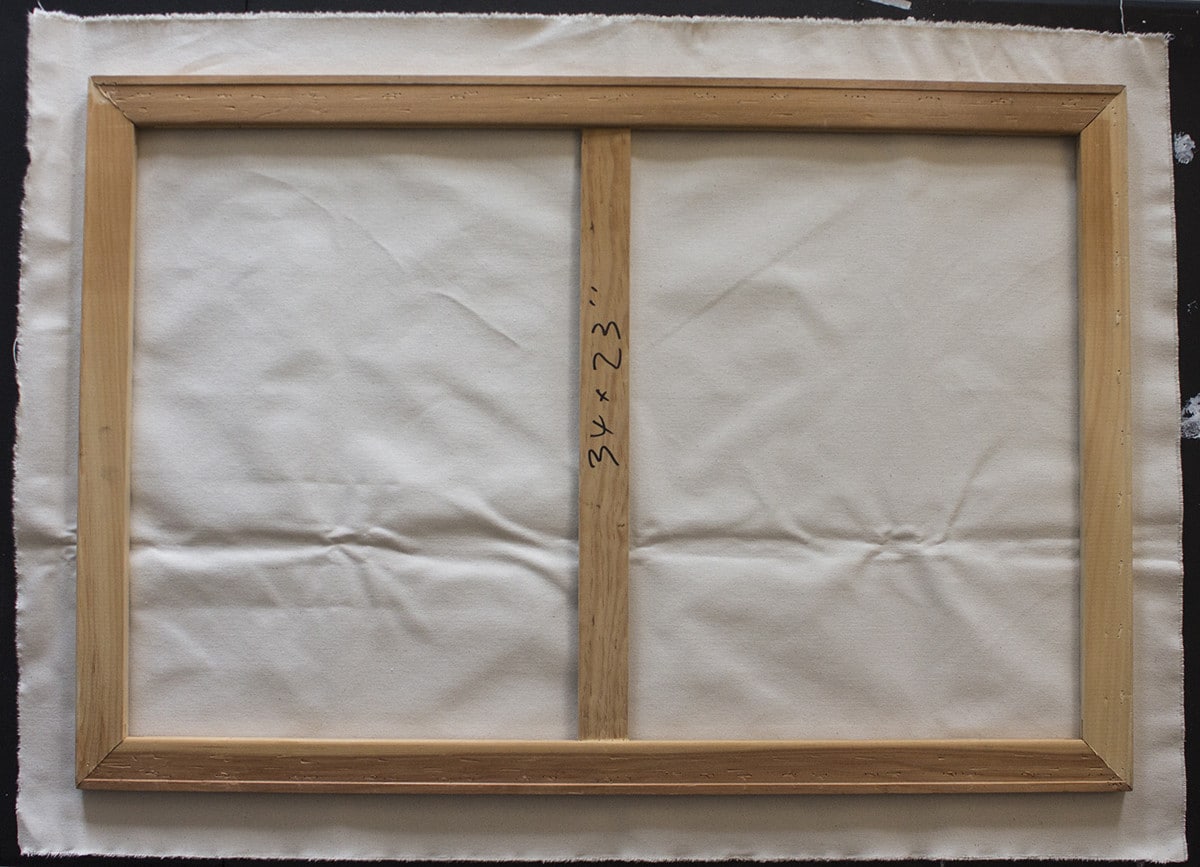
*Place the canvas in the center of the cut fabric. *
Stretching the canvas
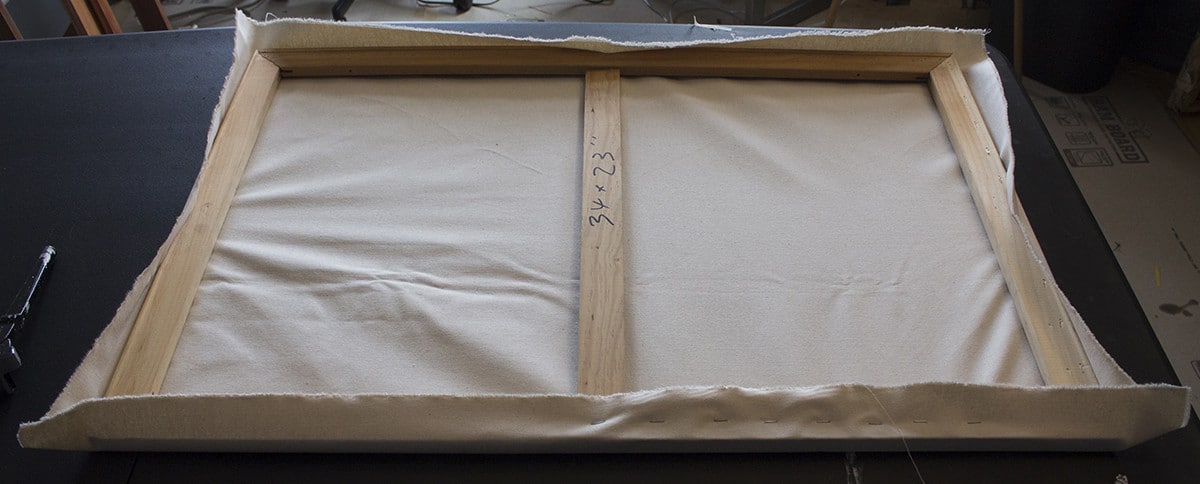
Tack the center of each side with a singular staple and use the canvas pliers to pull halfway taut on each side. You will be able to tell you’ve pulled it tight enough by noticing v-shaped pulls in the fabric forming on either side of the point you’ve tacked.
Keep practicing until you’ve mastered the use of canvas pliers. The pliers grab onto the edge of the fabric with a toothed mouth. Pull up, then pull the fabric away from you and downwards. The pliers will resist on a small rectangular wedge that acts as a fulcrum against the back of the stretcher bars. This provides a tight pull that is stronger than what you could do with your own hands.
A tight canvas is a strong canvas. It provides a resistance for the paint brush to react against, it won’t sink under pours of paint, or a lot of water/oil content. That’s why the use of canvas pliers is the best chance of providing a taut surface.
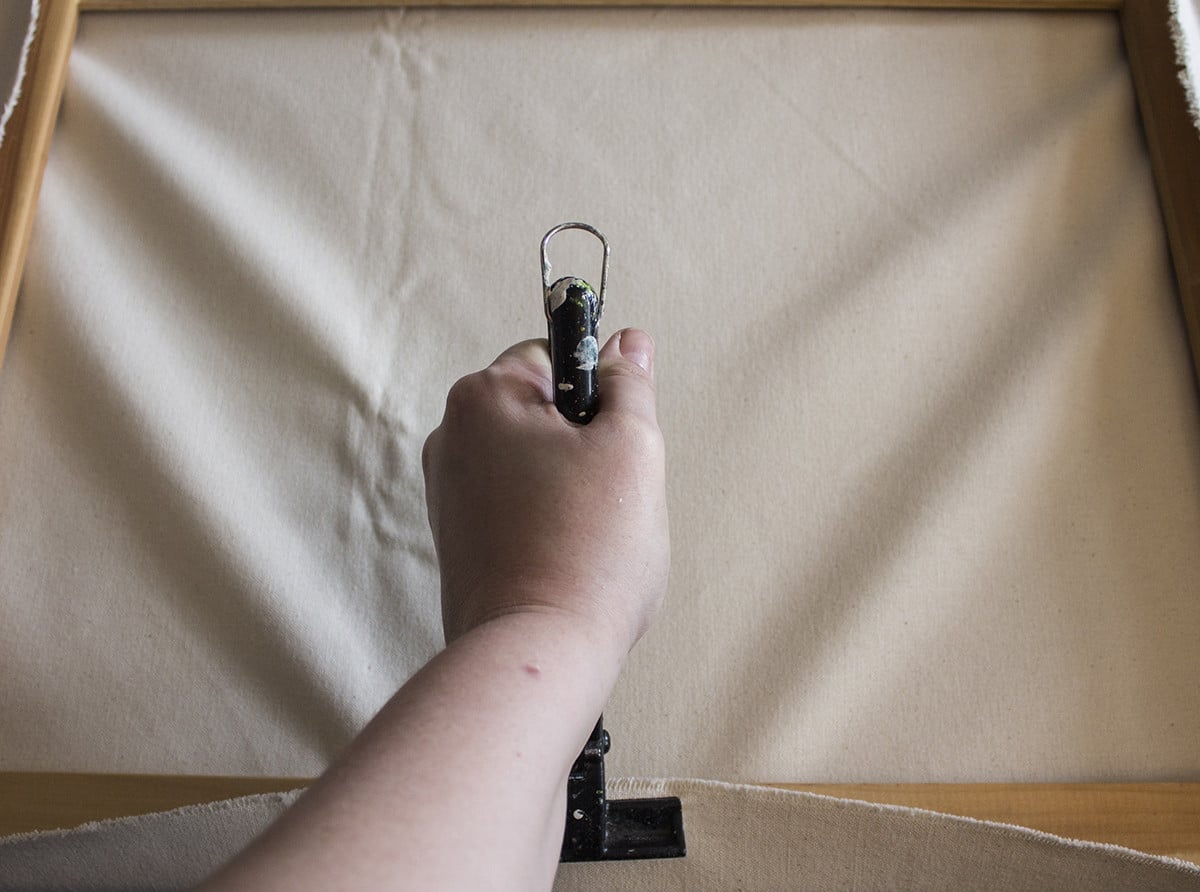
Notice the V shaped pulls being created by the use of the canvas pliers. This is exhibits an optimum tautness created by the pliers.
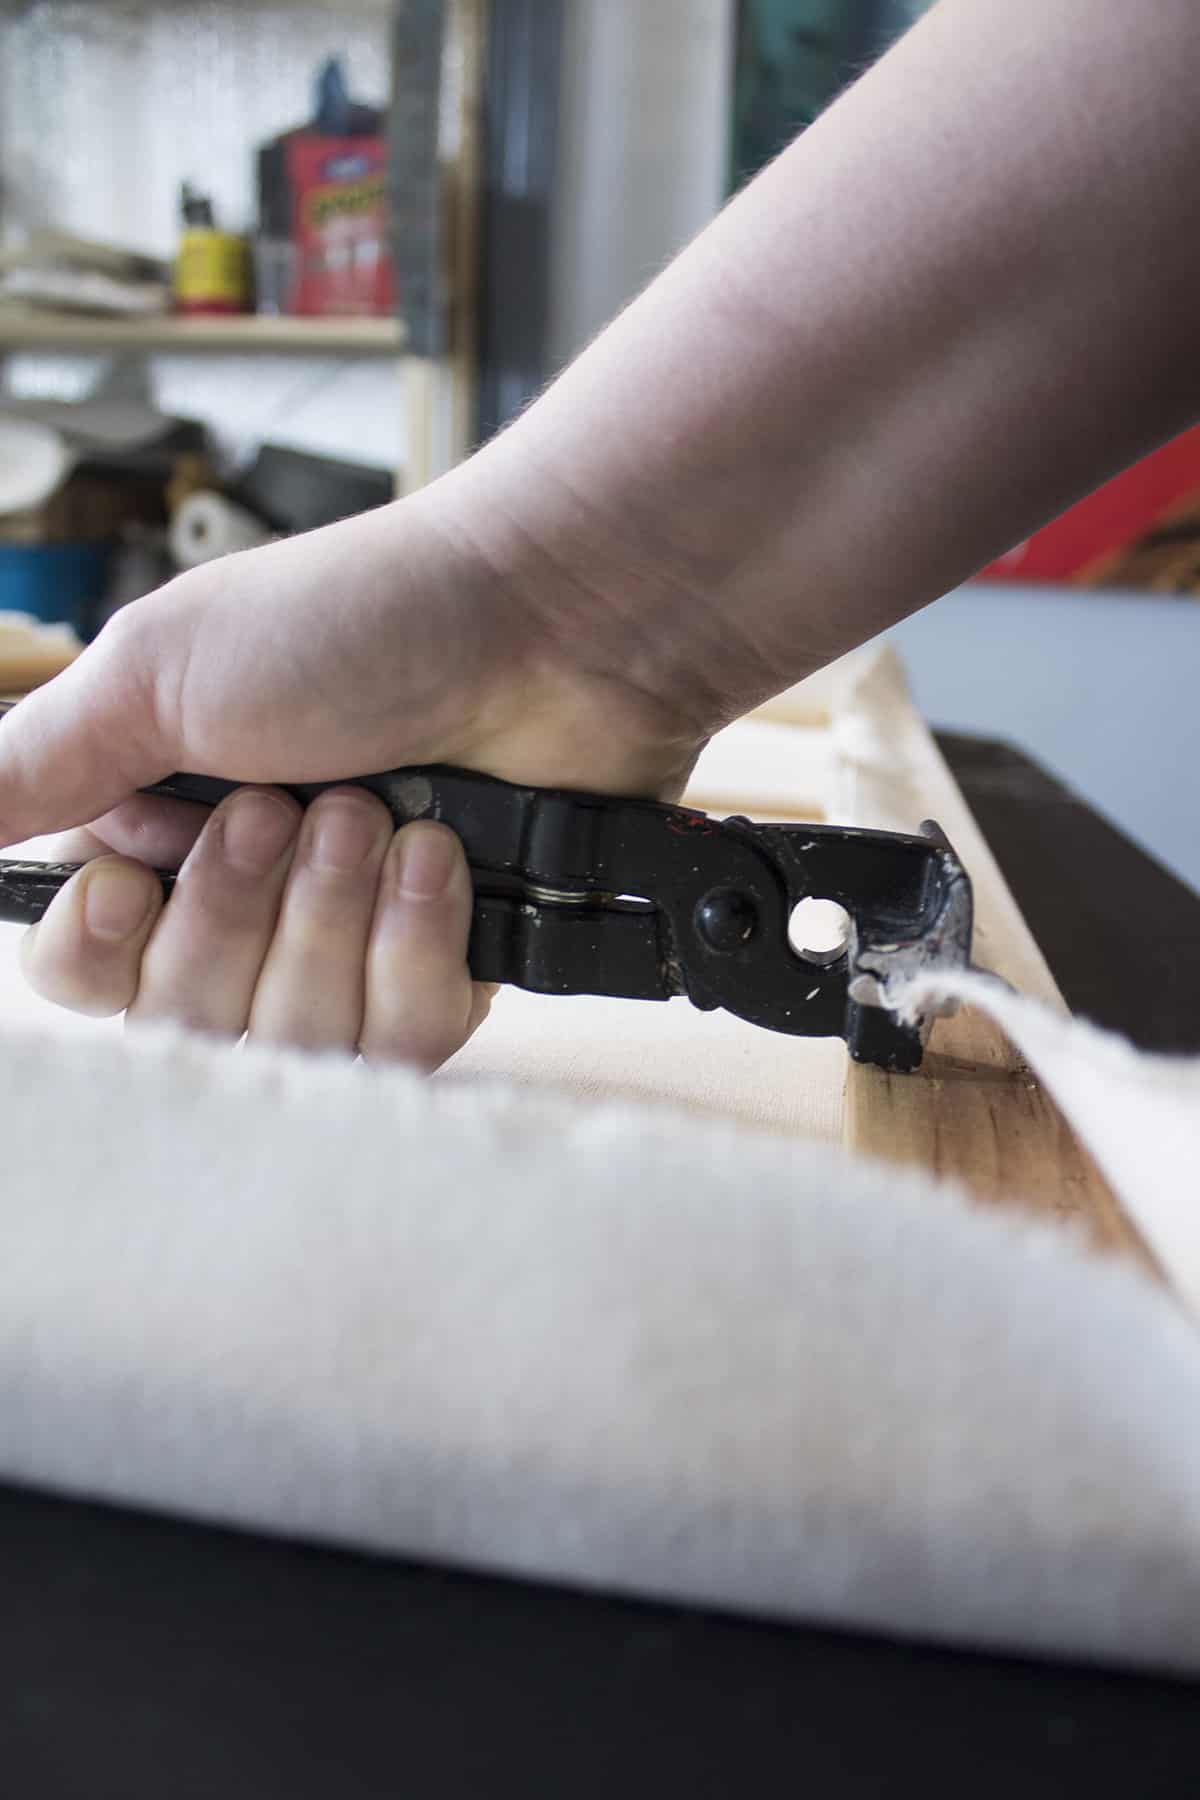
This is the correct way to use canvas pliers: Grab the canvas, pull up and then pull forward and down. The small rectangular platform of the pliers rests against the canvas bars, and acts as a fulcrum to create an extra taut pull in the canvas.
Next step is to staple the middle of each side.
Once each side is tacked in the center, choose one of the longest sides. Begin to stretch with the pliers and tack staples working from the center out on each side. It is fine to do one half at each time leading towards the corners. Leave at least two inches at the corners untacked for now. Each staple should be approximately one inch apart. An easy way to measure this is to make it about the distance of your thumb pad.
Once you’ve tacked one side, move to the opposite side and staple in the same way. It’s important to alternate opposing sides. Then move to the short sides and apply the same strategy, work from the center out and stretch across.
Once you’re finished tacking all the sides except for the corners, it’s a good time to take a look at the front. If there are any bunches or defined ripples, remove your staples and restretch. If the ripples or wrinkles are small, leave them. At the end of our instructions there is a solution for how to remove these unattractive marks in the fabric.
Moving from the center to the corner tack one side, and then the other.
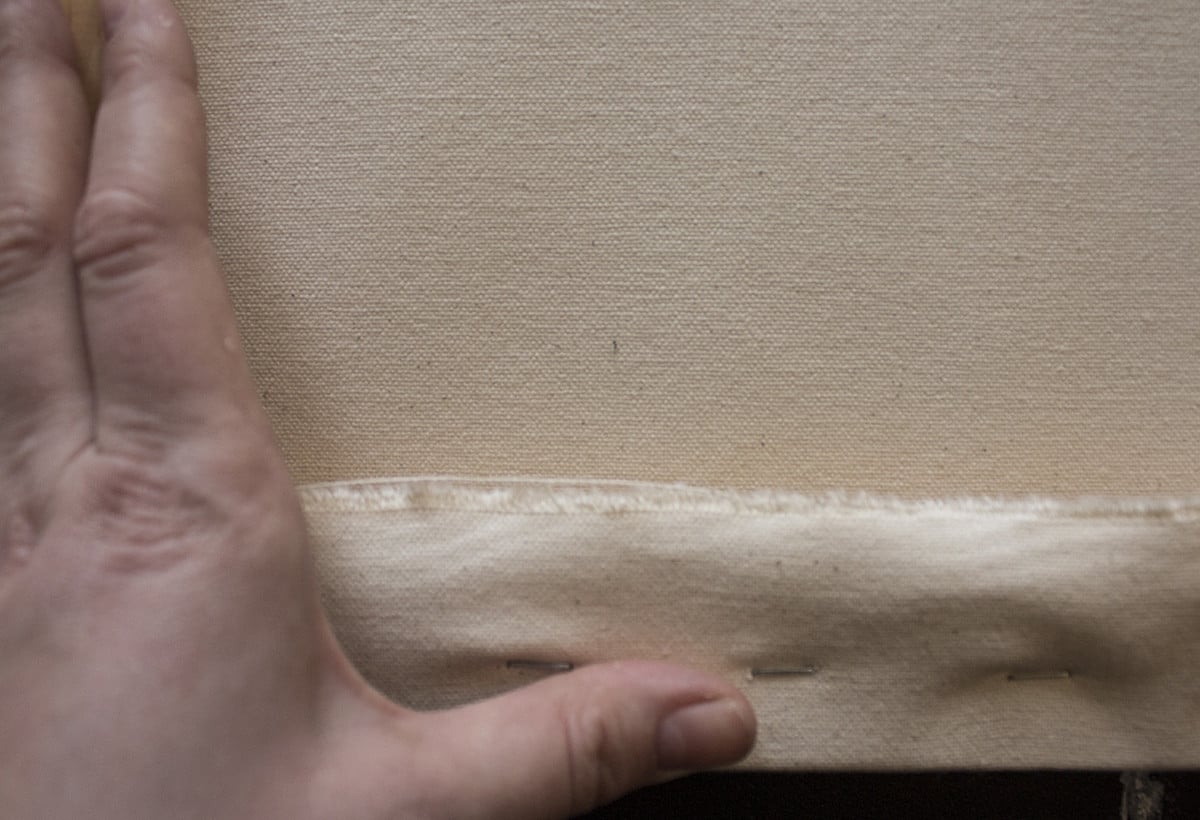
The staples should be about a thumb pad’s distance apart or approximately one inch.
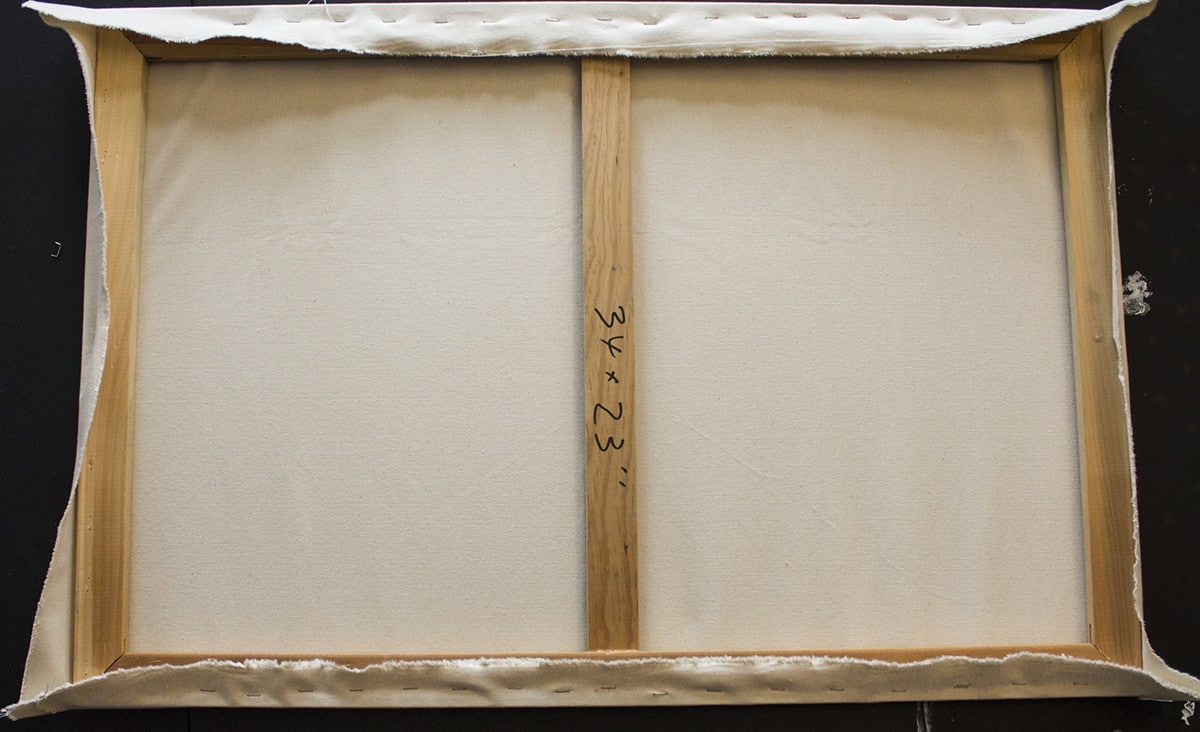
*After tacking the first long side, finish the opposite side. *
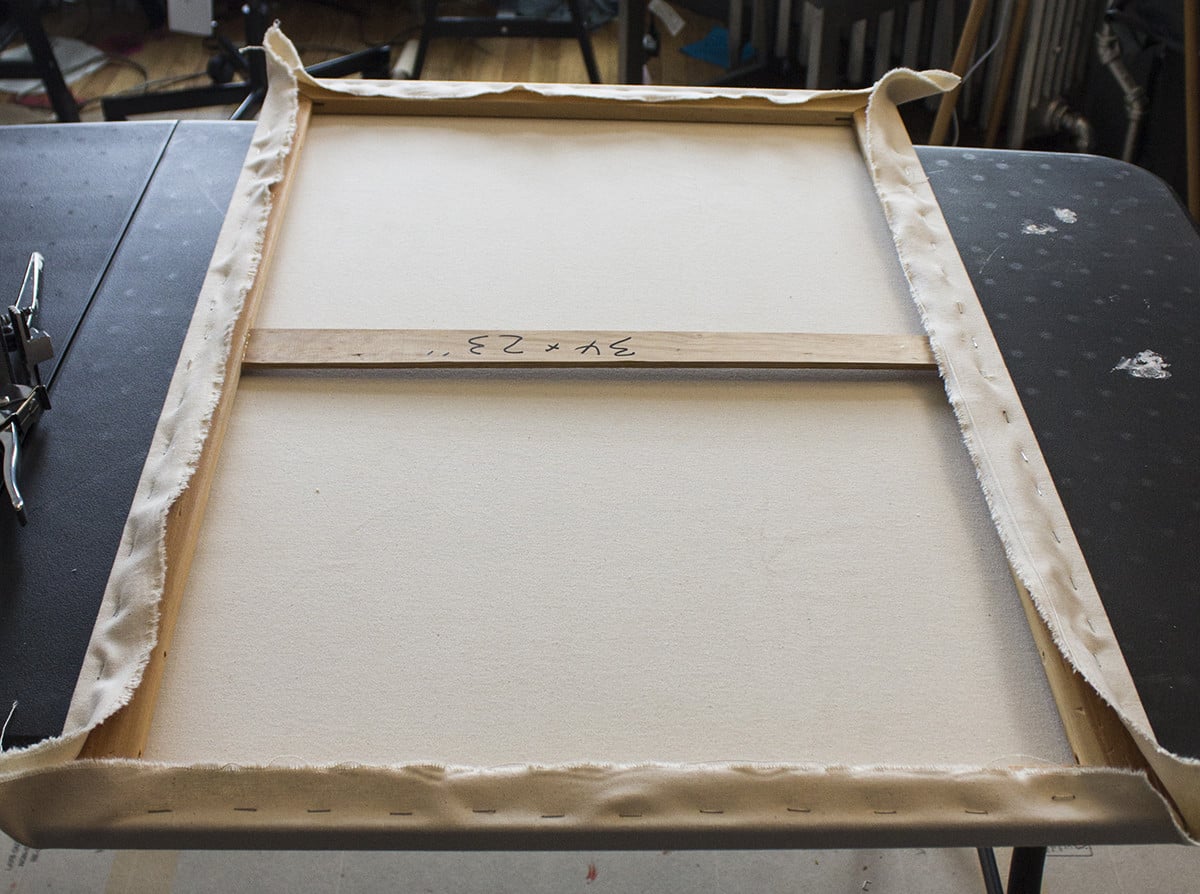
Tack the short sides. Now only the corners have been left undone.
Tacking the corners
Corners are the most difficult part of stretching a canvas. However, once you understand how to fold them it is an easy task to repeat. Firstly, the corners will be slightly bulkier on one side when folded. Typically it’s ok for the top and bottom of the canvas to have the bulky folds. This is because the tops and bottom are rarely directly visible to the viewer. So if you can, decide how to orient your painting before stretching. This will allow you to know which sides should be tidy and which can be bulky.
Once you’ve decided which side is the going to be bulky, pull the fabric on that corner towards you. Smooth out the opposite sides canvas against the depth of the stretcher bars. Pull straight and away from the corner as if you are continuing out from the smooth side of the canvas.
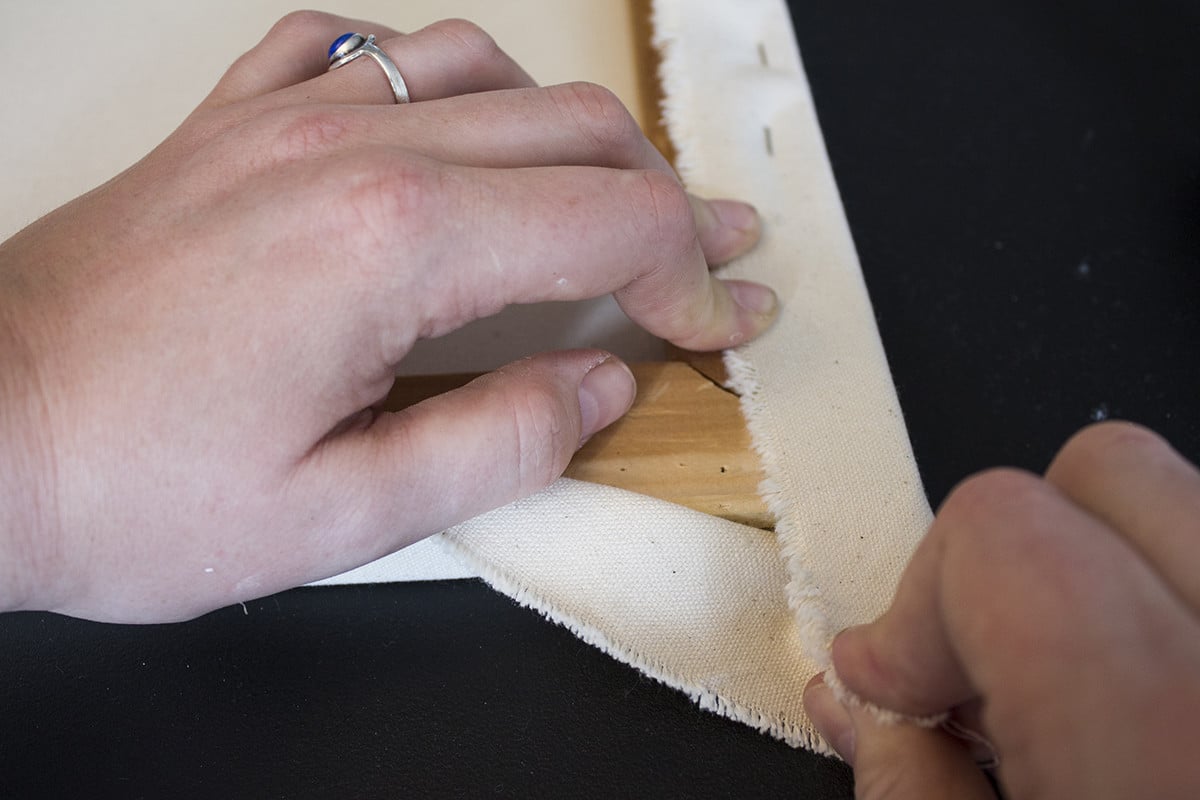
On the side that will have the fold visible pull the fabric towards you.
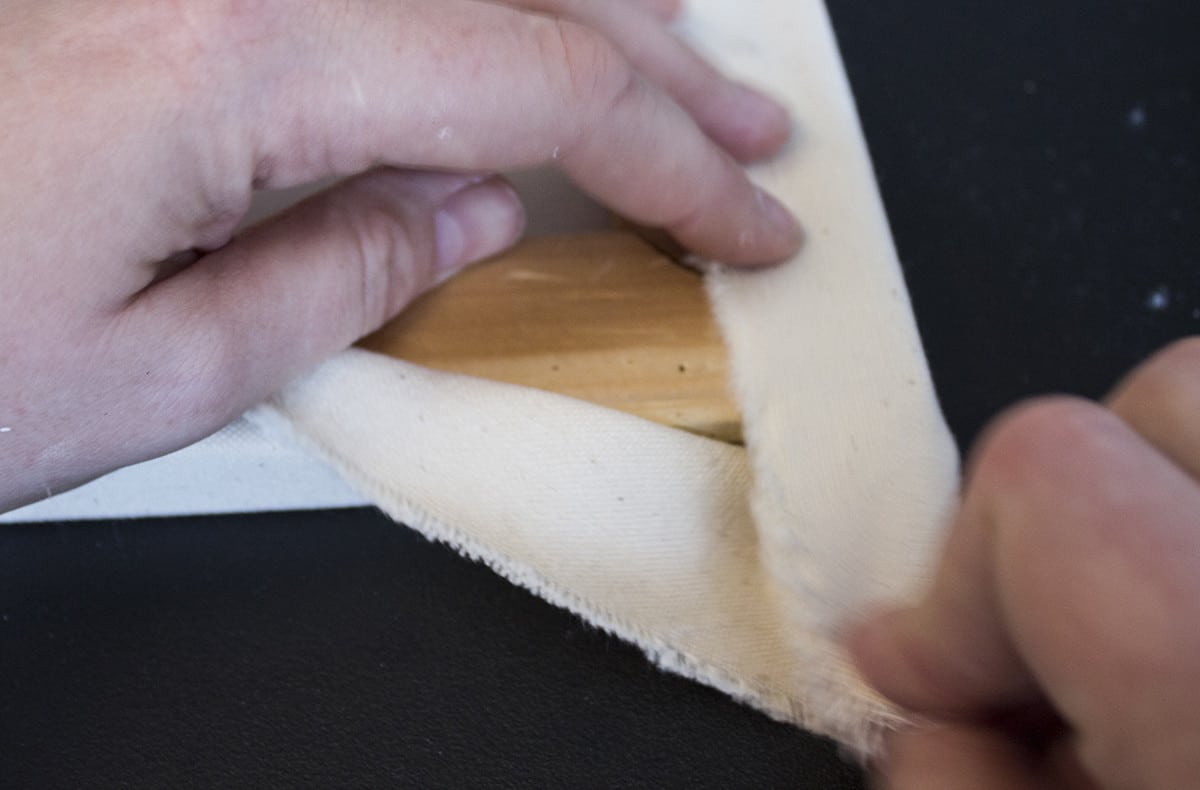
Fold the taut fabric in and bend it in half at the same time.
Then, take the inner flap of canvas that is loose and out of your hand. Place your finger in this loose fabric to hold space for the canvas that you are holding taut to fold into. You are folding the corner like a bed sheet hospital corner. While folding the taut fabric into this flap, you need to simultaneously fold it in half, then you tuck it behind the loose canvas while stretching it away from the corner. You should try to stretch it so that it lays as flat as possible against the stretcher bar—this reduces the bulk of the fold as much as possible, and allows it to lay flatter against the canvas side.
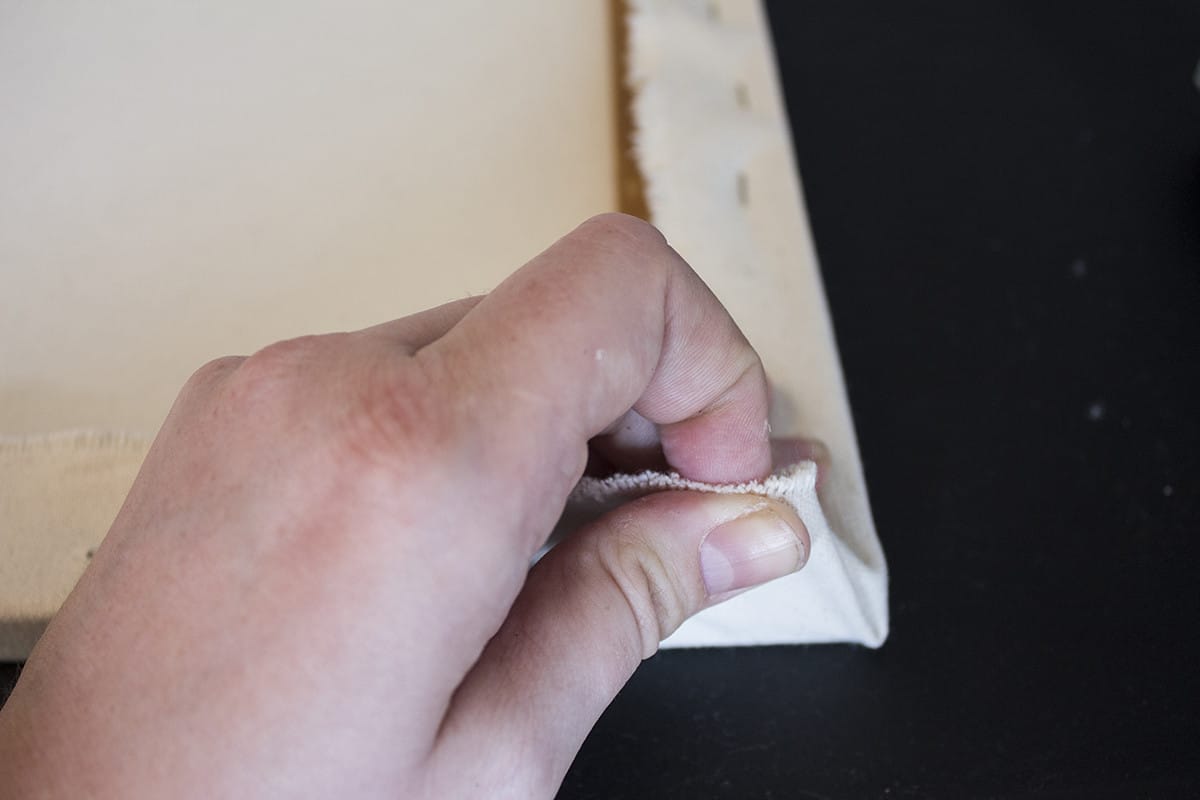
Pull the loose outer fabric up and over the stretcher bar’s edge.
Then, you take the loose canvas remaining on this side and pull it up and over. If the inner folded fabric becomes loosened, stretch it flat again and repeat the process.
You’ll see a tiny but flattened triangle of fabric under the fold. The point is to make it as minimal as possible by careful folding and stretching. Once it’s as flat as we can make it, pull the fabric up, and over. At the same time, try to make the seam line up with the corner and opposite canvas bar edge. This makes the fold as least noticeable as possible.
Once it’s flat, and lined up with the edge tack it down, do all four corners in the same way.
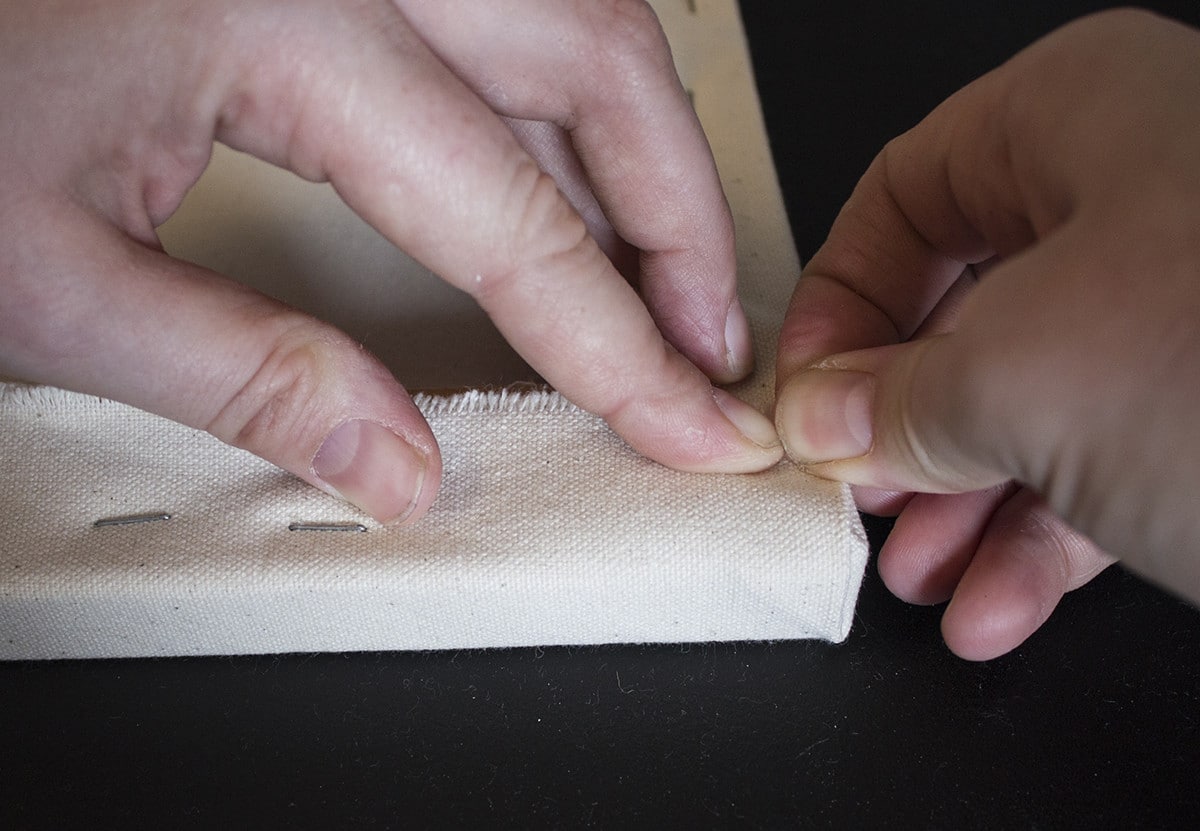
Once the fabric lays flat, pull up and over, and hold it down to staple.
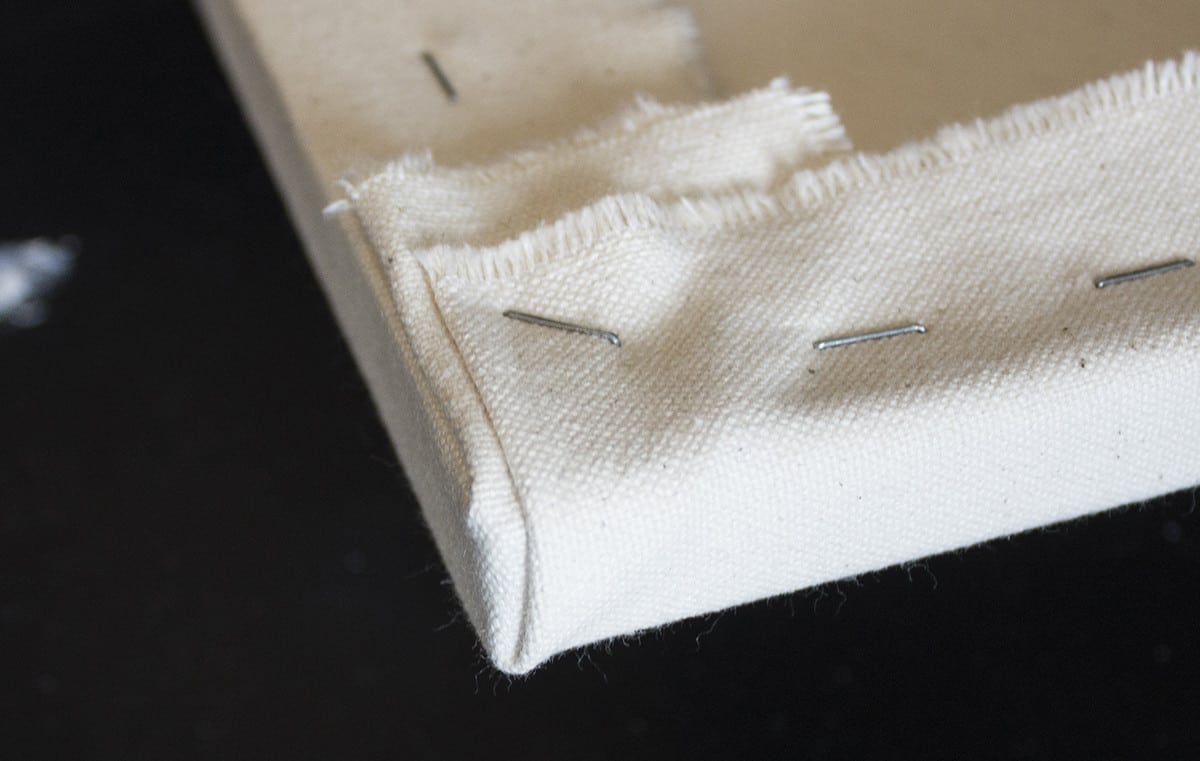
Tack the corner down.
Final touches on the canvas surface
Now it’s time to flip it over and check the canvas out! It’s not uncommon to have some wrinkles or a loose spot. It’s not the worst thing, but it doesn’t look great either. Don’t worry. There is a very simple solution to fix this. It’s easy to shrink the canvas with a bit of hot water. Shrinking it increases the overall tautness, and can remove unwanted starches that could be present in the fabric.
Simply take hot water and a large clean sponge. Wipe across the front and back side of the canvas. Then let it dry. And Voila! A perfect, smooth, clean canvas that is ready to prime for painting!
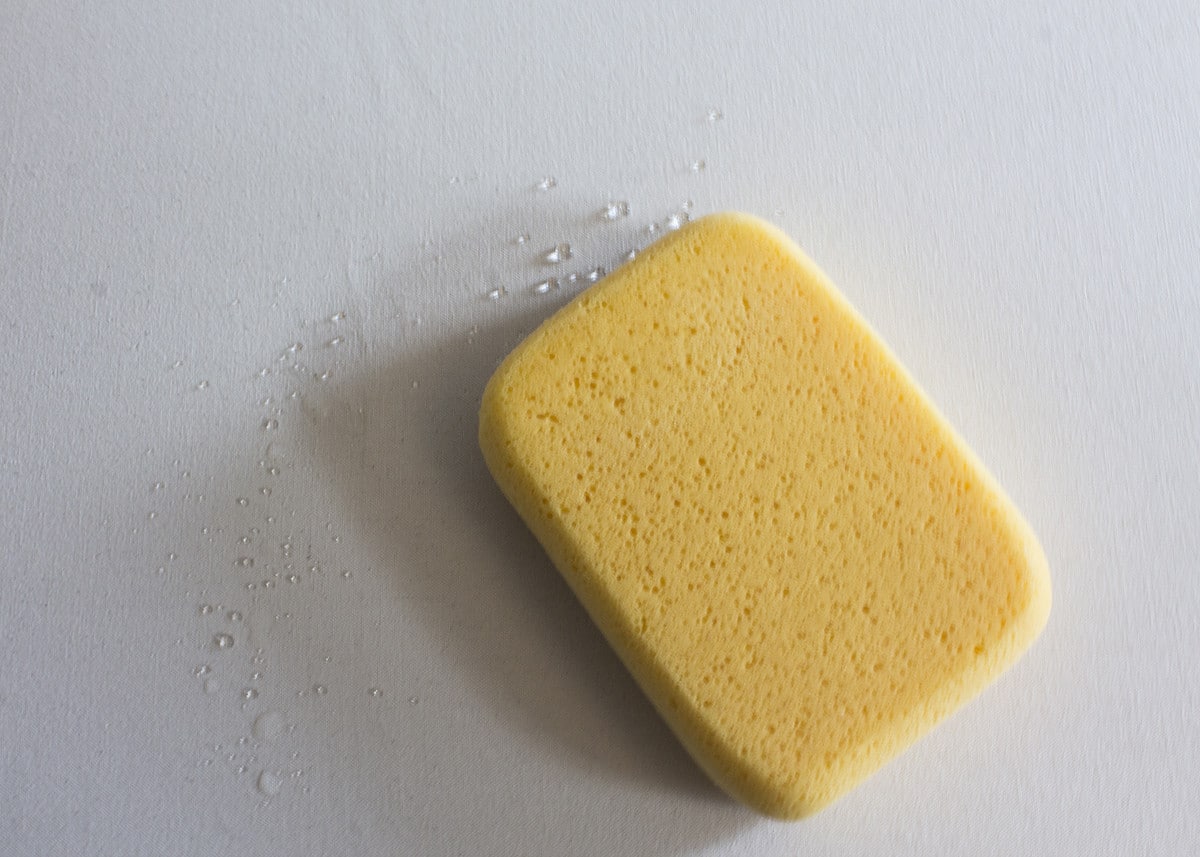
Wipe with a hot water soaked sponge.
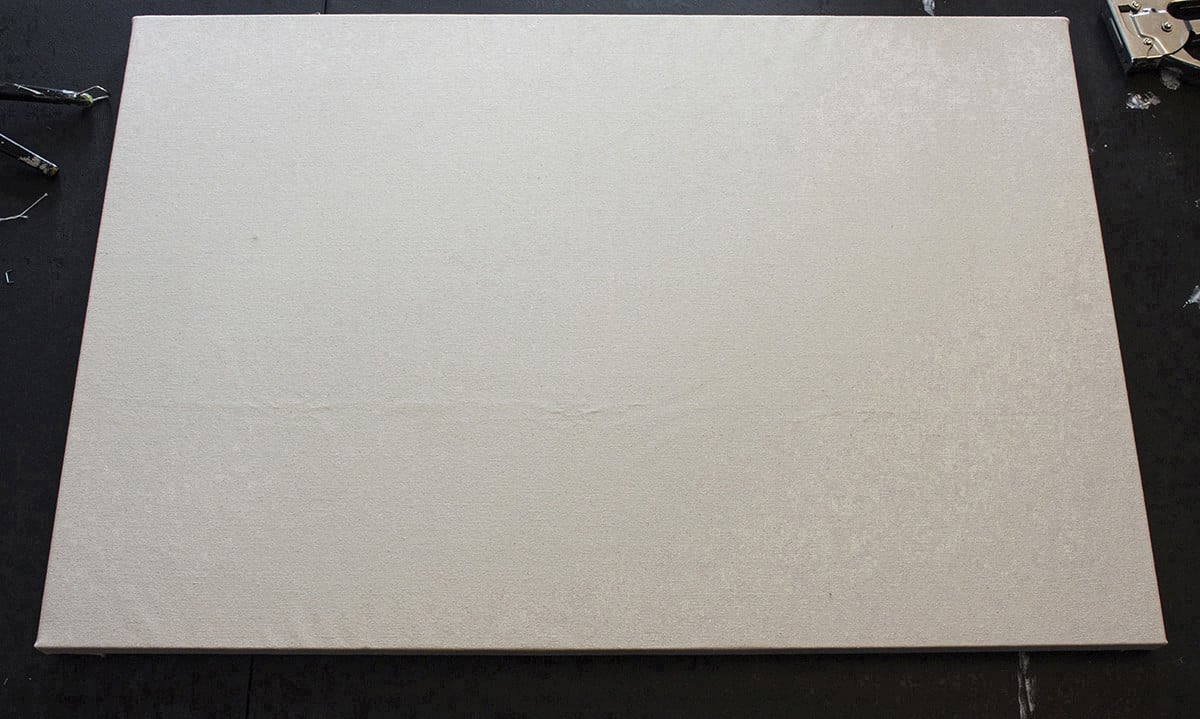
The hot water shrinks and smooths out any unsightly bulking canvas.
Ready to start building your online artist portfolio? Try Format for free, no credit card required.
