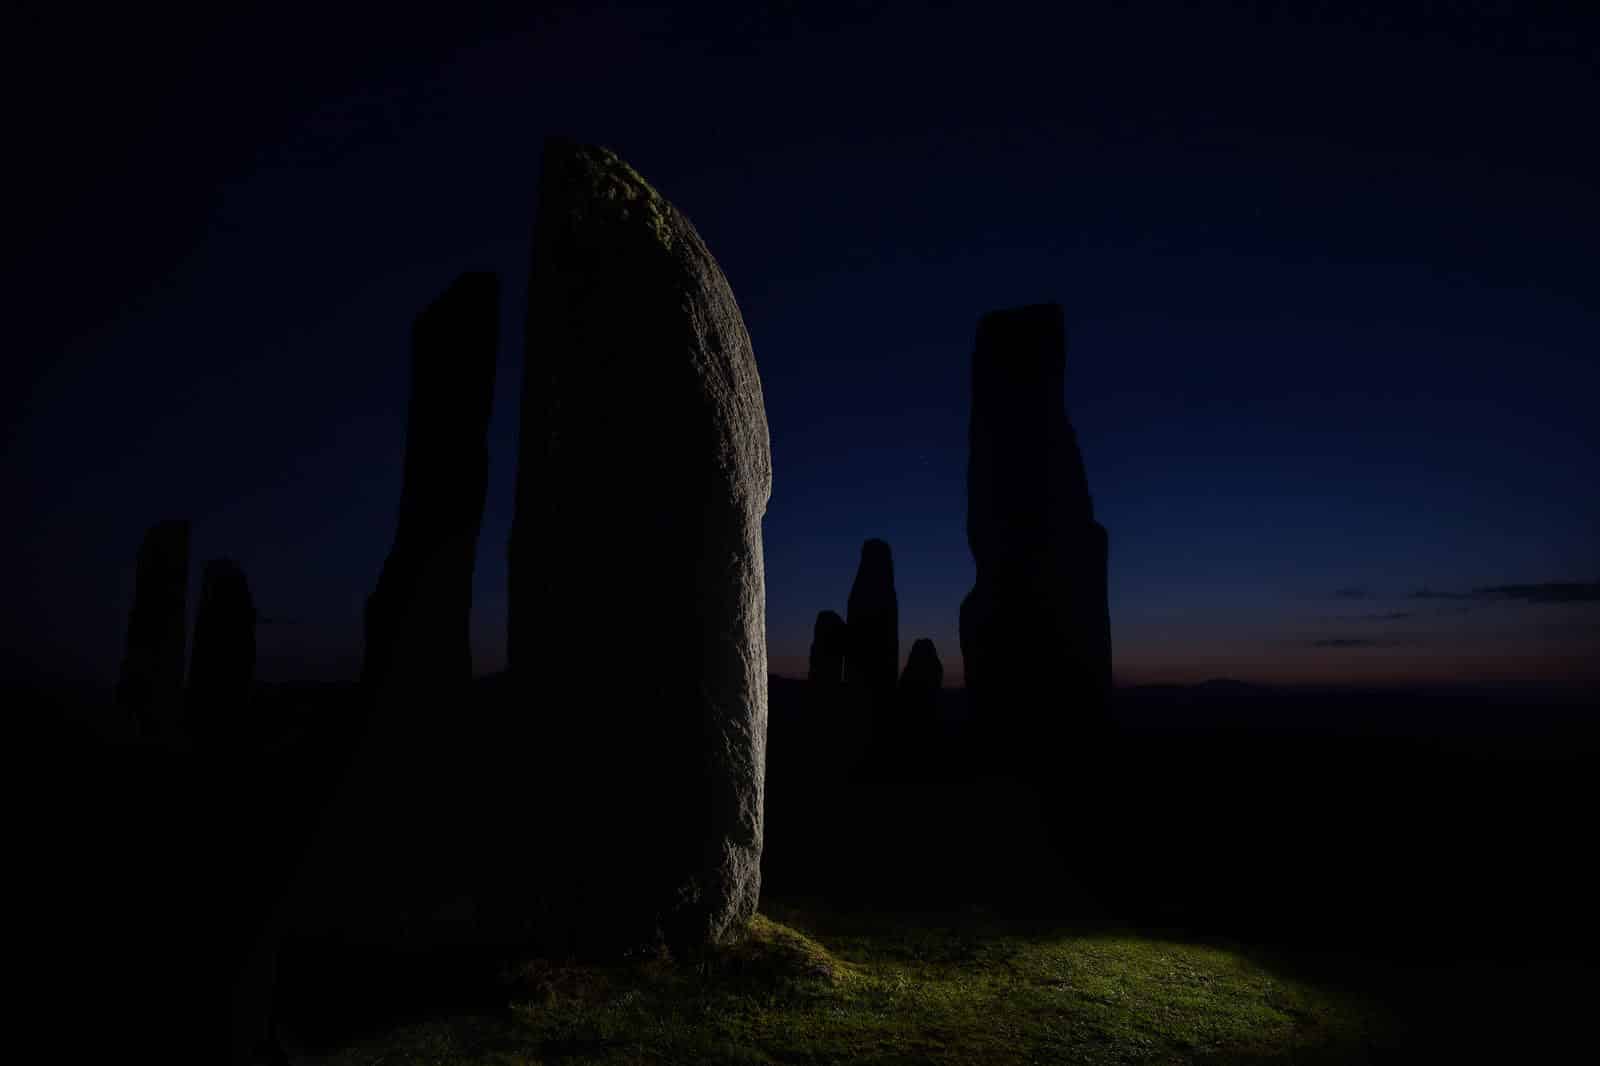
If you’re interested in astronomy or if you just love photos of the moon and stars, astrophotography might be the perfect artistic endeavor for you. You don’t have to be a pro to shoot striking photos of the night sky, but having the right gear, settings, and apps will make a huge difference. That’s why we’ve put together this simple guide on everything you need to know to get started with astrophotography, as well as tips on how to do astrophotography once you’re more advanced.
Astrophotography for Beginners
Astrophotography is a lot different from the more standard types of photography that we’re used to. Maybe you’re a landscape photographer interested in exploring a new field, or maybe you’re completely new to photography but you’ve always had an interest in the night sky. Either way, our astrophotography 101 is sure to get you on the right path.
While it’s tempting to try astrophotography without having to invest in any gear, iPhone astrophotography will still require a telescope and some technical adjustments. As a beginner, it probably makes more sense to buy or borrow an astrophotography camera rather than investing in a fancy telescope just so that you can use your phone to take photos. The great news is, you don’t need anything more than a standard DSLR camera and a fast wide-angle lens to create beautiful images of the night sky. This equipment can easily be used for all different types of photography so that it won’t feel like such a specific investment into astrophotography. It’s also important that you buy a tripod along with your astrophotography camera and wide-angle lens, as this will help prevent your photos from coming out blurry.
Once you’ve got your gear sorted, you’re ready to get started with DSLR astrophotography! Since photography at night requires entirely different considerations than natural or studio lighting, you’ll need to bone up on some essential night photography tips to ensure your photos don’t look blown out or grainy.
It’s also important to be realistic about the types of astrophotography images you’ll be able to achieve with the most basic astrophotography setup. You’re going to need to be okay with capturing more basic astrophotography to start with. Once you decide to invest in more advanced gear, you can move onto subjects like deep sky astrophotography and nebulae. It’s a good idea to become familiar with the different types of astrophotography so you can understand what you’ll be able to capture with a basic astrophotography setup as opposed to one that is more advanced.
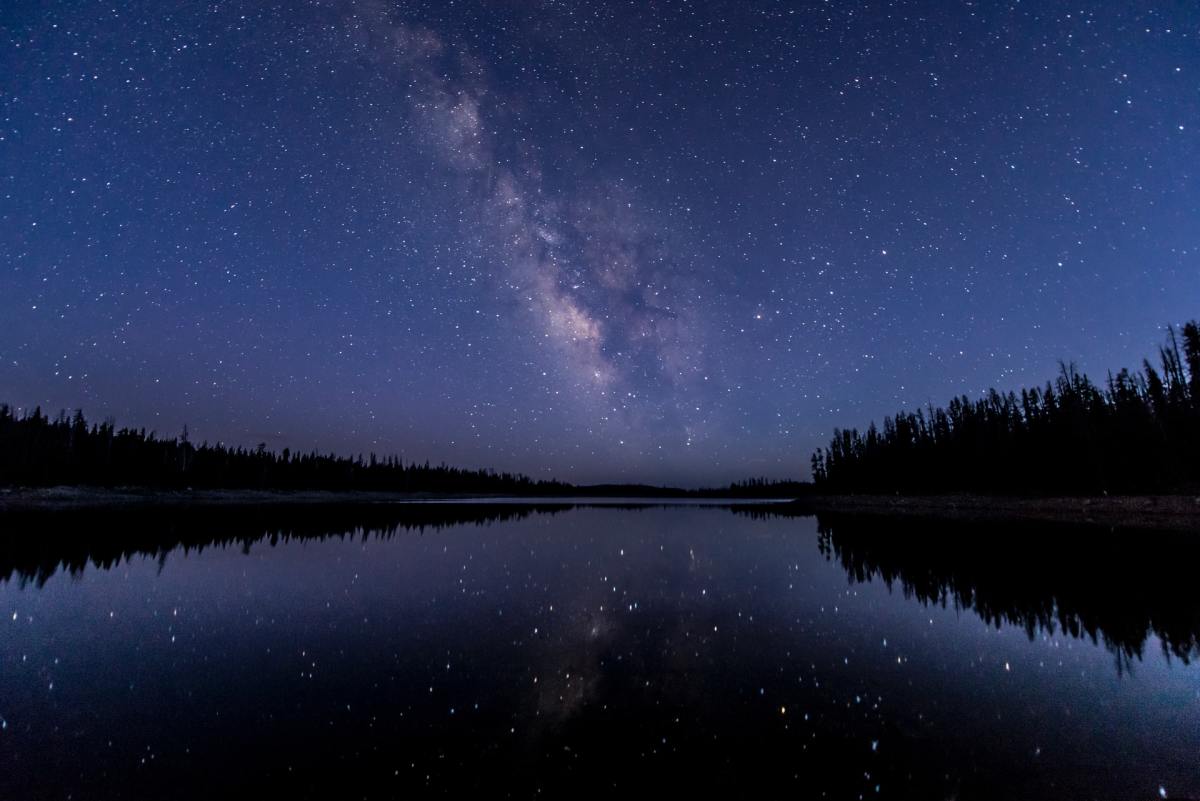
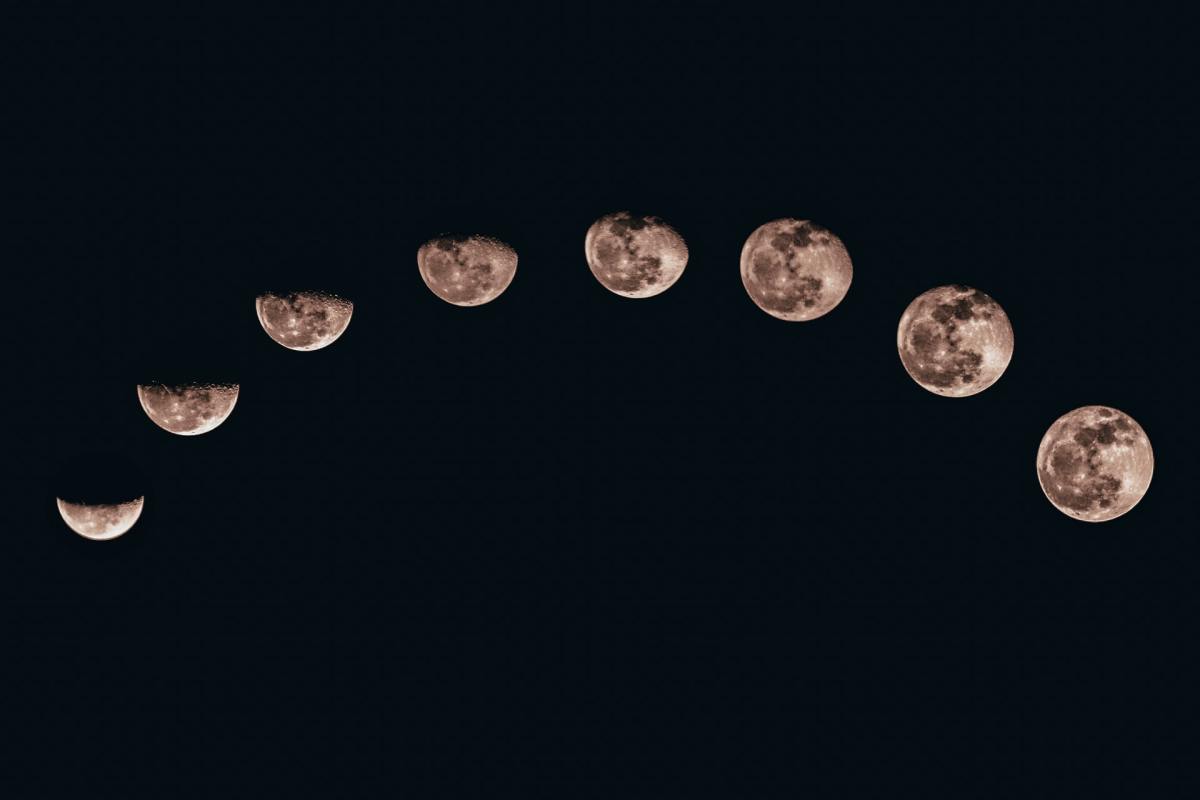
With your beginner astrophotography gear, you’ll be able to capture things like time lapses, meteor showers, constellations, moon phases, and the milky way. We’ll address how to achieve more advanced astrophotography results, like a total lunar eclipse, in the intermediate and advanced sections of this article.
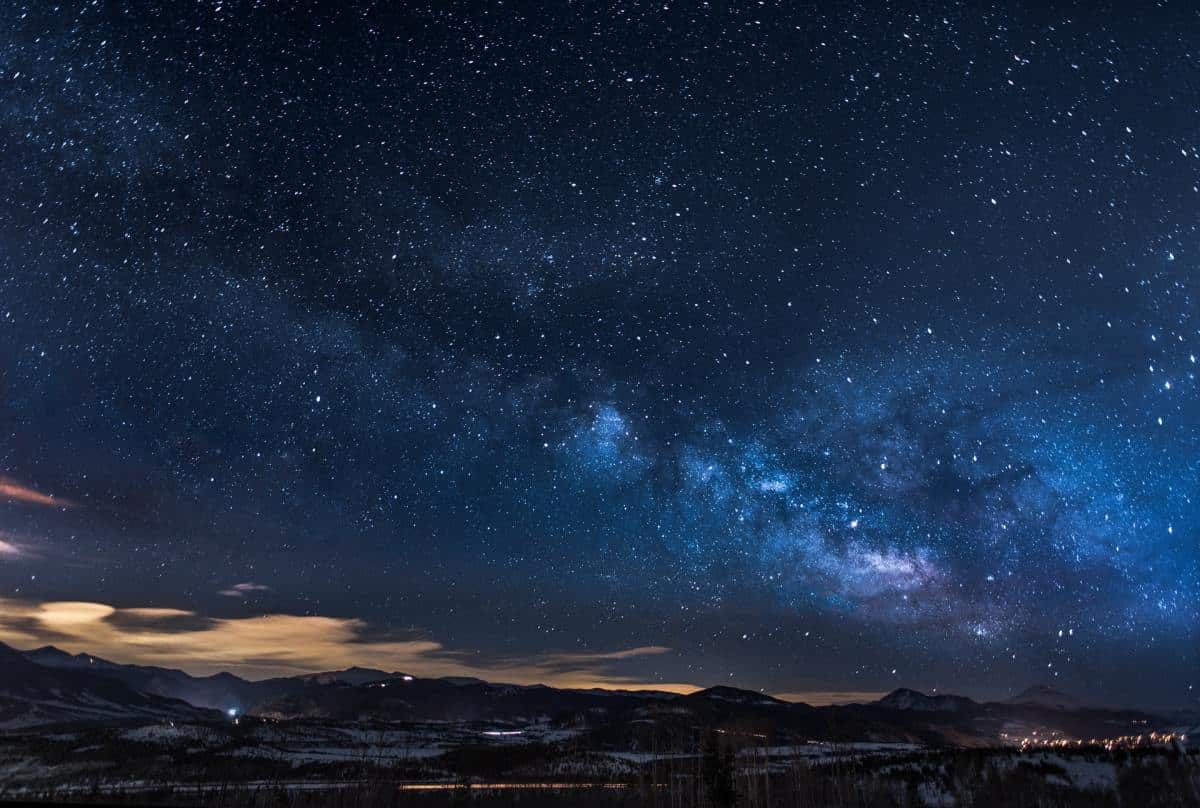
DSLR Astrophotography Camera Settings
It’s always a good idea to set your DSLR to manual for astrophotography so that you have complete control over the settings and can adjust them to your specific needs as conditions change. If you’re able to, go to a location where there isn’t as much light pollution to achieve the best visibility in your astrophotography. While we can generally see the moon fairly clearly even in big cities, if you want to capture smaller planets and stars, you might have difficulty getting clear, detailed photos in less remote areas.
Since the subjects you are attempting to photograph are quite faint, you’ll need to set up your astrophotography camera settings to let as much light in as possible. This means adjusting both your shutter speed and aperture settings accordingly. You’ll want to set your shutter speed to be as slow as your camera allows, which is where your tripod will really become a necessity. No matter how steady you think your hands are, with a slow shutter speed you need absolute stillness which can only be achieved with a sturdy, completely immobile camera. You’ll also want to adjust your ISO to be as high as possible, which will result in a brighter final image. However, you should be aware that the graininess of your astrophotography images will increase as the ISO is raised.
The ideal camera settings for DSLR astrophotography are the longest shutter speed, the widest aperture, and the highest ISO as your astrophotography camera will allow. This may require you to consult your camera manual if you’re not sure how to adjust these settings to fit your needs. Depending on the type of camera you have, it may not have a manual setting to adjust exposure. If this is the case, there should be a preset night mode that you can use.
Make sure you set up your astrophotography camera to be as manual as possible. Most DSLR cameras have an autofocus setting, meaning that the camera will attempt to adjust the lens focus for you. When it comes to astrophotography, you need as much control over your camera settings as you can get, so have a look around on your new DSLR and figure out how to turn off autofocus so you can manually focus your astrophotography camera as needed. It may make sense for you to attempt to focus your camera lens on something far away in the distance while it’s still light out, and then leave your lens focus there for your astrophotography that night.
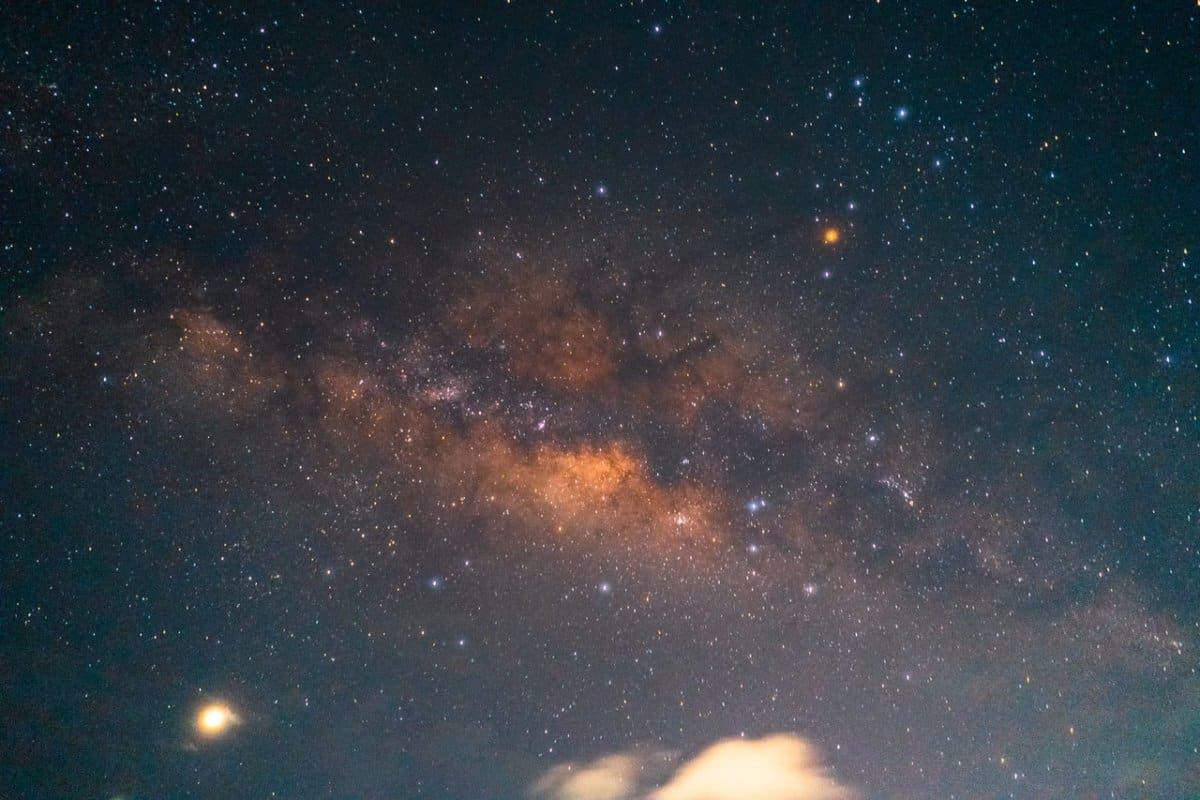
Customizing your camera’s white balance is also an integral part of getting set up for astrophotography. Your DSLR will likely already be set on auto white balance, which will lead to a red-brown color in your astrophotography images, especially if you are in an area with a fair amount of light pollution. While this is an accurate recording of the night sky’s true color with light pollution, it won’t end up looking like the astrophotography images you admire. Instead, you can set a custom white balance ahead of time, use your camera’s daylight preset, or you can adjust the white balance in post-production using Photoshop or a similar program, depending on what you prefer.
For the best results possible, make sure your astrophotography camera is set up to shoot in RAW file format. Even if you’re using a tripod, it’s a good idea to use a remote control shutter release with a self-timer to ensure the motion of your hand on the shutter release doesn’t result in an unfocused or blurry final image. Play around with your exposure settings, taking test photos with all different exposures, and use your camera’s display screen to determine which one leads to the type of astrophotography image you’re looking for. Whether you’re adjusting your camera settings for night photography or astrophotography, getting the exposure right is critical in avoiding dark, dull photographs.
Long exposure times will record the most information but can lead to star trails. It’s up to you whether this is a feature you want in your astrophotography or not, and your decision on this will impact how you set your exposure times moving forward. Remember that you can always adjust the colors later on in post-production.
The conditions of the sky can greatly affect the outcome of your astrophotography endeavor. For best results, start your astrophotography journey on a clear, or mostly clear night. You may think that a full moon is a perfect time to get your astrophotography setup going, but this can actually be the worst conditions to get good astrophotography results. You can research the current moon phase, so you can avoid nights with a New Moon, where the brightness of the moon can wash out the fainter objects in the sky.
Start by setting your tripod so that your camera is aimed at the brightest star you can see. Then turn on your astrophotography camera’s live view, so that you don’t have to look through the viewfinder to see what your camera will capture. Once you’ve located a bright star, use your camera’s zoom settings, and adjust the focus as needed.
With all that, you’re finally ready to get started! Take a variety of photos with slightly adjusted camera settings so you can review them and see what works best for you. As you gain more experience with astrophotography, you’ll soon pick up on what you need to create a successful image. Don’t forget to share your progress along the way on your online photography website!
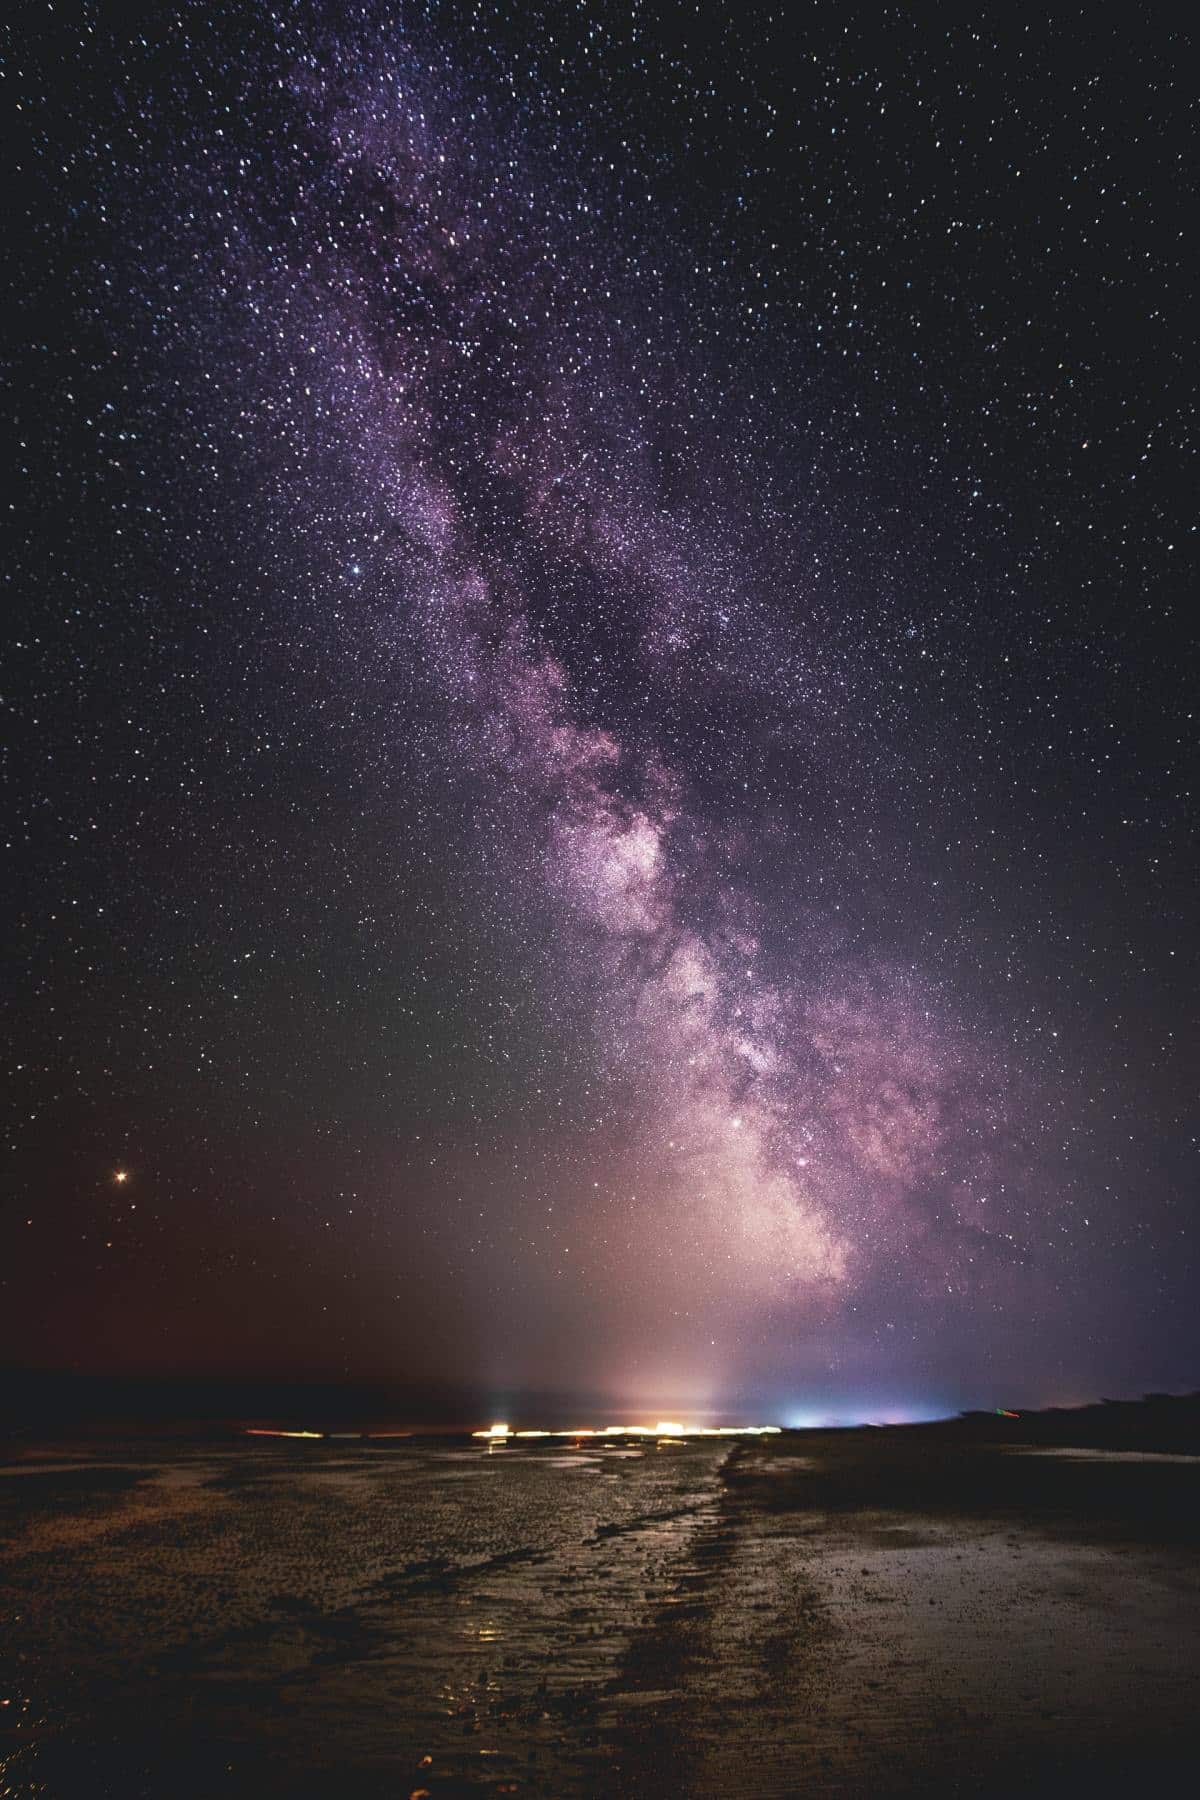
Intermediate Astrophotography
When you’ve been shooting night sky photos for a while and feel like you need a new challenge, it might be time to turn your attention to learning about the best camera for astrophotography so you can level up your astrophotography setup. Here are some of our favorite astrophotography cameras and lenses for intermediate astrophotographers.
Best Camera for Astrophotography
Canon EOS Ra Astrophotography Mirrorless Camera
This new camera from Canon was specifically designed with astrophotography in mind. With 30x magnification and over 30 million pixels, it’s an excellent option for someone who is ready to invest in astrophotography-specific gear. The infrared filter helps to capture the vibrant colors of nebulae without requiring additional camera accessories. The high-precision viewfinder can capture extreme detail, and the battery lasts up to 14 hours, which comes in handy for astrophotography photographs with an exposure time of multiple hours.
Nikon D500 DX-Format Digital SLR
The Nikon D500 has a smaller body than some similar cameras, while still packing a ton of power, and it’s compatible with the NIKKOR line of DX lenses which are also lighter than other lenses, making it a great option for traveling. It uses an EXPEED 5 processor which processes images quickly enough to capture up to 10 frames per second. It also uses a new XQD memory card technology, allowing you to edit and transfer images at a higher speed, while still being compatible with your other SD cards. It’s a good choice for a lower cost, more portable astrophotography camera, with an ISO up to 51,200 to produce high-quality images of the moon and stars.
Sony a7S II ILE7SM2/B 12.2 MP E-mount Camera with Full-Frame Sensor
This full-frame camera is the perfect choice for someone who wants to practice astrophotography as well as other types of photography using one multi-purpose camera. Boasting a huge ISO range, it’s built for creating beautiful images in low light conditions. It also includes image stabilization and 4K video recording technologies, as well as a durable, reduced-vibration shutter. You can connect to this camera using your smartphone with wifi, allowing you not only to quickly and easily transport images to your devices but also to preview and frame your images before taking the picture. It’s compatible with all of Sony’s E-mount lenses, developed with features like powered zoom control and 5-axis image stabilization.
ZWO ASI294MC Pro Astronomy Camera
Unlike our other picks for astrophotography cameras, which can also be used for other types of photography, this one is set up only for astrophotography purposes. It’s designed for extreme long exposure without causing bright stars to saturate, using thermoelectric cooling to remove visual noise from your astrophotography. While there are definite upsides to using a camera that’s expressly made for astrophotography, you should keep in mind that you’ll still need to purchase a separate power supply, required for running the cooling system, and a wireless camera control which allows you to use your smartphone to focus, capture, and adjust images.
Best Lens for Astrophotography
Praised for its ultra-wide-angle zoom, this is our pick for the best Nikon lens for astrophotography. With a maximum aperture of f/2.8, you’ll be able to enjoy sharpness throughout the frame while using zoom. The wide-angle view is 114º-84º, ideal for capturing landscape astrophotography like the Milky Way.
Canon EF 16-25mm f/2.8L III USM Lens
This lens is easily the best lens for astrophotography Canon has on offer, and that’s reflected in its price point. It’s a wide-angle zoom lens, and while it’s not as wide-angle as some other Canon lenses, the faster f-stop is a huge mark in its favor for astrophotography. It’s weather-resistant, and the lens hood allows for filters to be attached easily. It features impressive image sharpness at all levels of zoom, and Canon has improved sharpness in the corners compared with the previous version.
Samyang 10mm f/2.8 ED AS NCS CS
An immediate benefit of this astrophotography lens is its compatibility with a wide range of camera brands, including Canon, Nikon, Sony, and Fujifilm. However, its built-in electronics enabling aperture adjustment through the camera is only available for Nikon cameras. Unlike many similar lenses, this one combines a wide-angle with an f/2.8 aperture.
Compatible with Canon EF, Nikon F, Sony FE, and Sigma cameras, the wide aperture on this Sigma lens makes for a relatively heavy lens as compared to some of the other options on this list, but it’s also a full f-stop faster than many alternatives. This lens allows for incredible image sharpness, as well as great contrast and color. While there is some degradation of quality at the image corners on the fastest f-stop, these issues do not occur at the slower f-stop settings.
Advanced Astrophotography
While more advanced gear is a necessity for moving forward in astrophotography, you can also utilize more advanced techniques, like stacking images to reduce noise in your final images. Many astrophotographers capture dark frames, then layer the images together in post-production for a less grainy result. A dark frame will capture only electronic thermal noise, and by combining that image with your photograph, you can remove the thermal noise. It’s important that your dark frames use the exact same camera settings as your astrophotography image. The only difference? A dark frame is captured with the camera lens on. In order for the dark frame to do its job, there needs to be no light whatsoever entering the camera lens. Capture at least 10 dark frames, then create an average, which can be subtracted from your final image. While you can learn to do this in post-production, apps like DeepSkyStacker will do the heavy lifting for you. All you need to do is upload your images including all relevant frames, and it will do the stacking for you in a few hours’ time.
Now that you’re a more experienced astrophotography pro with all sorts of practice under your belt, it’s probably a good idea to invest in an astrophotography telescope so that you can start accessing a whole new set of possible photographs. To use a telescope for astrophotography you can either put your camera, with the lens on, on top of your astrophotography telescope, or you can remove the camera lens and hook up the telescope as the camera lens. If you can, invest in a dedicated astrophotography telescope, which will include features like star tracking and equatorial mounting.
Best Telescope for Astrophotography
Before you start researching specific astrophotography telescopes, let’s go over some of the features you should look out for. Fast optical speed, measured in SNR (signal to noise ratio) is a necessity for photos with a high number of photons, resulting in a smoother image. Your telescope should also include an equatorial mount, which stabilizes and focuses the camera on a fixed point in space, and stays fixed on that point even as the earth moves.
Celestron NexStar 130SLT Computerized Telescope
The StarPointer red-dot finderscope helps you align your astrophotography set up in order to locate your desired subjects in the night sky. Using an altazimuth mount, the telescope is able to track objects as they move across the sky. NexStar has a database of galaxies, clusters, and stars, and will generate a list of objects that you can find based on your location and time, so you can discover things you didn’t know were there. The telescope is also able to triangulate its position and automatically locate objects in the sky. It includes two eyepieces of different magnifications and the Celestron Starry Night software, which teaches you about the night sky and offers suggestions for planning your astrophotography sessions.
Orion 09007 SpaceProbe 130ST Equatorial Reflector Telescope
This telescope includes a 5.1-inch aperture, letting a large amount of light in for improved views of the planets and other astrological objects, including those far away in the galaxy. It allows you to manually track objects in the sky in slow motion. The entire assembled telescope weighs about 27 lbs, making it extremely easy to pack up and transport. It comes with two eyepieces, 25 mm and 10 mm, as well as a finder scope, pinion focuser, other accessories, and the Starry Night astronomy software.
SkyWatcher S20530 Star Adventurer Latitude EQ
One of the smallest telescopes available, this one is extremely easily transportable and user friendly. Latitudinal adjustment and micro-adjustments are possible, and it’s quite inexpensive compared to some of the other options, making it ideal for those who want to dip their toes into astrophotography telescopes without making a huge monetary investment right off the bat.
Orion 6″ f/4 Newtonian Astrograph Reflector Telescope
The 6″ aperture reflector lets users capture photos with short exposure times without sacrificing picture quality. The Crayford focuser blocks light that interferes with the night sky and increases contrast, which is helpful in all settings, but particularly if you are attempting astrophotography in a highly populated, developed area like a big city. It weighs just over 12 lbs, meaning it won’t require a particularly large mount. It also includes tube rings, a finder scope, and a dovetail mounting bar.
Best Apps and Programs for Astrophotography
Combining your astrophotography skills with the right apps will instantly simplify your process. Here are some of our favorite astrophotography programs.
This app has many features to help you plan out the perfect astrophotography photoshoot, including the ability to visualize the positions and paths of the sun, moon, and Milky Way. It also tracks the sun and moon’s rise and set times and moon phases and even calculates the correct exposures to use in low light or nighttime. There’s even a place where you can submit your photos to win monetary rewards and be shared with the world.
Unfortunately, most people live in areas with a lot of light pollution, making it a challenge to capture the astrophotography images of your dreams. Luckily, with Dark Sky Finder, you’ll be able to locate nearby dark skies using their worldwide light pollution maps. Dots indicate locations that will be good for observing and capturing the night sky, and folks from all over the world can add the observation sites they’ve found to help out others near that location. It’s quite affordable at only $2.99, or you can access the Dark Sky Finder website for free.
Stellarium is a completely free, open-source planetarium, accessible through your web browser. It allows users to see the sky in 3D so you can identify which stars and planets you are seeing. You can also discover the time and location that the Milky Way or other astrological objects will be visible so that you can plan your astrophotography outing accordingly.
Making use of gyroscopic sensors and GPS data, Sky Guide can determine exactly what your smartphone is seeing, and augmented reality will place the labeled sky map on top of what your phone is framing. You can search for objects by name in the database and save them to find quickly later on. It also includes information on the larger constellations and nebulae, as well as astronomy tips and related articles from the internet. Another great feature in the calendar of astronomical events and light pollution maps, as well as information on the visibility of the moon and planets.
Next Steps
No matter how advanced your skills in astrophotography are, there is always so much more to learn. As you finesse your talent, make sure you’re documenting the process and results for potential clients, collaborators, and publications. Use an online photography portfolio builder to build a professional website in minutes, where you can showcase everything you’re learning about capturing beautiful images of the night sky. Remember to update your portfolio as you go, and integrate an online store to make money as you learn through selling prints or digital downloads of your astrophotography, or even the Lightroom presets you may be using in post-production. You can also add a watermark directly through your website builder so that the results of all your hard work are protected from unauthorized distribution.
Good luck with your astrophotography journey! We can’t wait to see what you come up with.
Want more tips on running a successful photography business?
How to Make Money you’re your Photography
How Much Do Magazines (and Other Publications) Pay for Photos?
28 Freelance Work Websites for Finding New Clients and Better Jobs
