Embora a iluminação natural tenha suas vantagens, nada chega perto do nível de controle que você pode obter com a iluminação artificial. Atualmente, muitos fotógrafos preferem a iluminação de estúdio como sua opção de iluminação artificial, especialmente em ambientes controlados. Isso porque ela permite um controle preciso para criar vários efeitos de iluminação, de sombras dramáticas a realces suaves e tudo o mais.
Então, o que você deve ter em mente ao trabalhar com iluminação de estúdio? Elaboramos um guia abrangente que cobre os aspectos importantes que você precisa saber.
Os principais tipos de iluminação de estúdio
Quando se trata de fotografia de estúdio, é essencial compreender os diferentes tipos de iluminação e como eles afetam a imagem como um todo. Vamos explorar alguns deles.
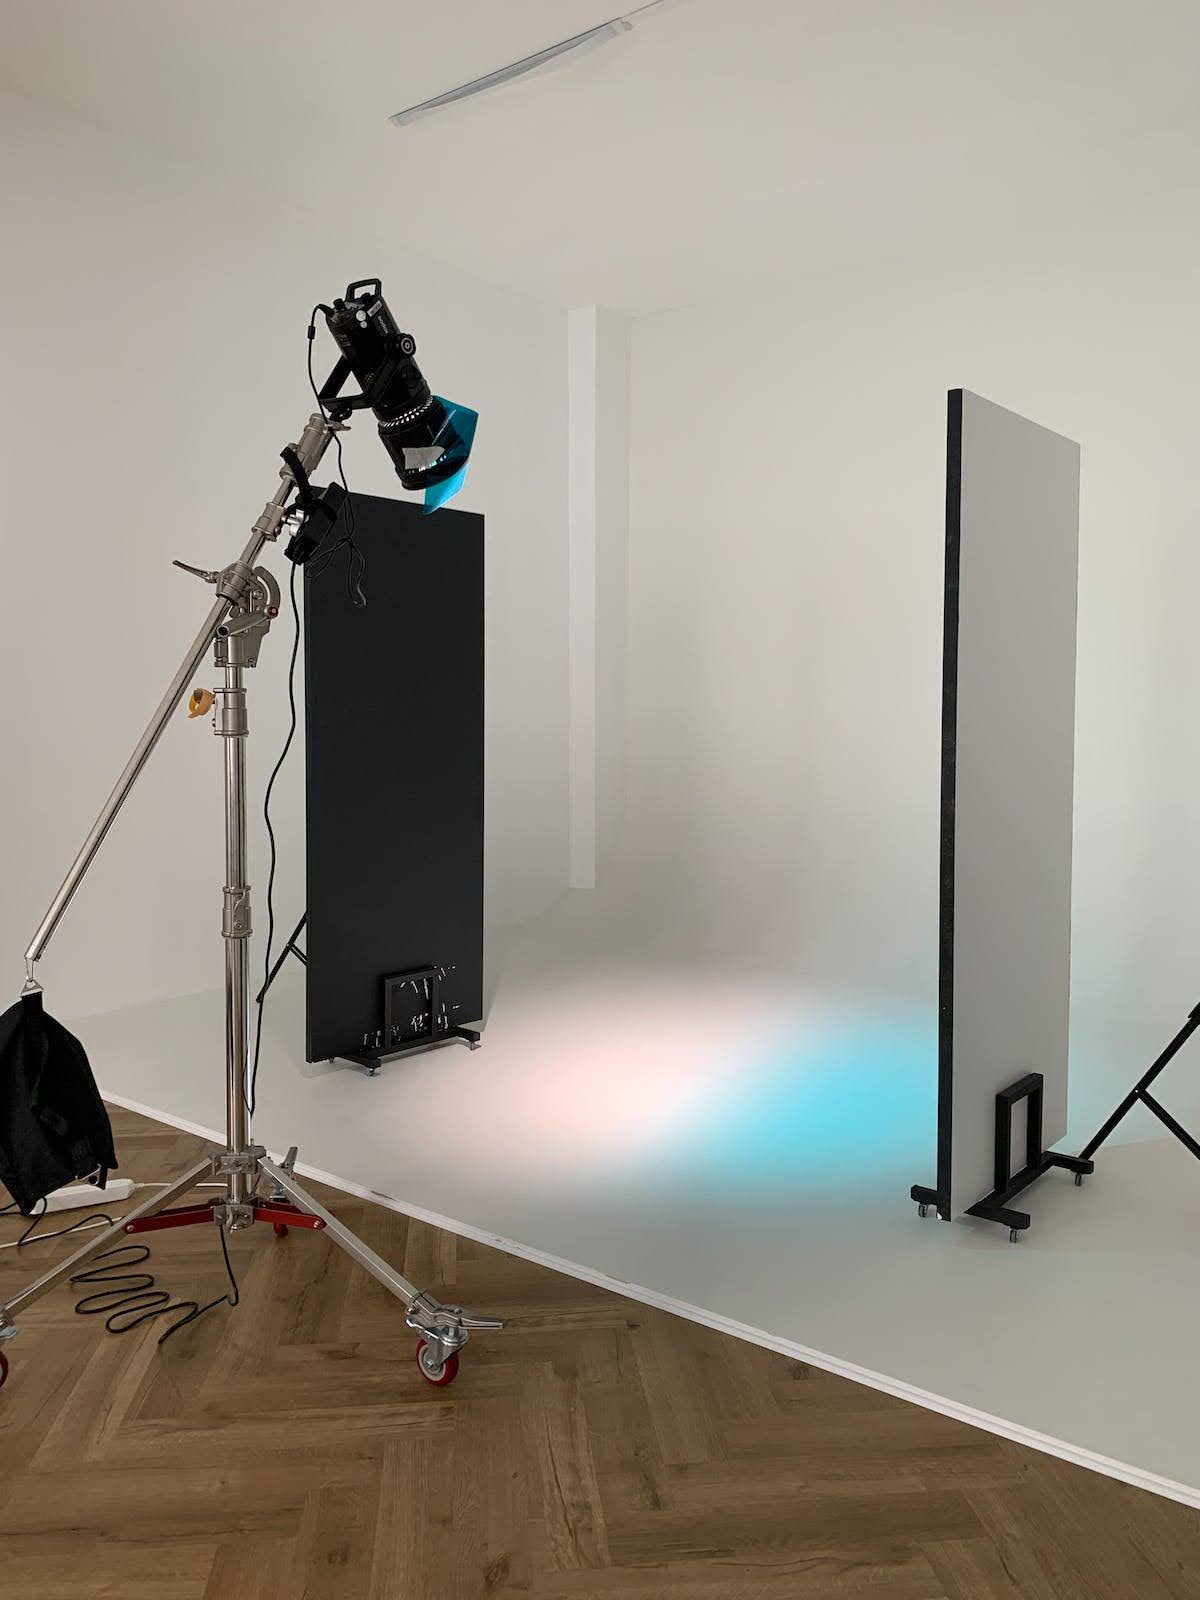
1. Iluminação contínua
A iluminação contínua, às vezes chamada de iluminação constante, refere-se a fontes de iluminação que permanecem ligadas continuamente enquanto você está tirando fotos. Elas fornecem uma saída de luz constante e ininterrupta, permitindo que você veja e ajuste a iluminação em tempo real.
Ao fotografar com iluminação contínua, o que você vê é o que você obtém. Por exemplo, se você observar uma iluminação irregular no objeto e continuar a tirar uma foto sem resolver o problema usando um refletor, é exatamente assim que a foto ficará: irregularmente iluminada.
Por esse motivo, a iluminação contínua é a melhor opção para muitos fotógrafos iniciantes. Ela é fácil de usar e simples de dominar, o que a torna um ponto de partida ideal. Atualmente, existem vários tipos de luzes contínuas, incluindo LEDs, tungstênio, fluorescentes e HMIs. Portanto, é importante selecionar sua iluminação com base em suas preferências criativas e necessidades de fotografia.
Ao começar, preste muita atenção às configurações da câmera para usar efetivamente as luzes contínuas em seu trabalho de estúdio, especialmente a velocidade do obturador e a temperatura da cor da luz. Além disso, esteja atento a qualquer luz ambiente indesejada para controlar totalmente o ambiente de filmagem.
2. Iluminação estroboscópica
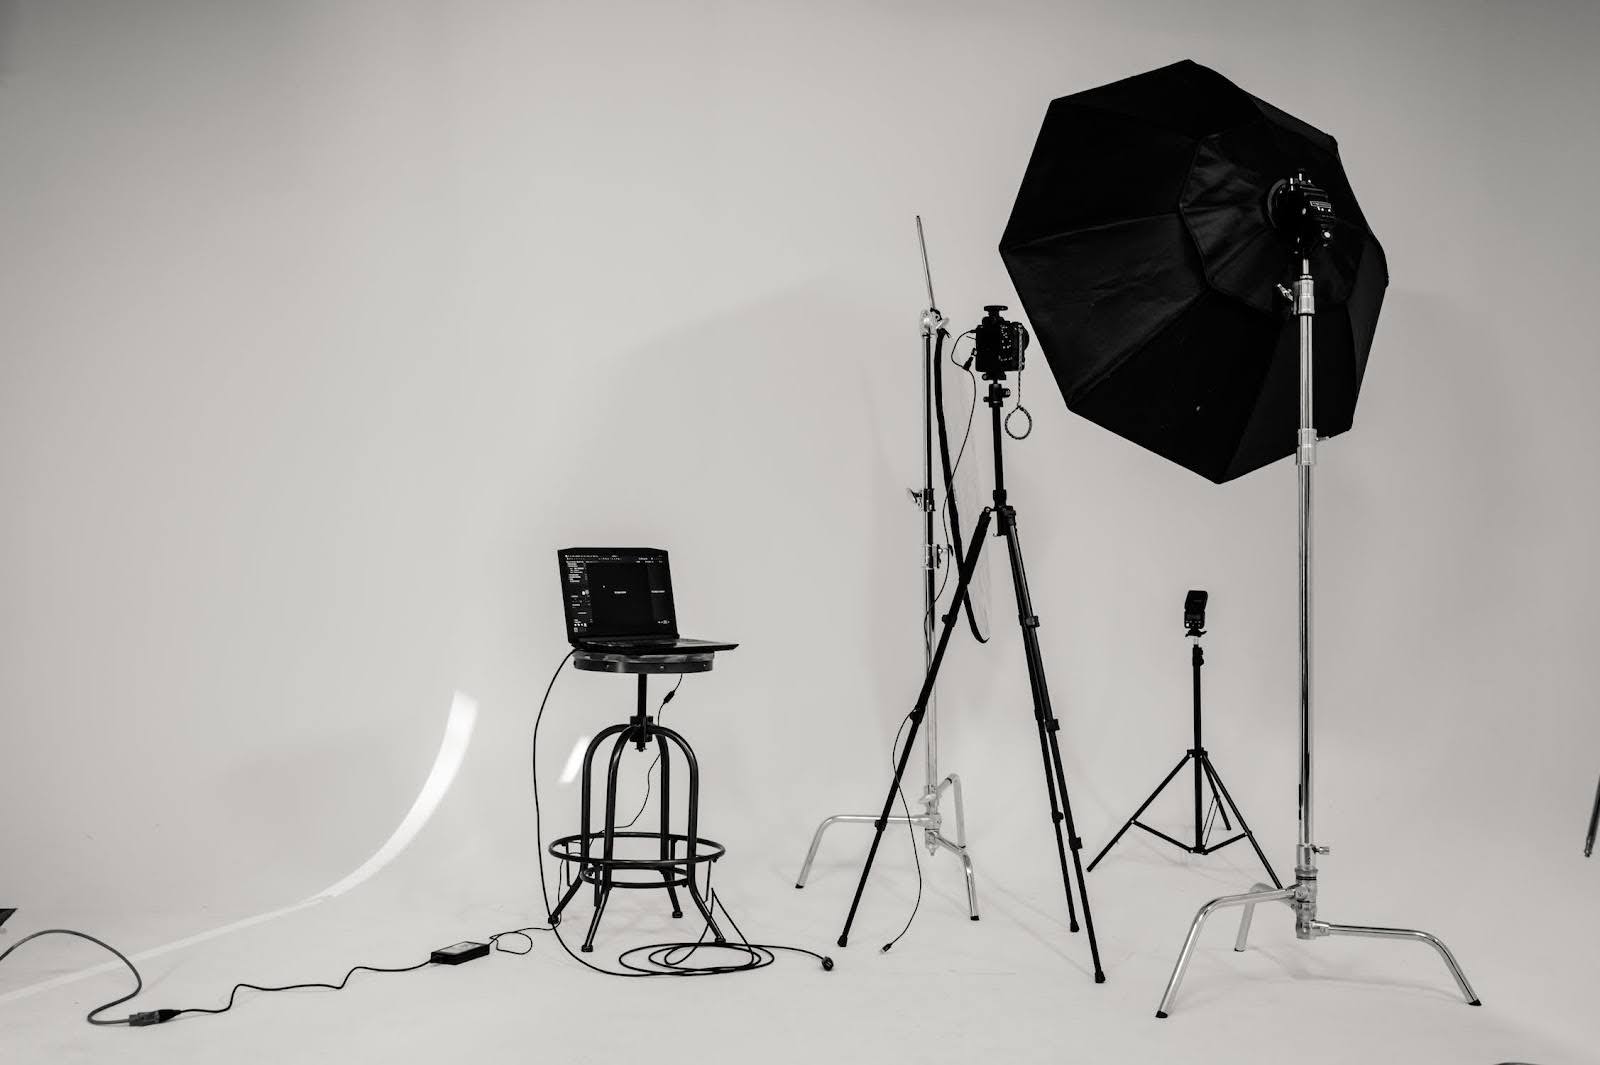
A iluminação estroboscópica refere-se a luzes ajustáveis que disparam quando acionadas com uma explosão ou "estroboscópio" de luz.
Em comparação com o flash clássico montado em sapata, os estroboscópios, também conhecidos como estroboscópios de estúdio, são notavelmente maiores, mais potentes e apresentam tempos de reciclagem mais rápidos. Esses estroboscópios estão disponíveis em três tipos principais, cada um com funções específicas para os fotógrafos: sistemas pack-and-head, monolights e estroboscópios alimentados por bateria.
Ao escolher entre os vários modelos de estroboscópios disponíveis, é essencial considerar a saída de energia. Isso determina a intensidade da explosão de luz. Se a energia do estroboscópio for muito alta, você corre o risco de superexposição, enquanto que uma energia muito baixa pode levar a imagens subexpostas. Em essência, a potência que você precisa do estroboscópio está diretamente relacionada ao tema e aos objetivos fotográficos.
Para obter o máximo de sua luz, reserve um tempo para brincar com as configurações e familiarizar-se com ela. Ao trabalhar com iluminação estroboscópica, certifique-se de que as configurações de exposição da câmera correspondam às configurações do estroboscópio e sincronize a câmera com as rajadas de luz do estroboscópio para capturar fotos com perfeição.
3. Iluminação de LED
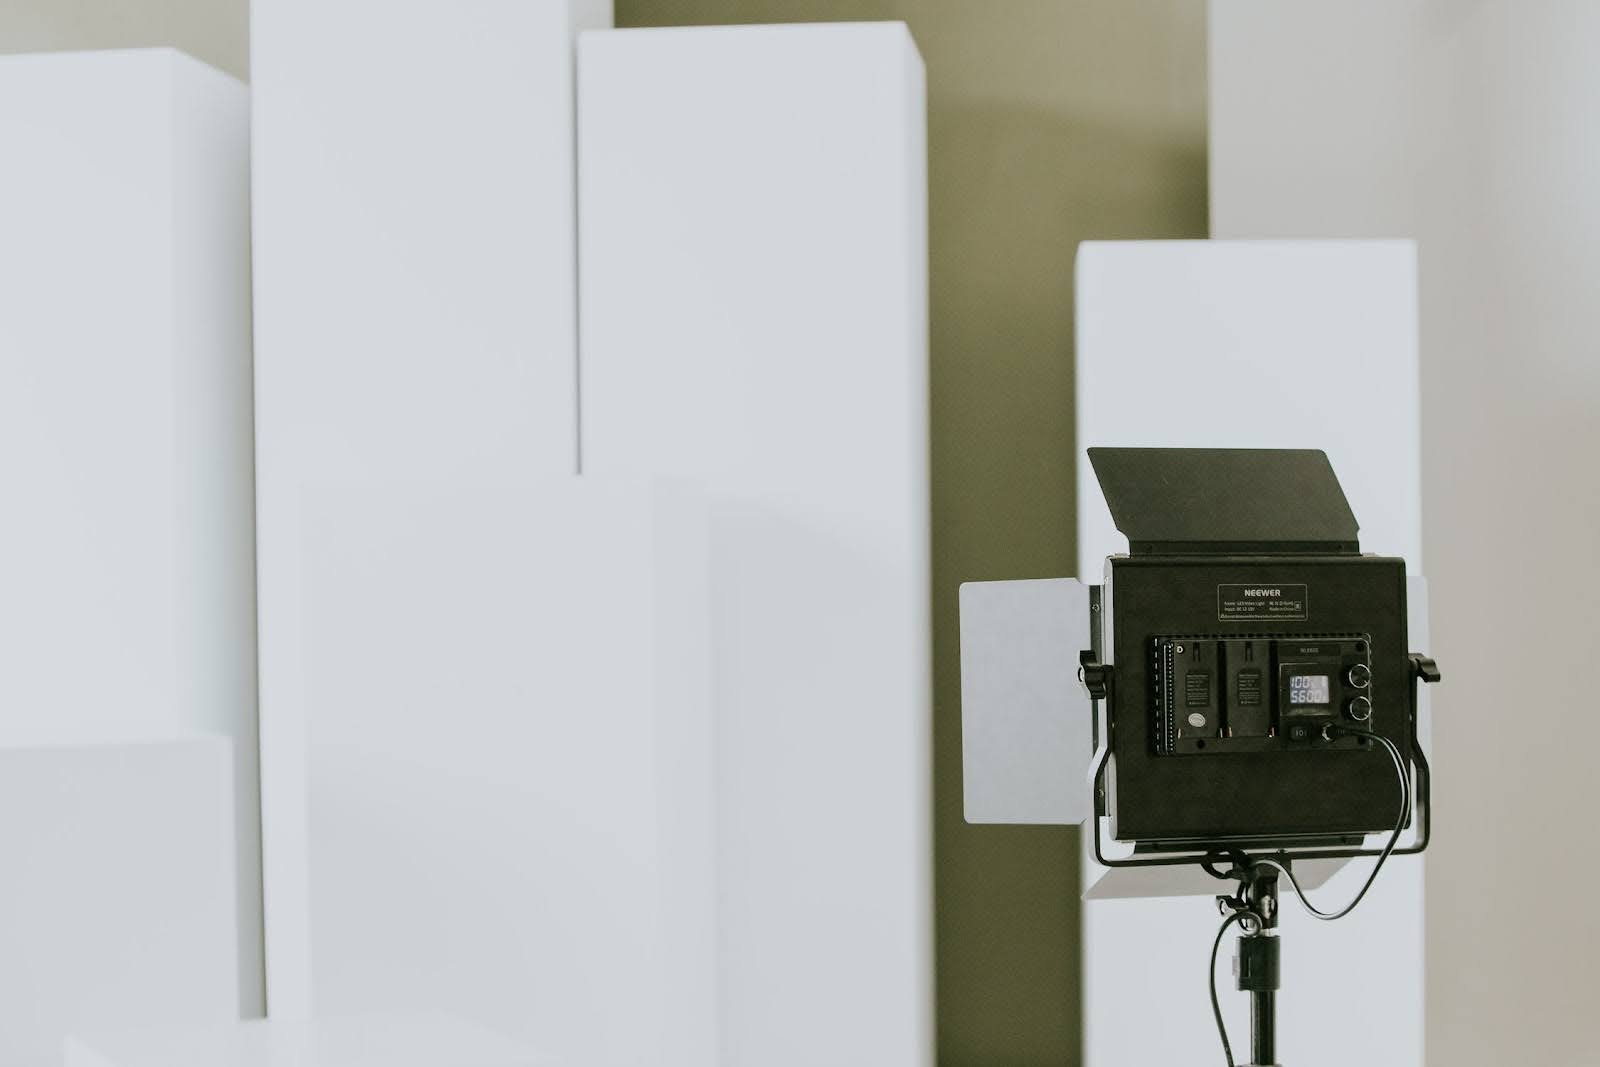
A iluminação LED, abreviação de Light Emitting Diodes (diodos emissores de luz), é uma fonte de luz primária versátil para fotógrafos. Ela fornece luz clara e direcional, o que a torna adequada para vários tipos de fotografia, incluindo retratos, produtos e eventos.
A iluminação LED ganhou popularidade na iluminação de estúdio devido às suas muitas vantagens. Entre elas estão a eficiência energética, a durabilidade, a capacidade de controlar a temperatura da cor, bem como a compactação e o design leve. A iluminação de estúdio de LED é fornecida em várias formas, incluindo anéis, tiras, painéis e refletores de LED.
Para integrar com sucesso a iluminação de LED em seu trabalho de estúdio, você precisará selecionar a luz de LED apropriada. Considere fatores como brilho, temperatura de cor e o tipo de luminária de LED que complementa seu estilo e tema.
Depois que você tiver feito a seleção, posicione as luzes estrategicamente para obter o efeito desejado e, ao mesmo tempo, mantenha o controle sobre a exposição da luz no objeto.
Dicas essenciais para trabalhar com iluminação de estúdio
Quer você seja experiente ou esteja apenas começando com a iluminação de estúdio, essas dicas essenciais serão úteis em seu trabalho de fotografia de estúdio.
1. Comece com uma única fonte de luz
Ao contrário da crença popular, você pode obter fotos impressionantes com uma única fonte de luz. O truque para dominar a arte da iluminação é começar com uma única fonte de luz e expandir gradualmente sua configuração.
Se você estiver fotografando retratos, naturezas mortas ou produtos, dominar o controle da luz é essencial para obter diferentes visuais em sua fotografia. Ajustes simples, como a alteração do ângulo e da altura da fonte de luz, podem transformar suas imagens de básicas em impactantes.
Suas opções de fonte de luz incluem luz naturalVocê pode usar luz de LED, estroboscópios de estúdio ou luz de velas. Dependendo do visual que você deseja, é aconselhável combinar sua fonte de luz única com um refletor ou softbox para aprimorar suas fotos.
2. Use um medidor de luz
Os medidores de luz são ferramentas de fotografia que medem com precisão a luz em uma cena. Ao medir a luz disponível, fica mais fácil determinar a luz adequada para você. configurações de exposição na sua câmera ou ajuste as fontes de luz.
Os medidores de luz vêm em várias formas, incluindo os de mão para precisão e versatilidade e os medidores embutidos na câmera para conveniência na fotografia diária. A escolha entre eles depende do que você deseja obter com a foto.
3. Use modificadores de luz
Os modificadores de luz em configurações de iluminação de estúdio são ferramentas valiosas para moldar e controlar a intensidade e a direção da luz sobre o objeto. De softboxes e guarda-chuvas a grades e refletores, esses modificadores de luz podem ajudar você a obter uma grande variedade de visuais e efeitos.
Por exemplo, em uma situação em que a luz do estúdio produz uma luz forte e dura, modificadores como softboxes ou guarda-chuvas podem ser úteis. Ao inseri-los habilmente em sua fotografia de estúdio, você pode difundir e suavizar com sucesso a luz sobre o objeto.
4. Controle a temperatura da cor
Simplificando, a temperatura da cor se refere ao calor ou ao frio da luz em sua foto. É interessante notar que a cor é tão importante quanto a luz na fotografia.
Ao trabalhar com iluminação de estúdio, é fundamental prestar atenção à temperatura da cor da luz, pois ela define o clima e a sensação da imagem. Para controlar a temperatura da cor da luz, use filtros ou géis nas luzes ou ajuste o equilíbrio de branco da câmera.
5. Faça experiências com diferentes ângulos e distâncias
O ângulo e a distância da luz em relação ao objeto desempenham um papel importante na formação da iluminação do objeto. Embora alguns fotógrafos possam conseguir o ângulo e a distância ideais na primeira tentativa, muitas das melhores fotos resultam de tentativa e erro, envolvendo vários ajustes nas fontes de luz.
O truque é experimentar diferentes ângulos e distâncias, reposicionando a fonte de luz ao redor do objeto até que você obtenha os resultados desejados.
6. Use um refletor
Os refletores são modificadores de luz de baixo custo, permitindo que você controle a qualidade e a direção da luz. Entretanto, lembre-se de que cores diferentes de refletores proporcionam efeitos diferentes. Por exemplo, os refletores dourados adicionam calor à luz, enquanto os refletores brancos proporcionam uma luz de preenchimento suave e natural.
Lembre-se de posicione seu refletor Oponha-se à sua fonte de luz principal e incline-a adequadamente para refletir a luz sobre o objeto a ser fotografado para obter um resultado mais equilibrado e profissional.
7. Preste atenção ao plano de fundo
Independentemente de você estar buscando um plano de fundo abstrato, monocromático ou texturizado, a escolha do plano de fundo influencia significativamente a aparência geral da fotografia.
Prestar atenção ao plano de fundo significa verificar se há distrações, garantir a iluminação adequada, avaliar a composição e manter a consistência. Essas escolhas deliberadas contribuem para a criação de uma fotografia bem equilibrada e visualmente atraente.
8. Tire fotos de teste e faça ajustes
Tirar fotos de teste em fotografia é como dar voltas de aquecimento antes de uma corrida. Isso permite que você observe e ajuste os elementos da sua imagem, inclusive as configurações da câmera, a composição e a iluminação, antes de tirar a imagem final.
Ao capturar fotos de teste e fazer os ajustes necessários, você pode garantir que as imagens finais estejam adequadamente expostas e alinhadas com a sua visão criativa.
9. Segurança em primeiro lugar
Priorizar a segurança ao trabalhar com equipamentos de iluminação de estúdio é essencial para evitar acidentes no estúdio. Esses acidentes podem ocorrer de várias formas, incluindo choques elétricos, superaquecimento do equipamento que leva a incêndios, tropeçar em cabos ou até mesmo derrubar suportes de luz.
Para manter um ambiente de estúdio seguro, é fundamental que você siga todas as instruções e diretrizes de segurança ao usar a iluminação de estúdio.
10. Prática e experimentos
Para dominar o trabalho com iluminação de estúdio - assim como para refinar qualquer habilidade - você precisa praticar e experimentar. Ao fazer isso, você aprenderá como pequenos ajustes de luz afetam a aparência e a sensação da sua imagem.
À medida que você passa mais tempo trabalhando com iluminação de estúdio, entende melhor como posicionar as luzes para obter efeitos específicos.
Configurações de iluminação comuns para uma fotografia cativante
As configurações de iluminação de estúdio oferecem aos fotógrafos a flexibilidade de criar diferentes visuais e efeitos de iluminação em suas fotos. Essas configurações têm um grande impacto sobre o estilo e o clima de suas imagens, permitindo que você crie o efeito que você ou seus clientes desejam. Vamos explorar algumas das configurações de iluminação mais comuns para que você possa começar.
1. Iluminação de um ponto
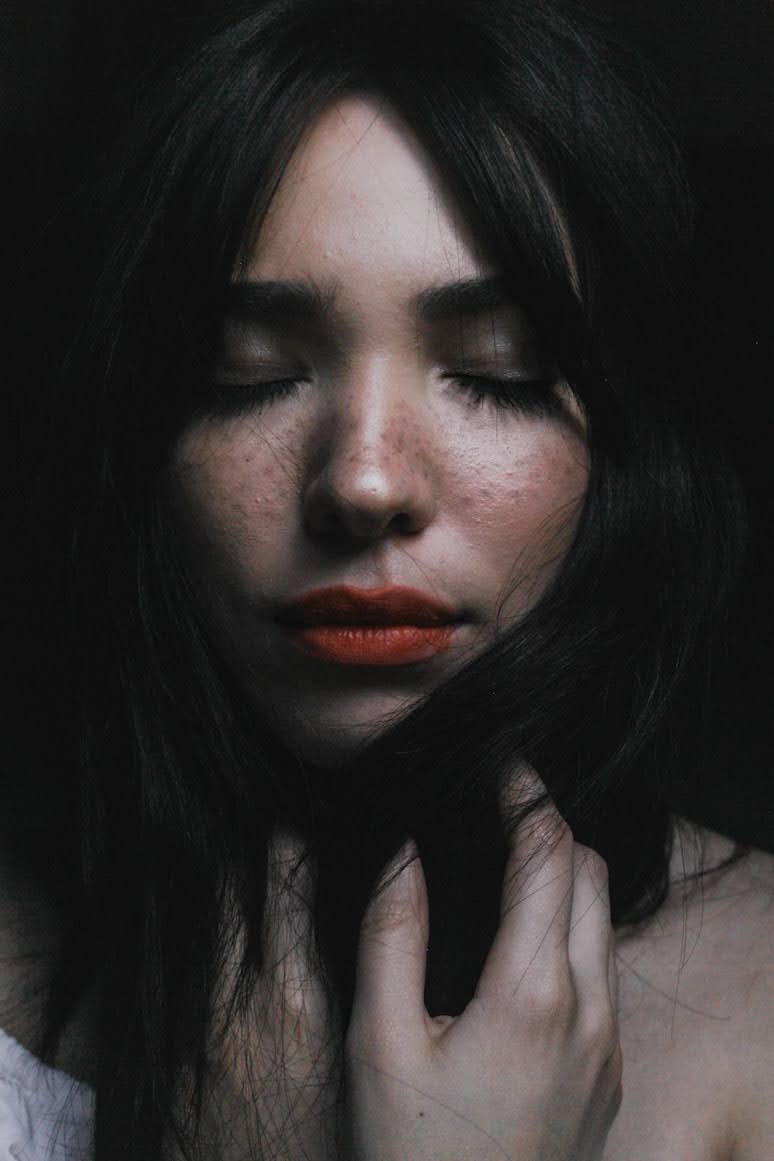
A configuração de iluminação de um ponto envolve fotografar com uma única fonte de luz. Dependendo da sua escolha criativa, você pode experimentar diferentes ângulos e configurações de luz para encontrar o que melhor se adapta ao seu tema e estilo.
Para aproveitar ao máximo a luz limitada, use modificadores como refletores e difusores. Esses modificadores permitem que você controle a direção e a suavidade da luz para obter imagens visualmente atraentes.
2. Iluminação de três pontos
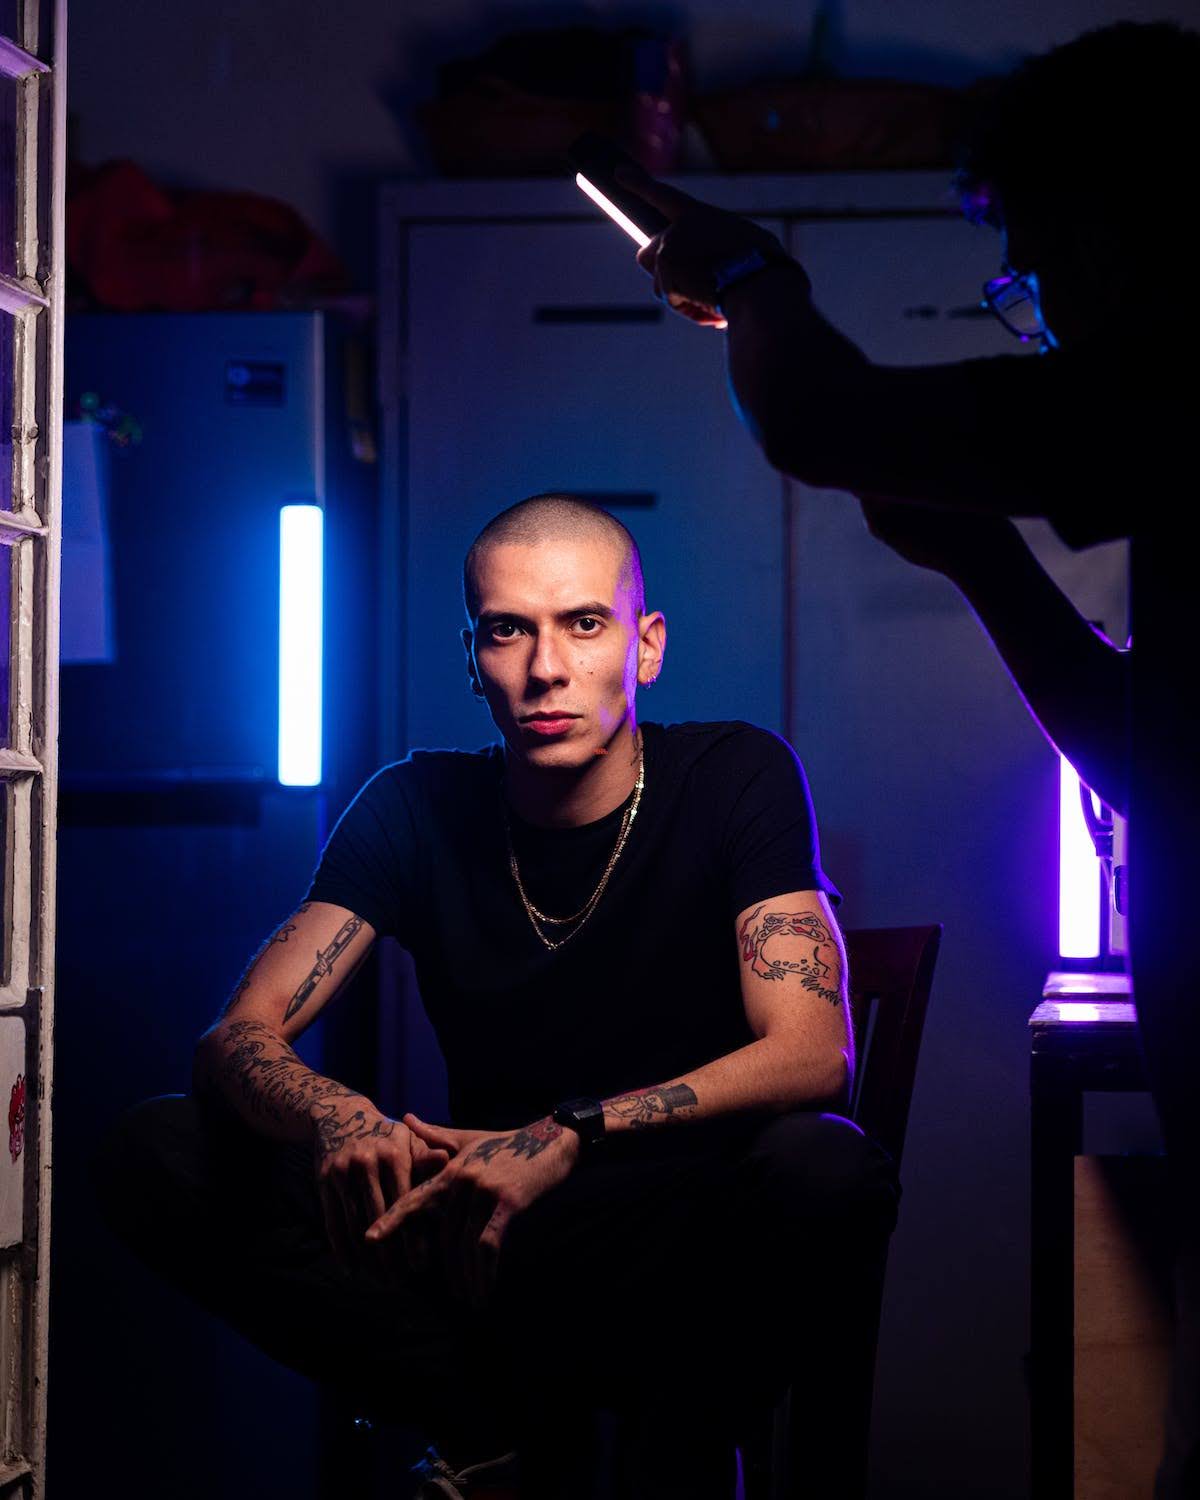
A configuração de iluminação de três pontos é uma das configurações mais populares e amplamente usadas pelos fotógrafos. Como o nome indica, a iluminação de três pontos consiste em três tipos de luzVocê pode escolher entre três tipos de luz: a luz principal, a luz de preenchimento e a luz de fundo. Em diferentes situações de fotografia, essas três luzes se unem para dar profundidade e equilíbrio às suas fotos.
A luz principal, que é a fonte de luz primária, fica em um lado, em um ângulo de 45 graus em relação ao objeto. A luz de preenchimento fica no lado oposto para suavizar as sombras, e a luz de fundo, na parte de trás do objeto, acrescenta profundidade e dimensão à foto.
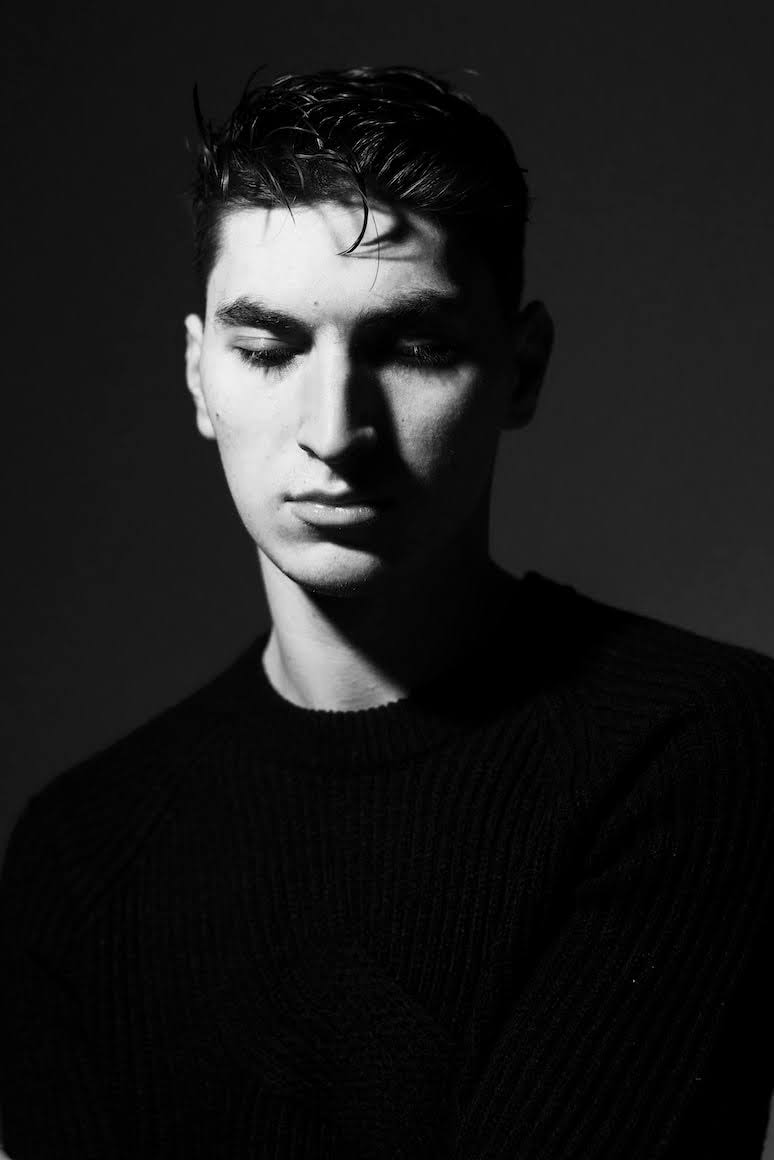
3. Iluminação Rembrandt
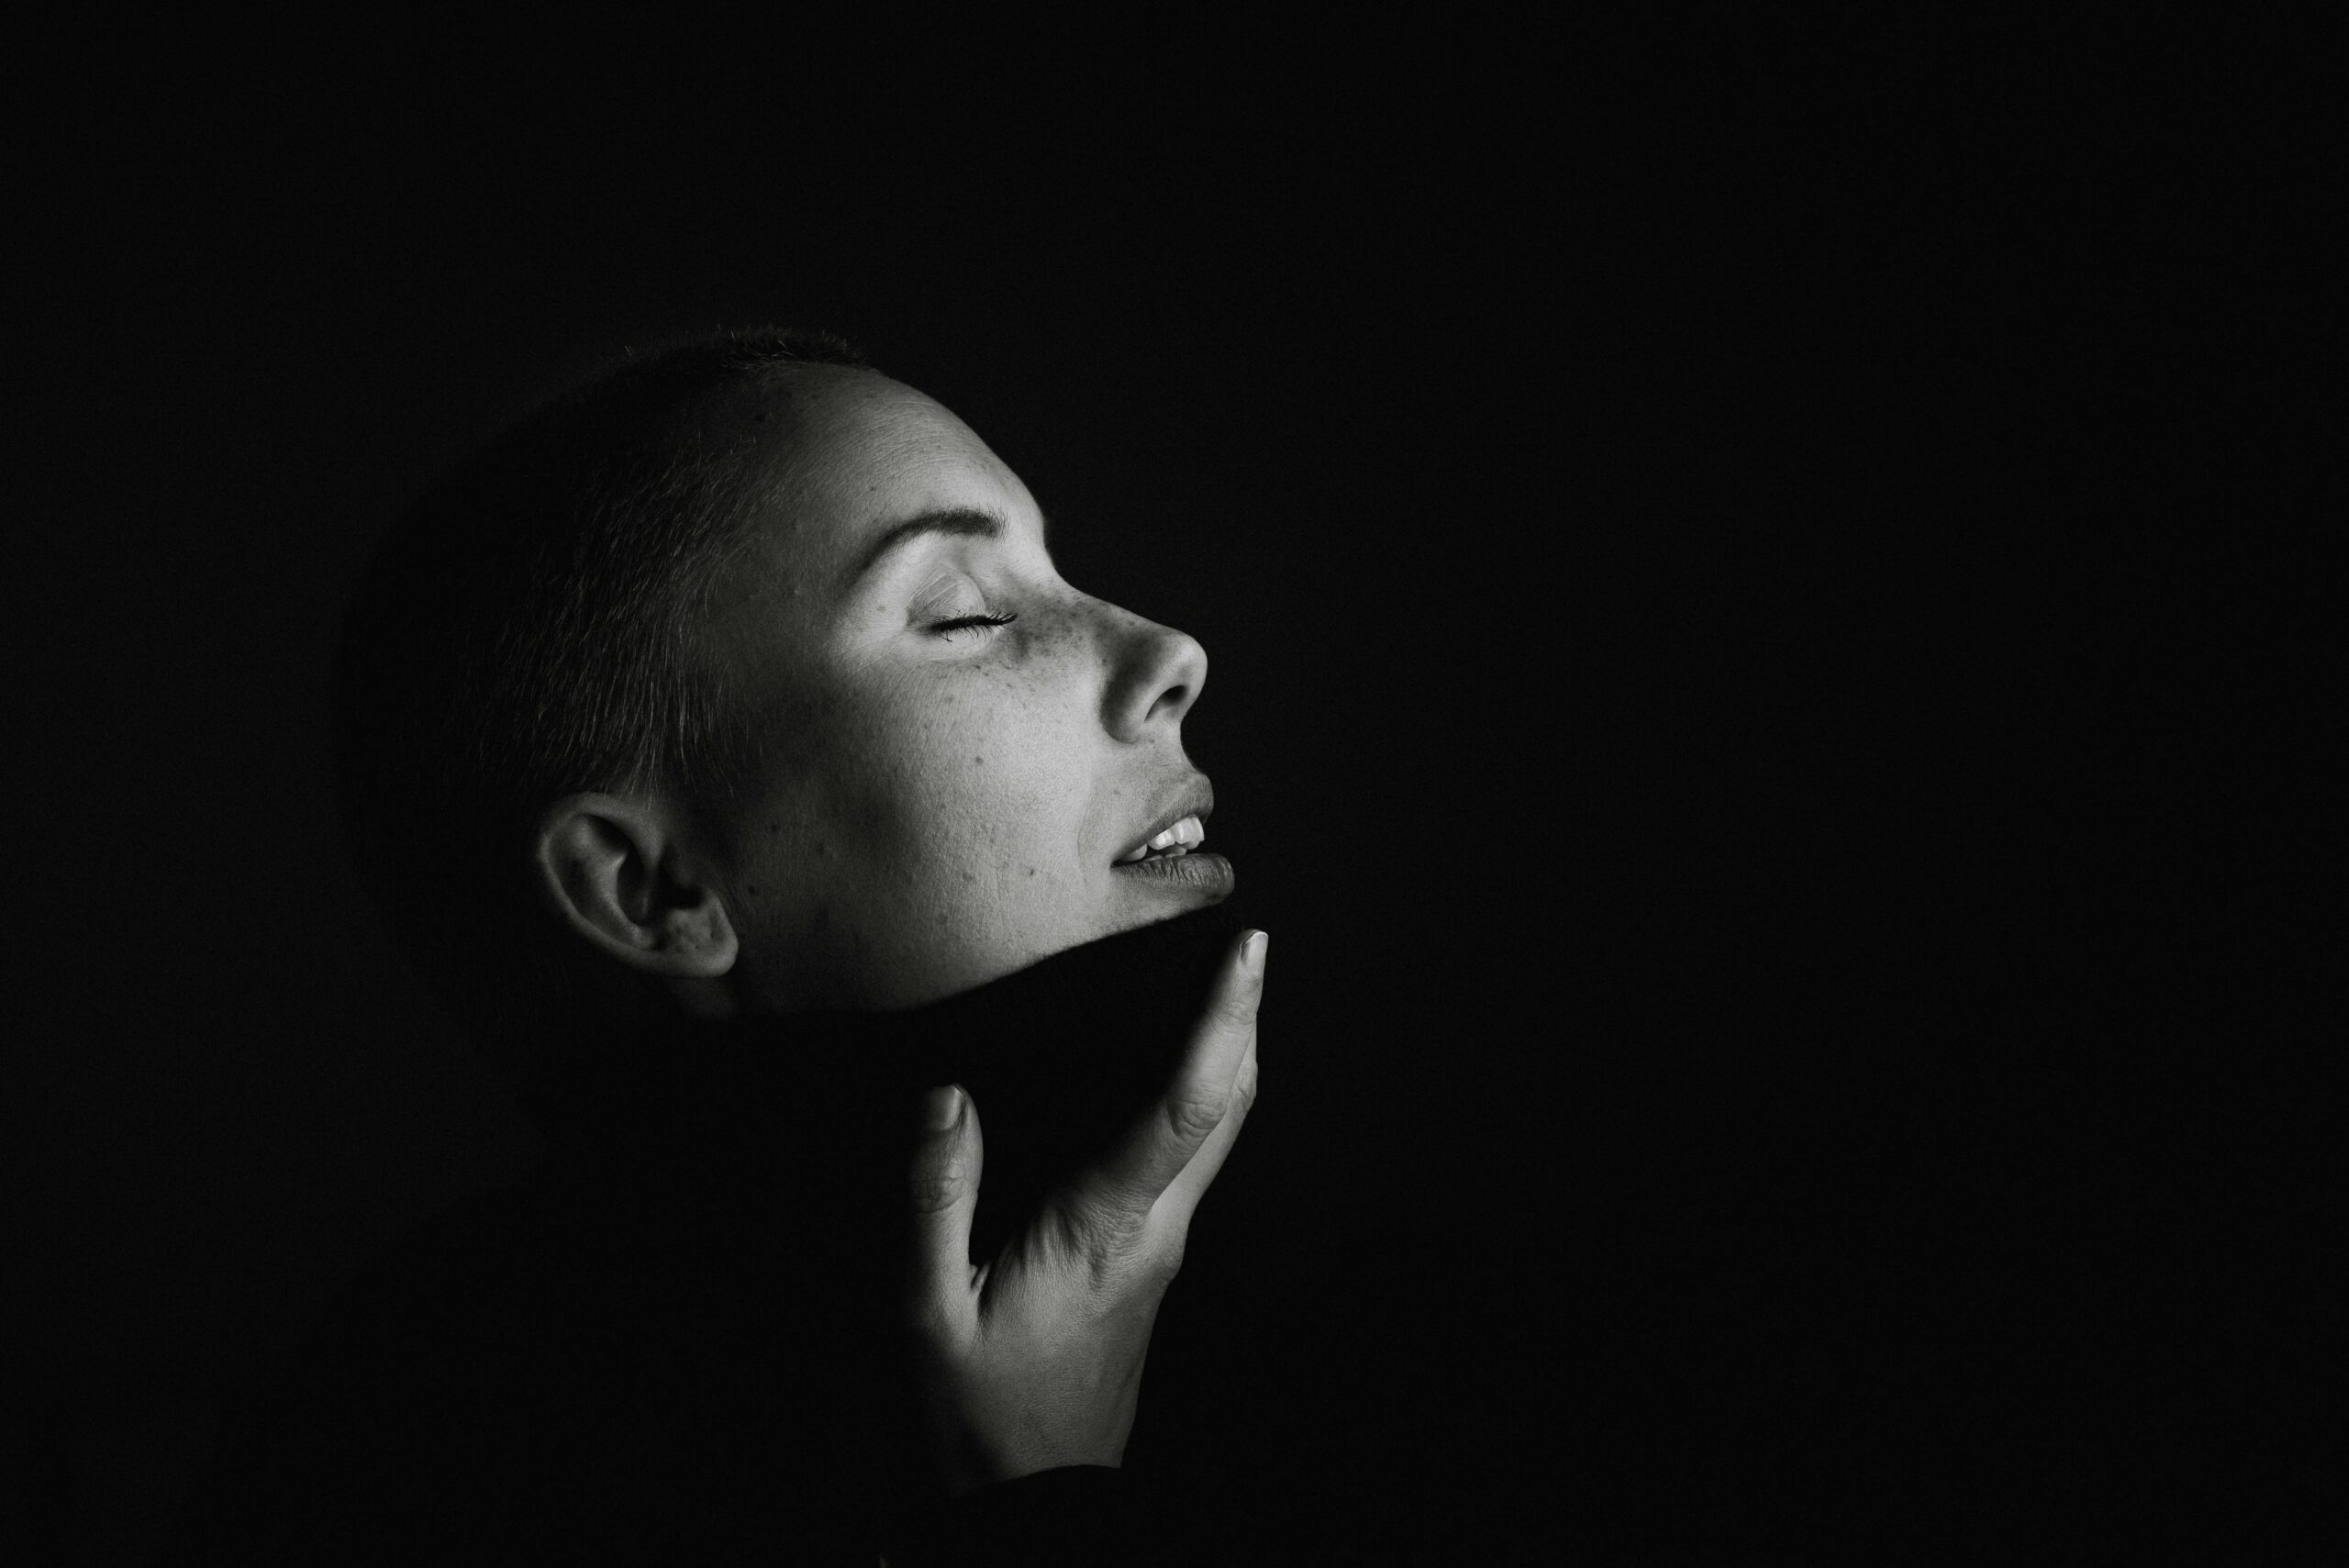
Iluminação Rembrandt é uma configuração clássica de iluminação de estúdio usada popularmente para retratos de estúdio. Essa técnica usa uma única ou duas fontes de luz separadas para criar um efeito dramático e temperamental em suas imagens.
Com o nome do renomado pintor holandês Rembrandt Harmenszoon van Rijn, a iluminação Rembrandt é facilmente reconhecida pelo triângulo invertido de luz formado na bochecha do sujeito.
Para criar a iluminação Rembrandt, posicione a luz principal em um ângulo de 45 graus em relação ao objeto, um pouco acima do nível dos olhos. Em seguida, faça com que o sujeito ajuste a cabeça até que se forme uma mancha triangular de luz na bochecha oposta. Você também pode usar um refletor para refletir a luz no rosto do sujeito e reduzir o contraste.
Liberte sua criatividade com a iluminação de estúdio
Entender como funciona a iluminação de estúdio é um divisor de águas, independentemente do seu nível de fotografia. Embora experimentar seja sempre uma boa ideia na fotografia, lembre-se de tomar precauções de segurança e combater a iluminação complicada como um profissional com modificadores de luz.
Por fim, descobrir seu estilo único com a iluminação de estúdio torna-se fácil com a prática e a experimentação. Portanto, aplique tudo o que você aprendeu neste guia para liberar sua criatividade e capturar fotos incríveis.
