À medida que a tecnologia muda, é uma boa ideia revisar alguns dos recursos de iluminação mais populares, versáteis e comumente usados, quer você seja um novato na fotografia ou já esteja nessa atividade há anos
Não existe uma luz universalmente perfeita para cada cenário diferente. Quando você decide que tipo de luz funciona para o seu projeto, tudo se resume ao seu tema e ao conceito e clima que você está tentando executar. Criamos este guia prático sobre os diferentes tipos de iluminação natural e artificial, para que você possa determinar qual deles funcionará melhor para a sua sessão de fotos e tema específicos.
A importância da luz na fotografia
A iluminação é um dos elementos mais importantes de qualquer foto. Sem alguma fonte de luz - natural ou artificial - não há imagem.
A posição e a qualidade da luz determinarão muitas coisas na foto final, desde a clareza e a nitidez até o humor e a emoção. Prestar atenção em como a luz se comporta nos ângulos e curvas do objeto e em quais partes do objeto estão iluminadas e quais estão na escuridão fará de você um fotógrafo mais forte. Você começará a entender intuitivamente como aproveitar efetivamente sua fonte de luz para qualquer projeto.
Como a luz afeta sua fotografia
Quer se trate de fotografia de retrato, natureza morta ou paisagem, suas escolhas de iluminação dependerão das características do objeto e de como você deseja que elas sejam retratadas. Por exemplo, a luz dura é mais severa e enfatiza os ângulos e qualquer superfície que não seja perfeitamente plana, como as ondas em uma praia ou um modelo com rugas ou acne, enquanto a luz suave suaviza essas texturas.
Se você estiver fazendo uma sessão de fotos de beleza em que o foco são os traços impecáveis, o tipo de iluminação que você usará provavelmente será muito diferente de uma sessão de fotos para enfatizar os detalhes de um tecido lindamente trabalhado. Entender como fazer o melhor uso da iluminação natural e artificial em cada situação será um grande passo em sua jornada para se tornar o melhor fotógrafo que você puder.
Diferentes tipos de iluminação
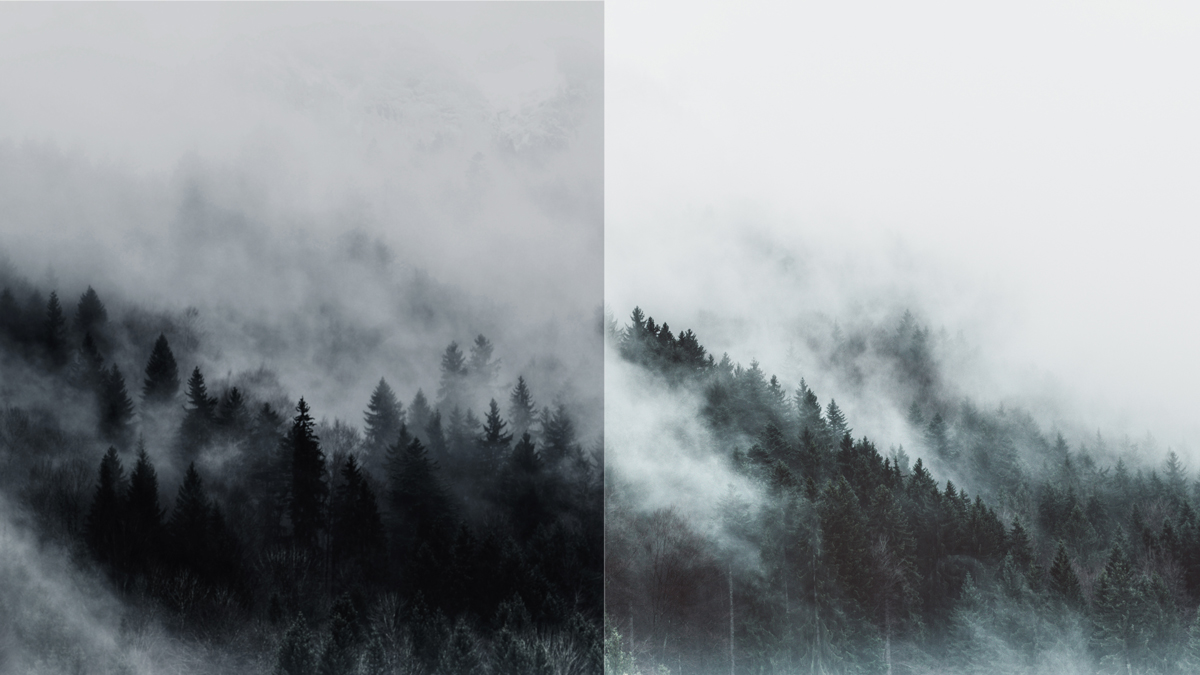
Há dois tipos principais de luz: natural e artificial. A luz natural é qualquer coisa que ocorra sem intervenção humana, seja ao ar livre ou por meio de uma janela; a luz direta do sol em um dia claro, a luz difusa criada por um dia nublado ou com neblina, ou até mesmo a luz da lua à noite.
A luz artificial pode ser criada, movida e ajustada para se adequar à sua situação. É mais fácil posicionar a luz artificial em relação ao tema do que com a iluminação natural, onde você teria que mover o tema e a câmera de acordo com a técnica de iluminação que deseja usar. Tanto a iluminação artificial quanto a natural podem ser manipuladas para criar qualquer número de estilos, desde que você saiba como usá-las.
Luz natural
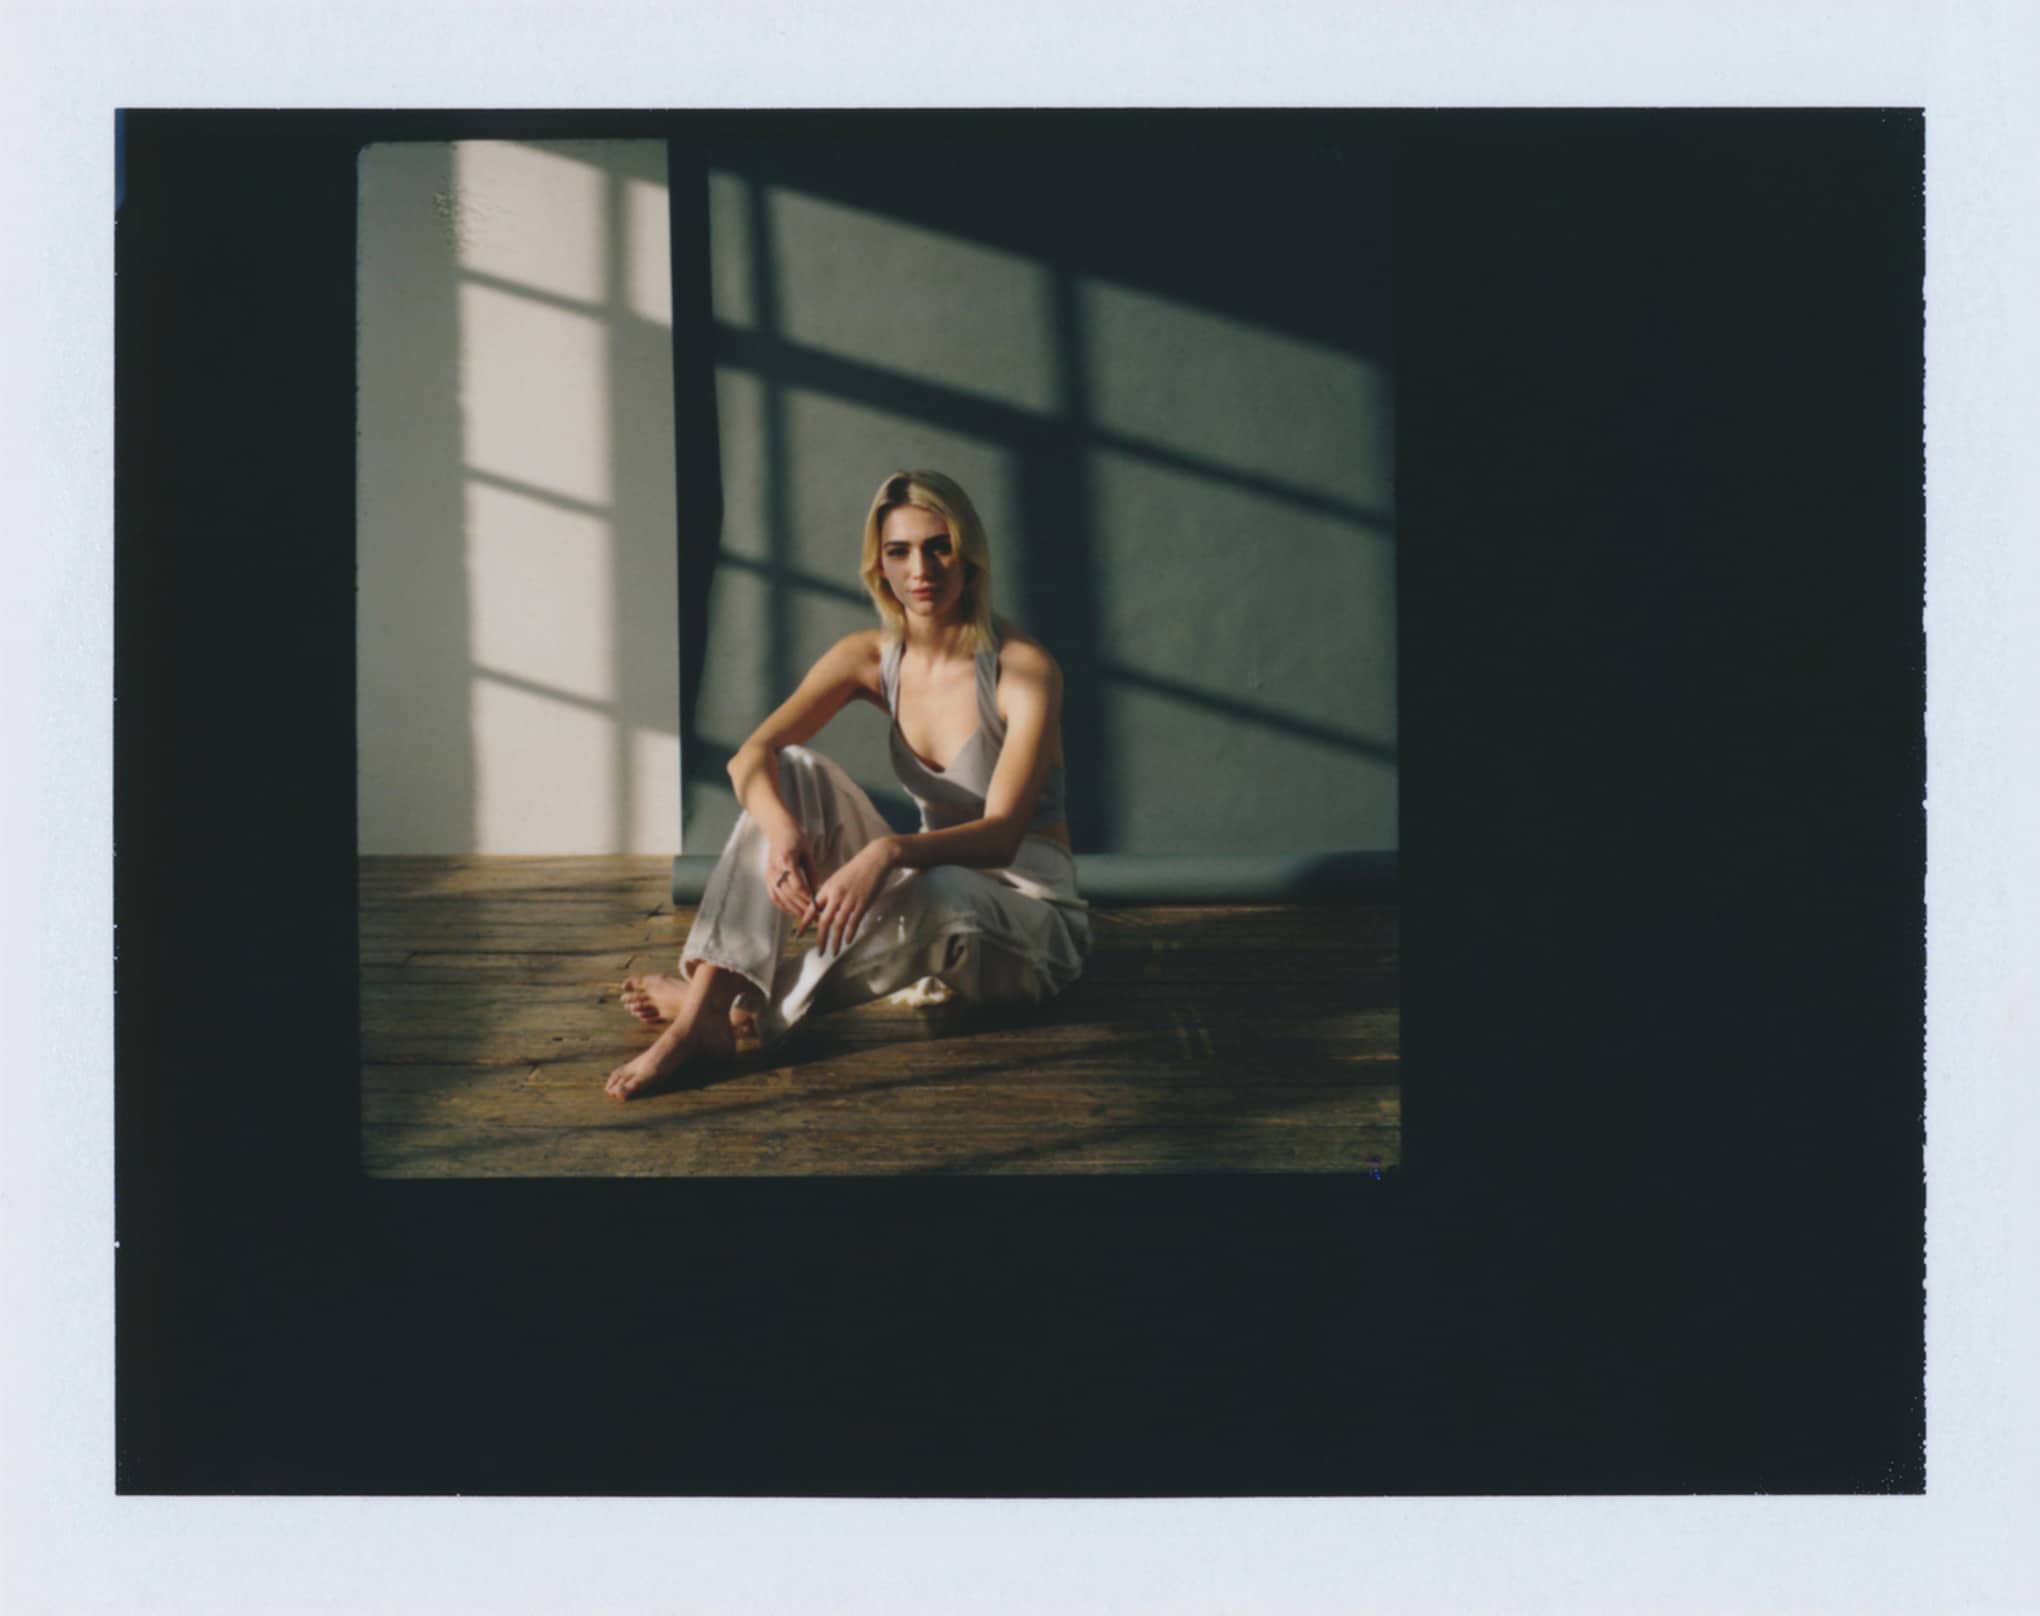
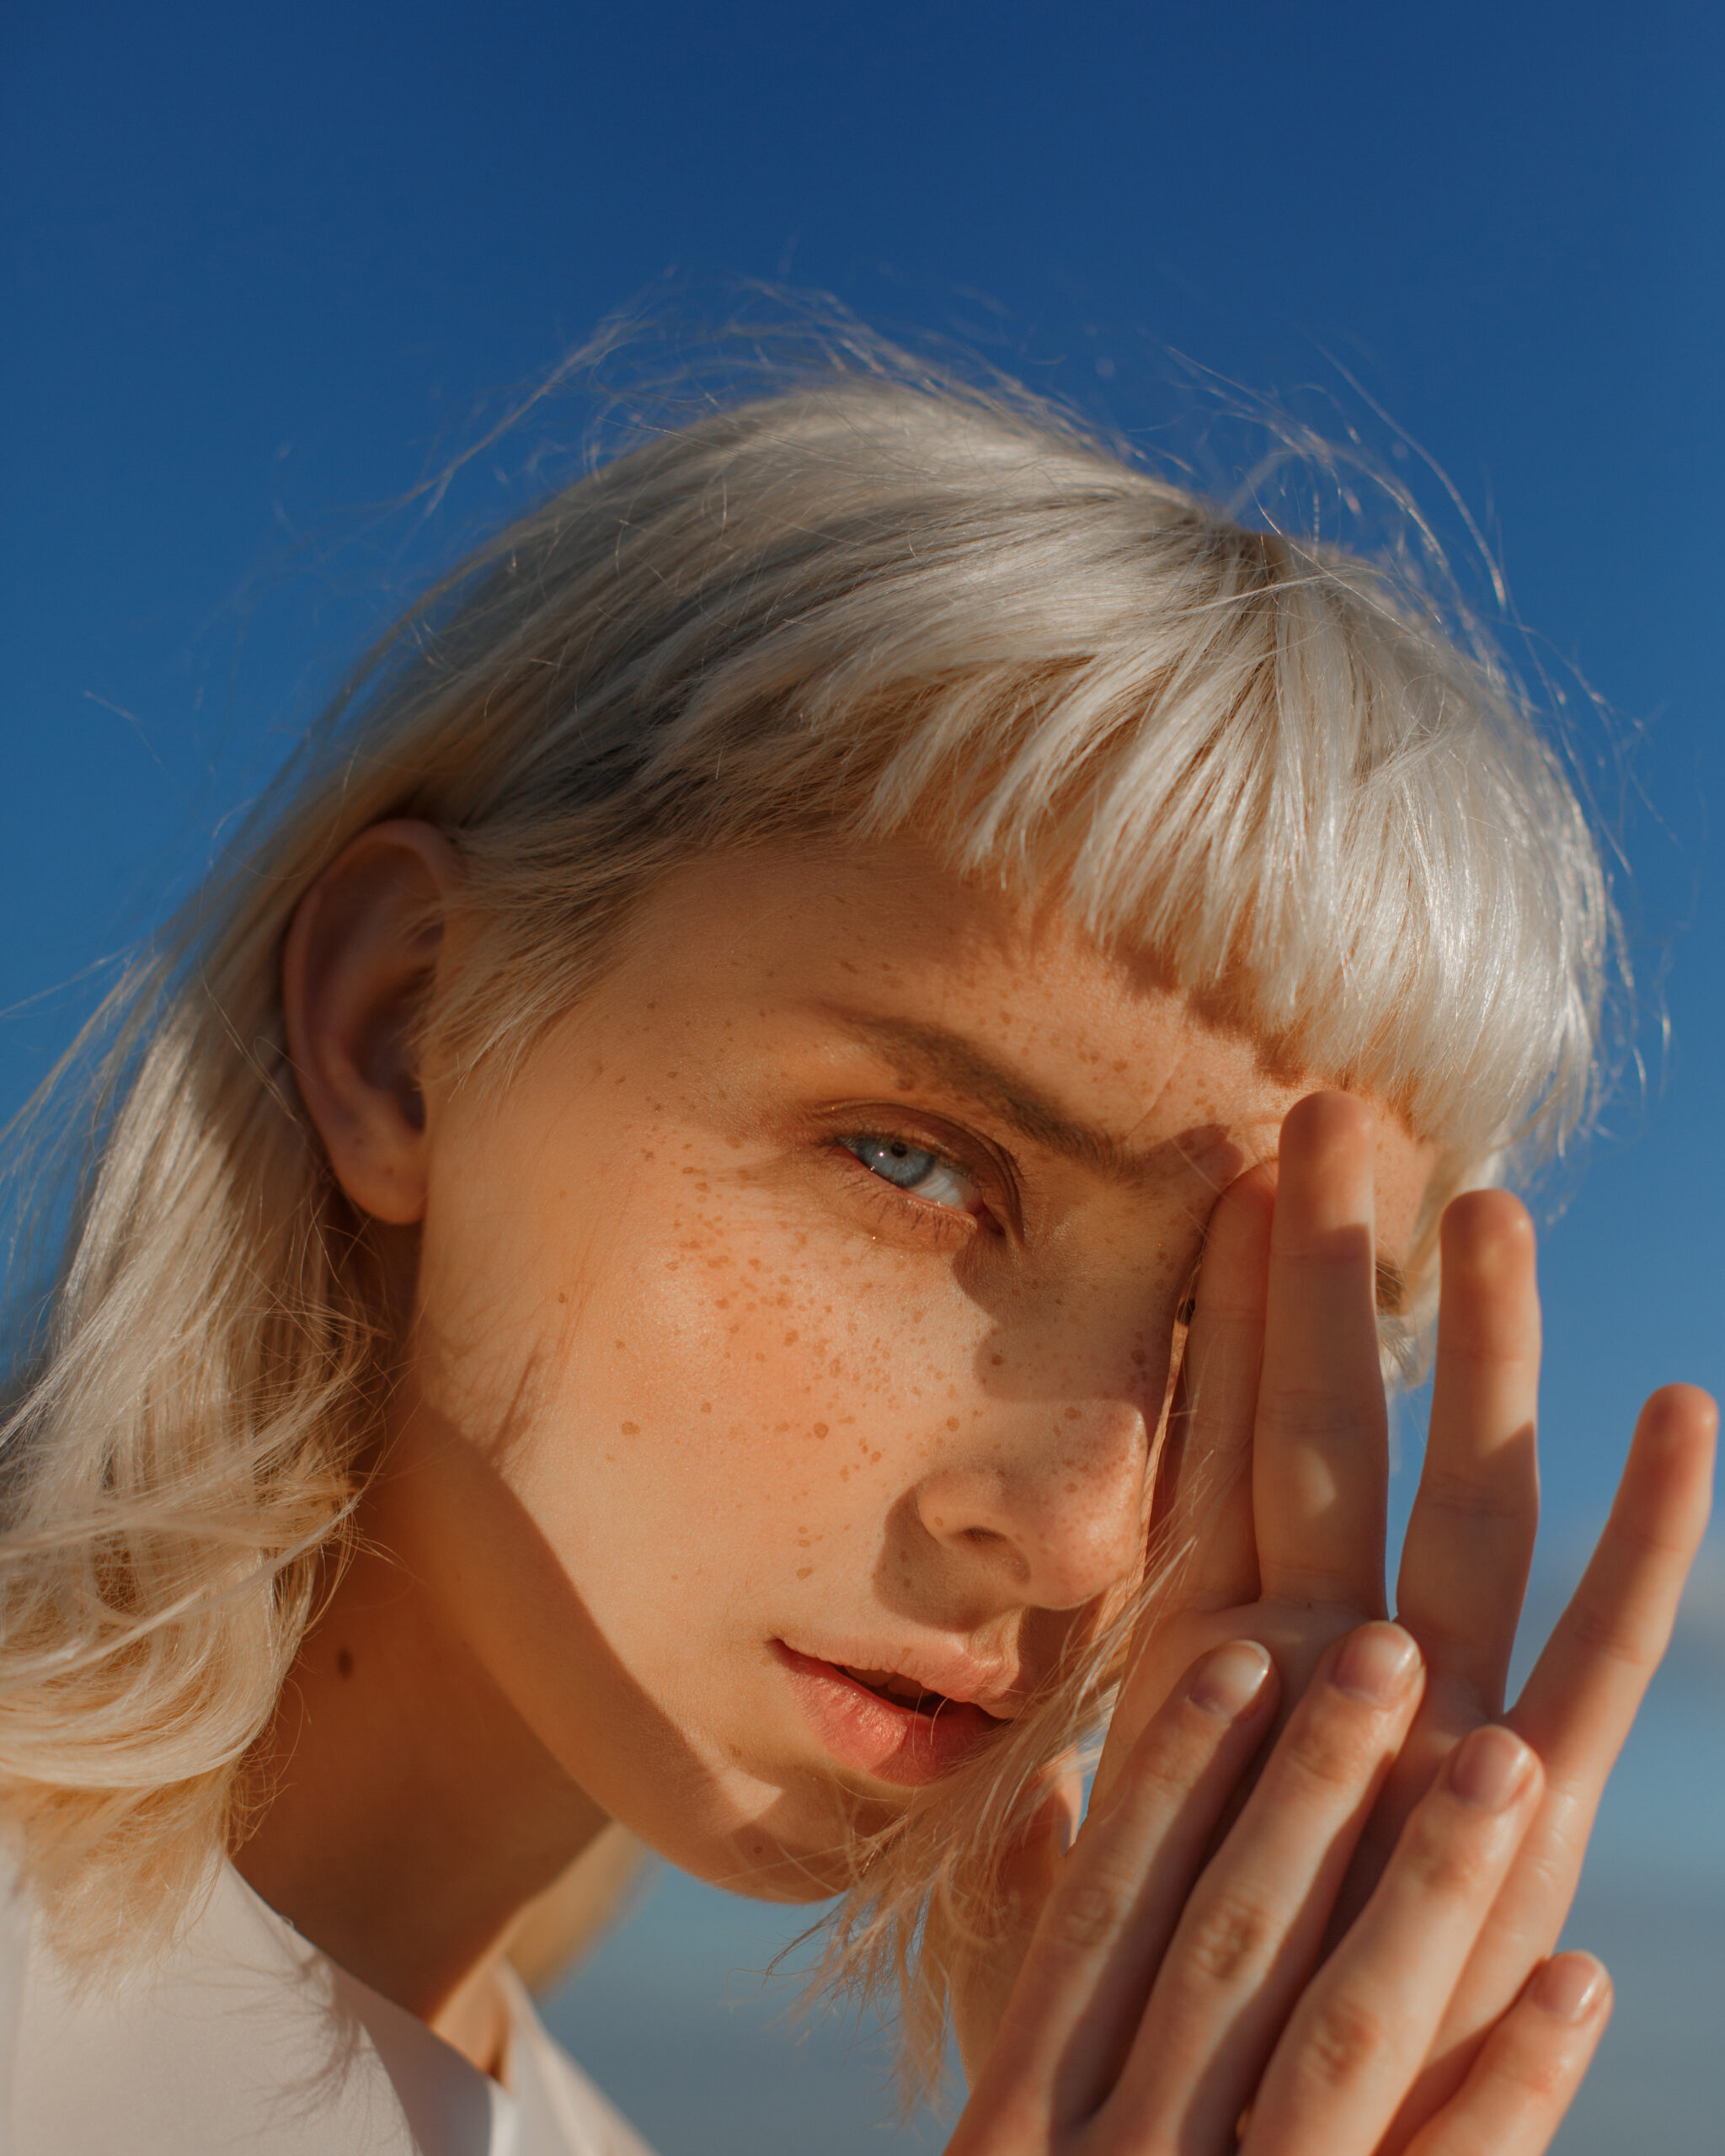
Se você quiser usar a luz natural em suas fotografias, é importante entender o ângulo do sol e como isso afetará a composição. Por exemplo, na maior parte do dia, o sol está diretamente acima da cabeça, portanto o objeto será iluminado de cima. Em retratos, isso pode causar sombras sob os olhos - preencher as sombras com um refletor pode ser útil durante as horas em que o sol está diretamente acima da cabeça. Um dia ensolarado sem nuvens resultará em sombras mais intensas, enquanto um céu cheio de nuvens difundirá a luz do sol para que o contraste da luz sobre o objeto seja menos forte.
Para obter uma iluminação natural mais suave, você pode usar as horas mais próximas do nascer e do pôr do sol, quando o sol estará ligeiramente inclinado em vez de diretamente acima do objeto, e o brilho do sol pode ser menos intenso. Essas horas são chamadas de "hora dourada", pois a qualidade da luz é mais quente e pode banhar naturalmente o tema com a luz mais lisonjeira.
Luz frontal (ou luz plana)
A luz frontal ocorre quando a fonte de luz está diretamente na frente do objeto. Como a luz não está em um ângulo, isso pode resultar em uma quantidade limitada de sombras. A luz será distribuída uniformemente pela foto, sem nenhuma seção mais ou menos exposta do que as demais.
A luz plana pode ser boa para retratos, especialmente se o objeto tiver alguma característica, como textura, que você queira enfatizar. No entanto, se você estiver tentando criar um retrato que mostre muita personalidade, a iluminação frontal não fornecerá os detalhes de que você precisa para dar vida à personalidade do sujeito.
Outra vantagem de usar a iluminação frontal é se você estiver explorando a fotografia de simetria, pois a falta de sombras ajuda a fazer com que os dois lados do rosto pareçam mais simétricos.
Luz de fundo
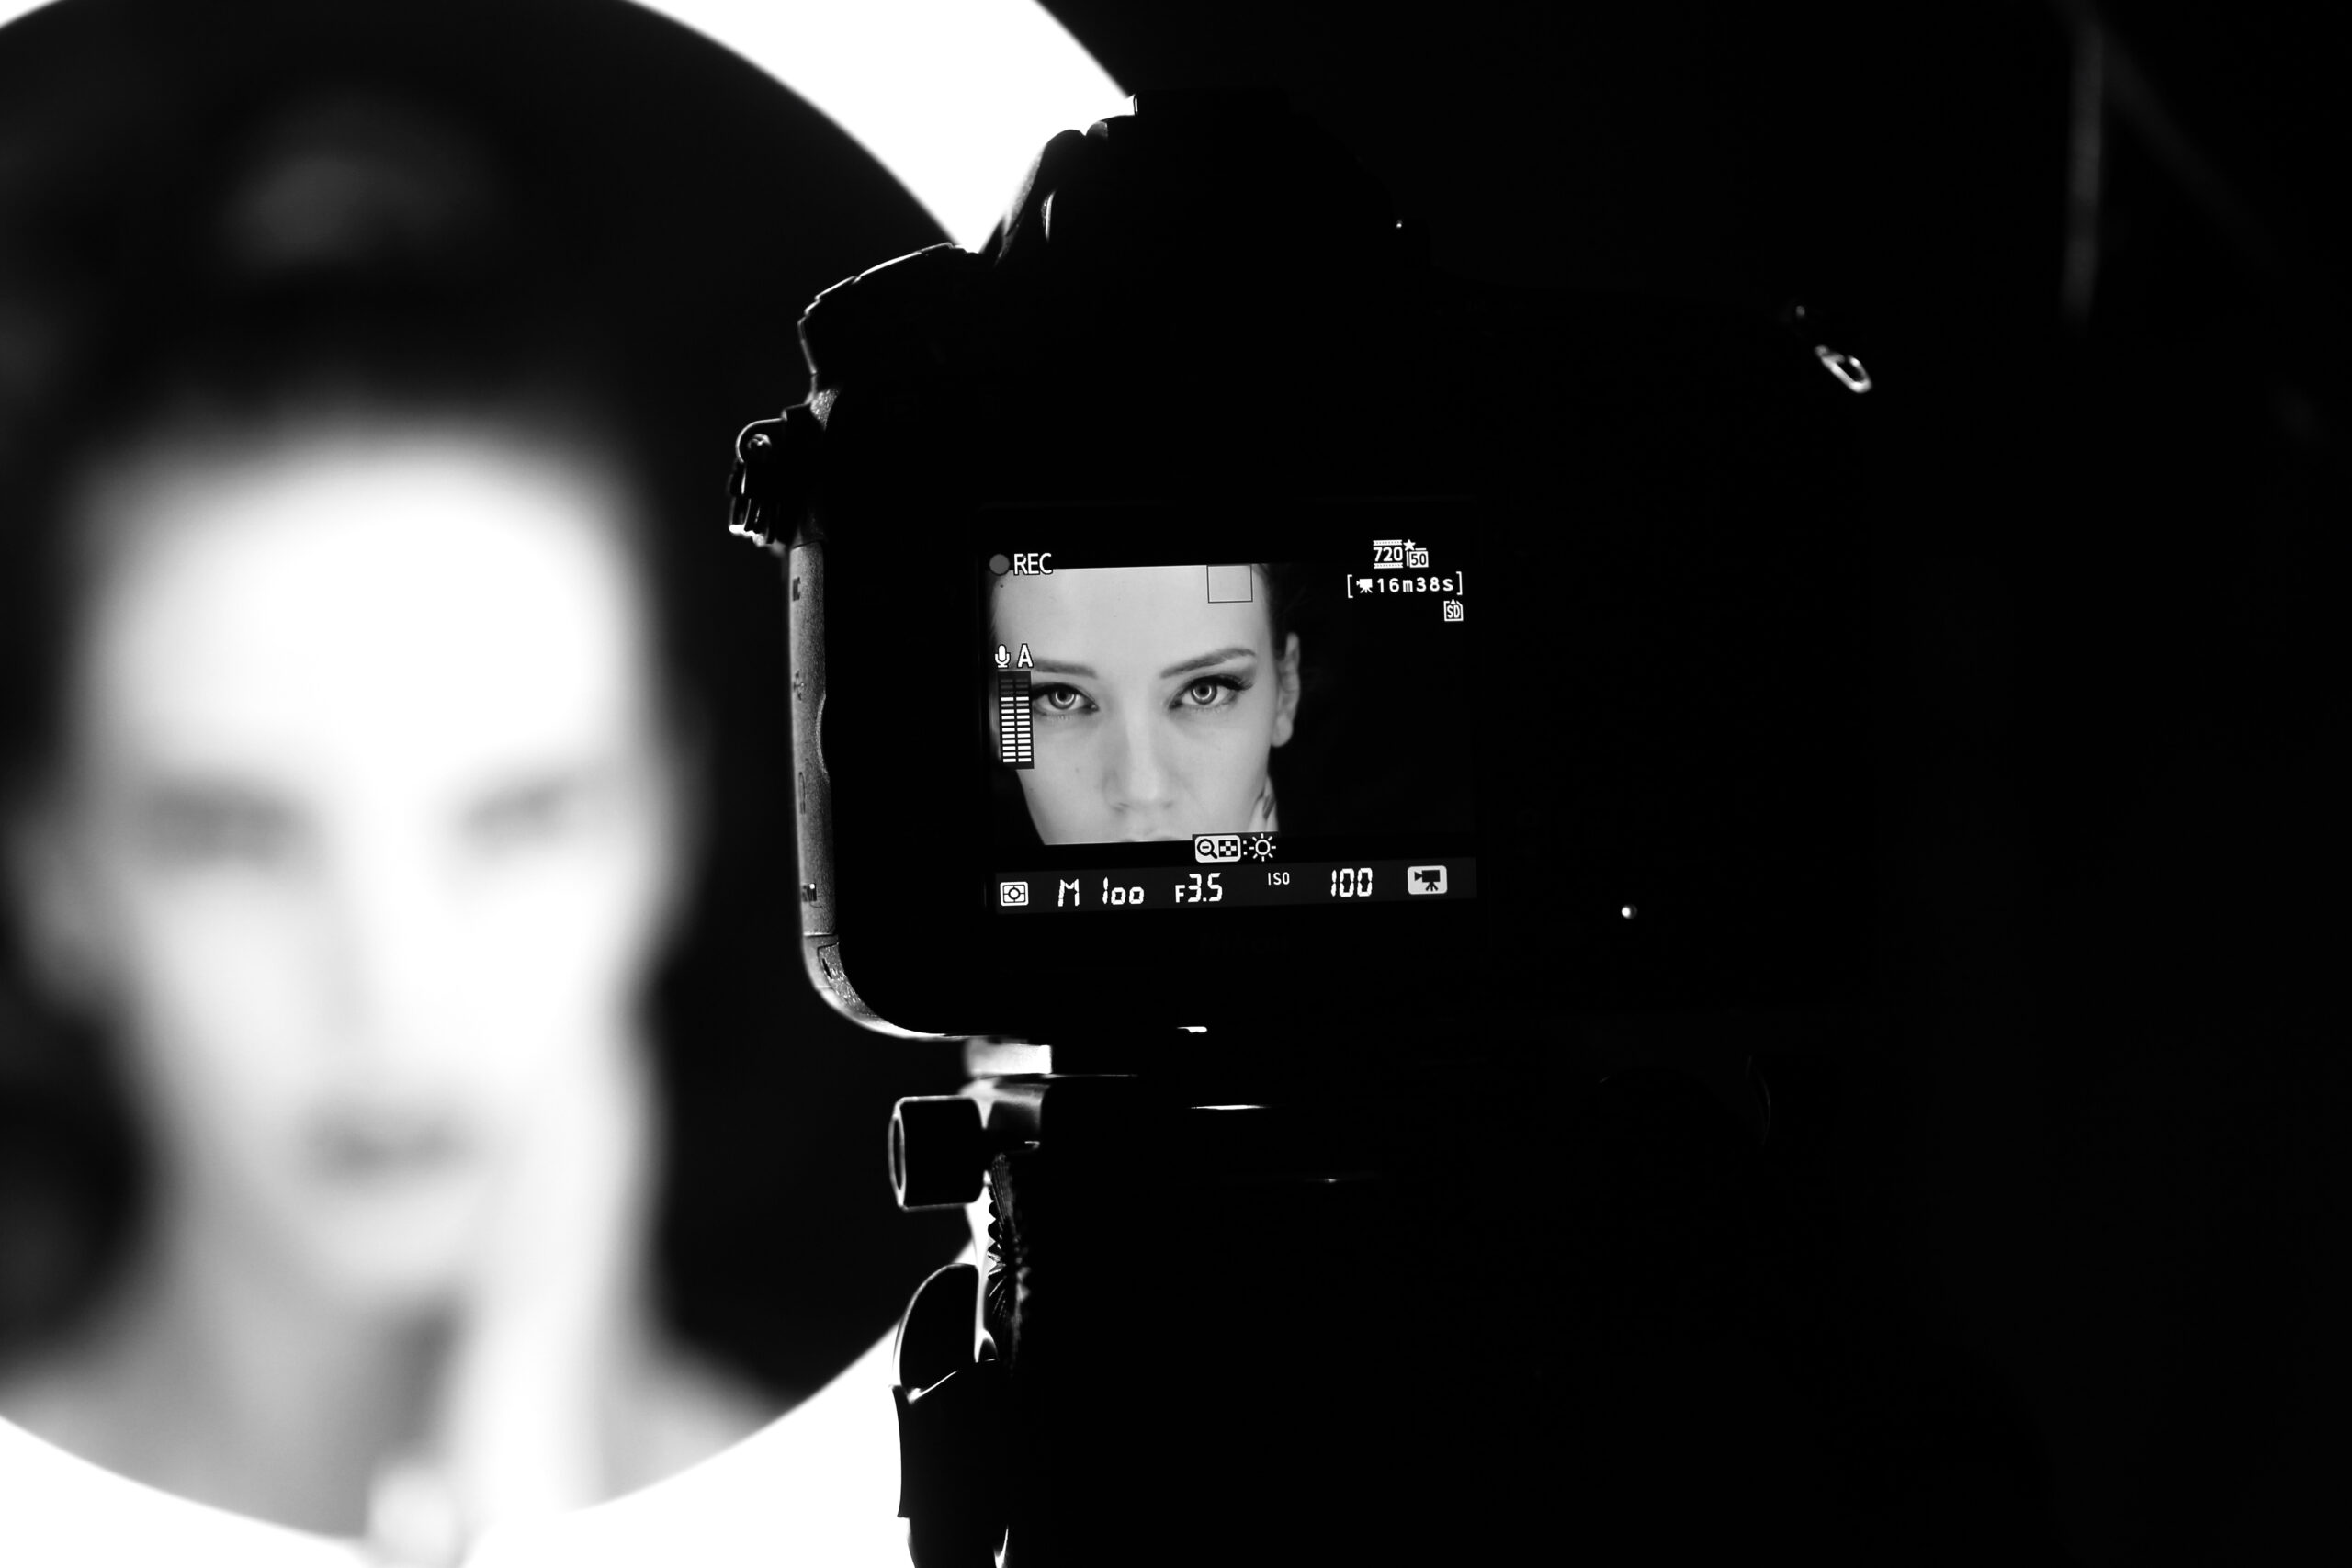
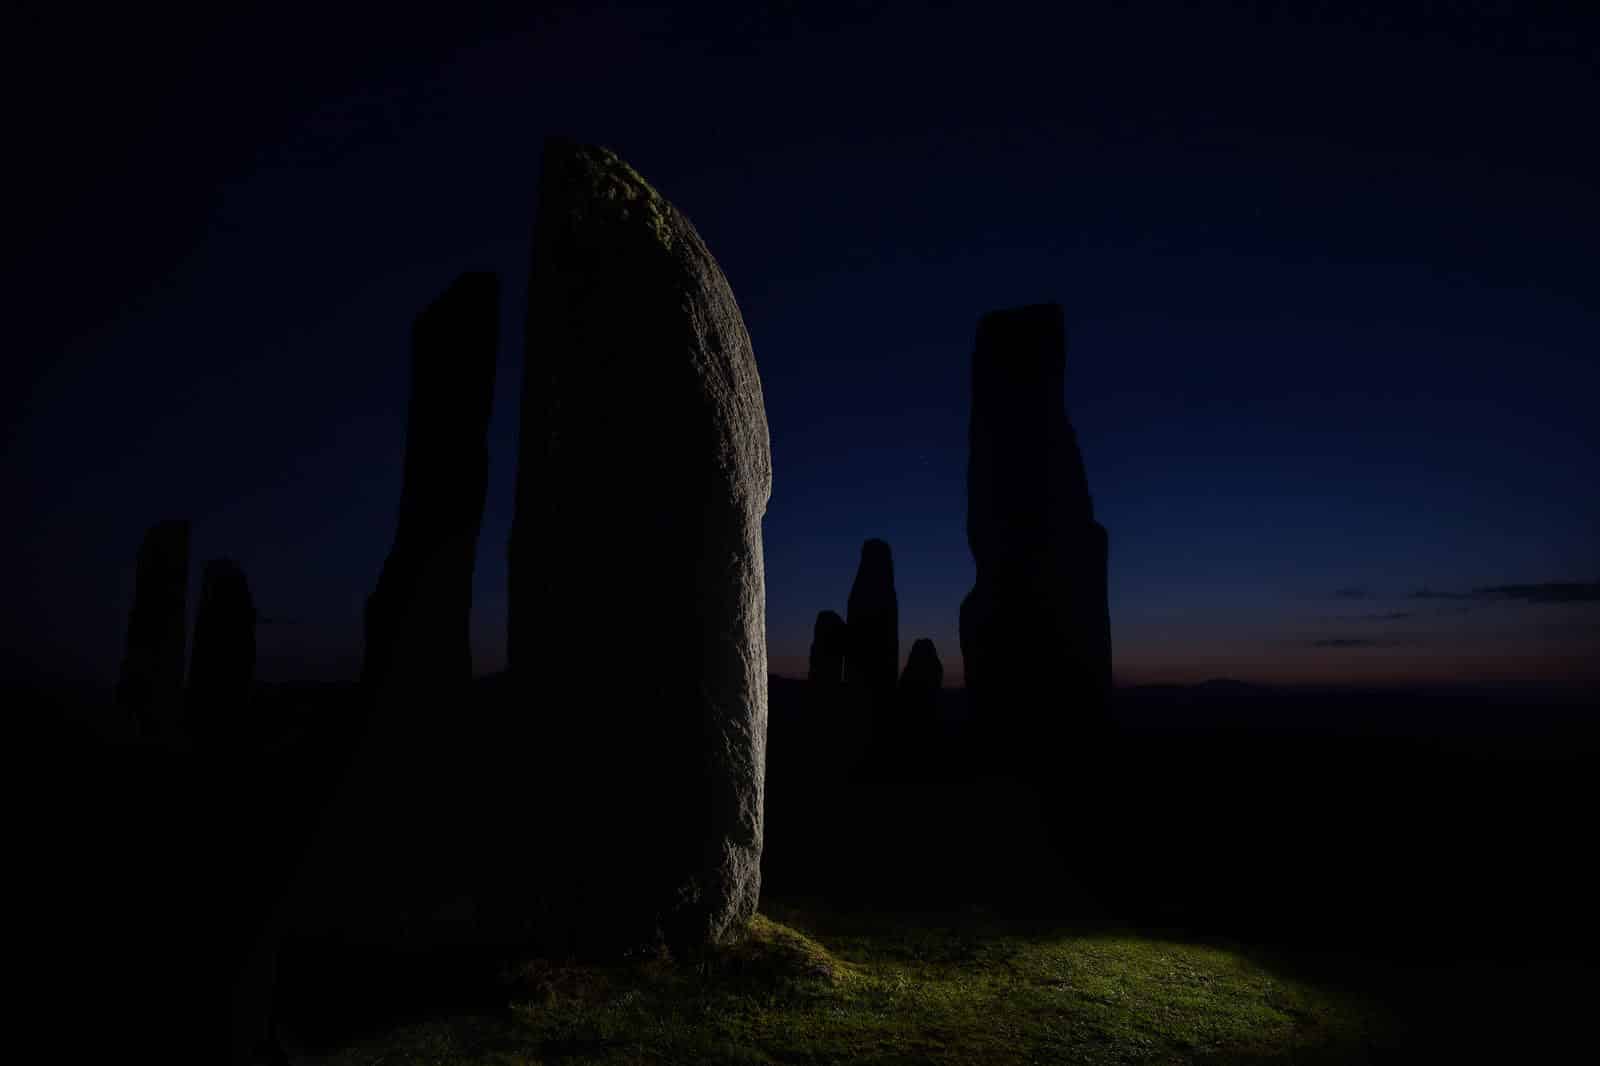
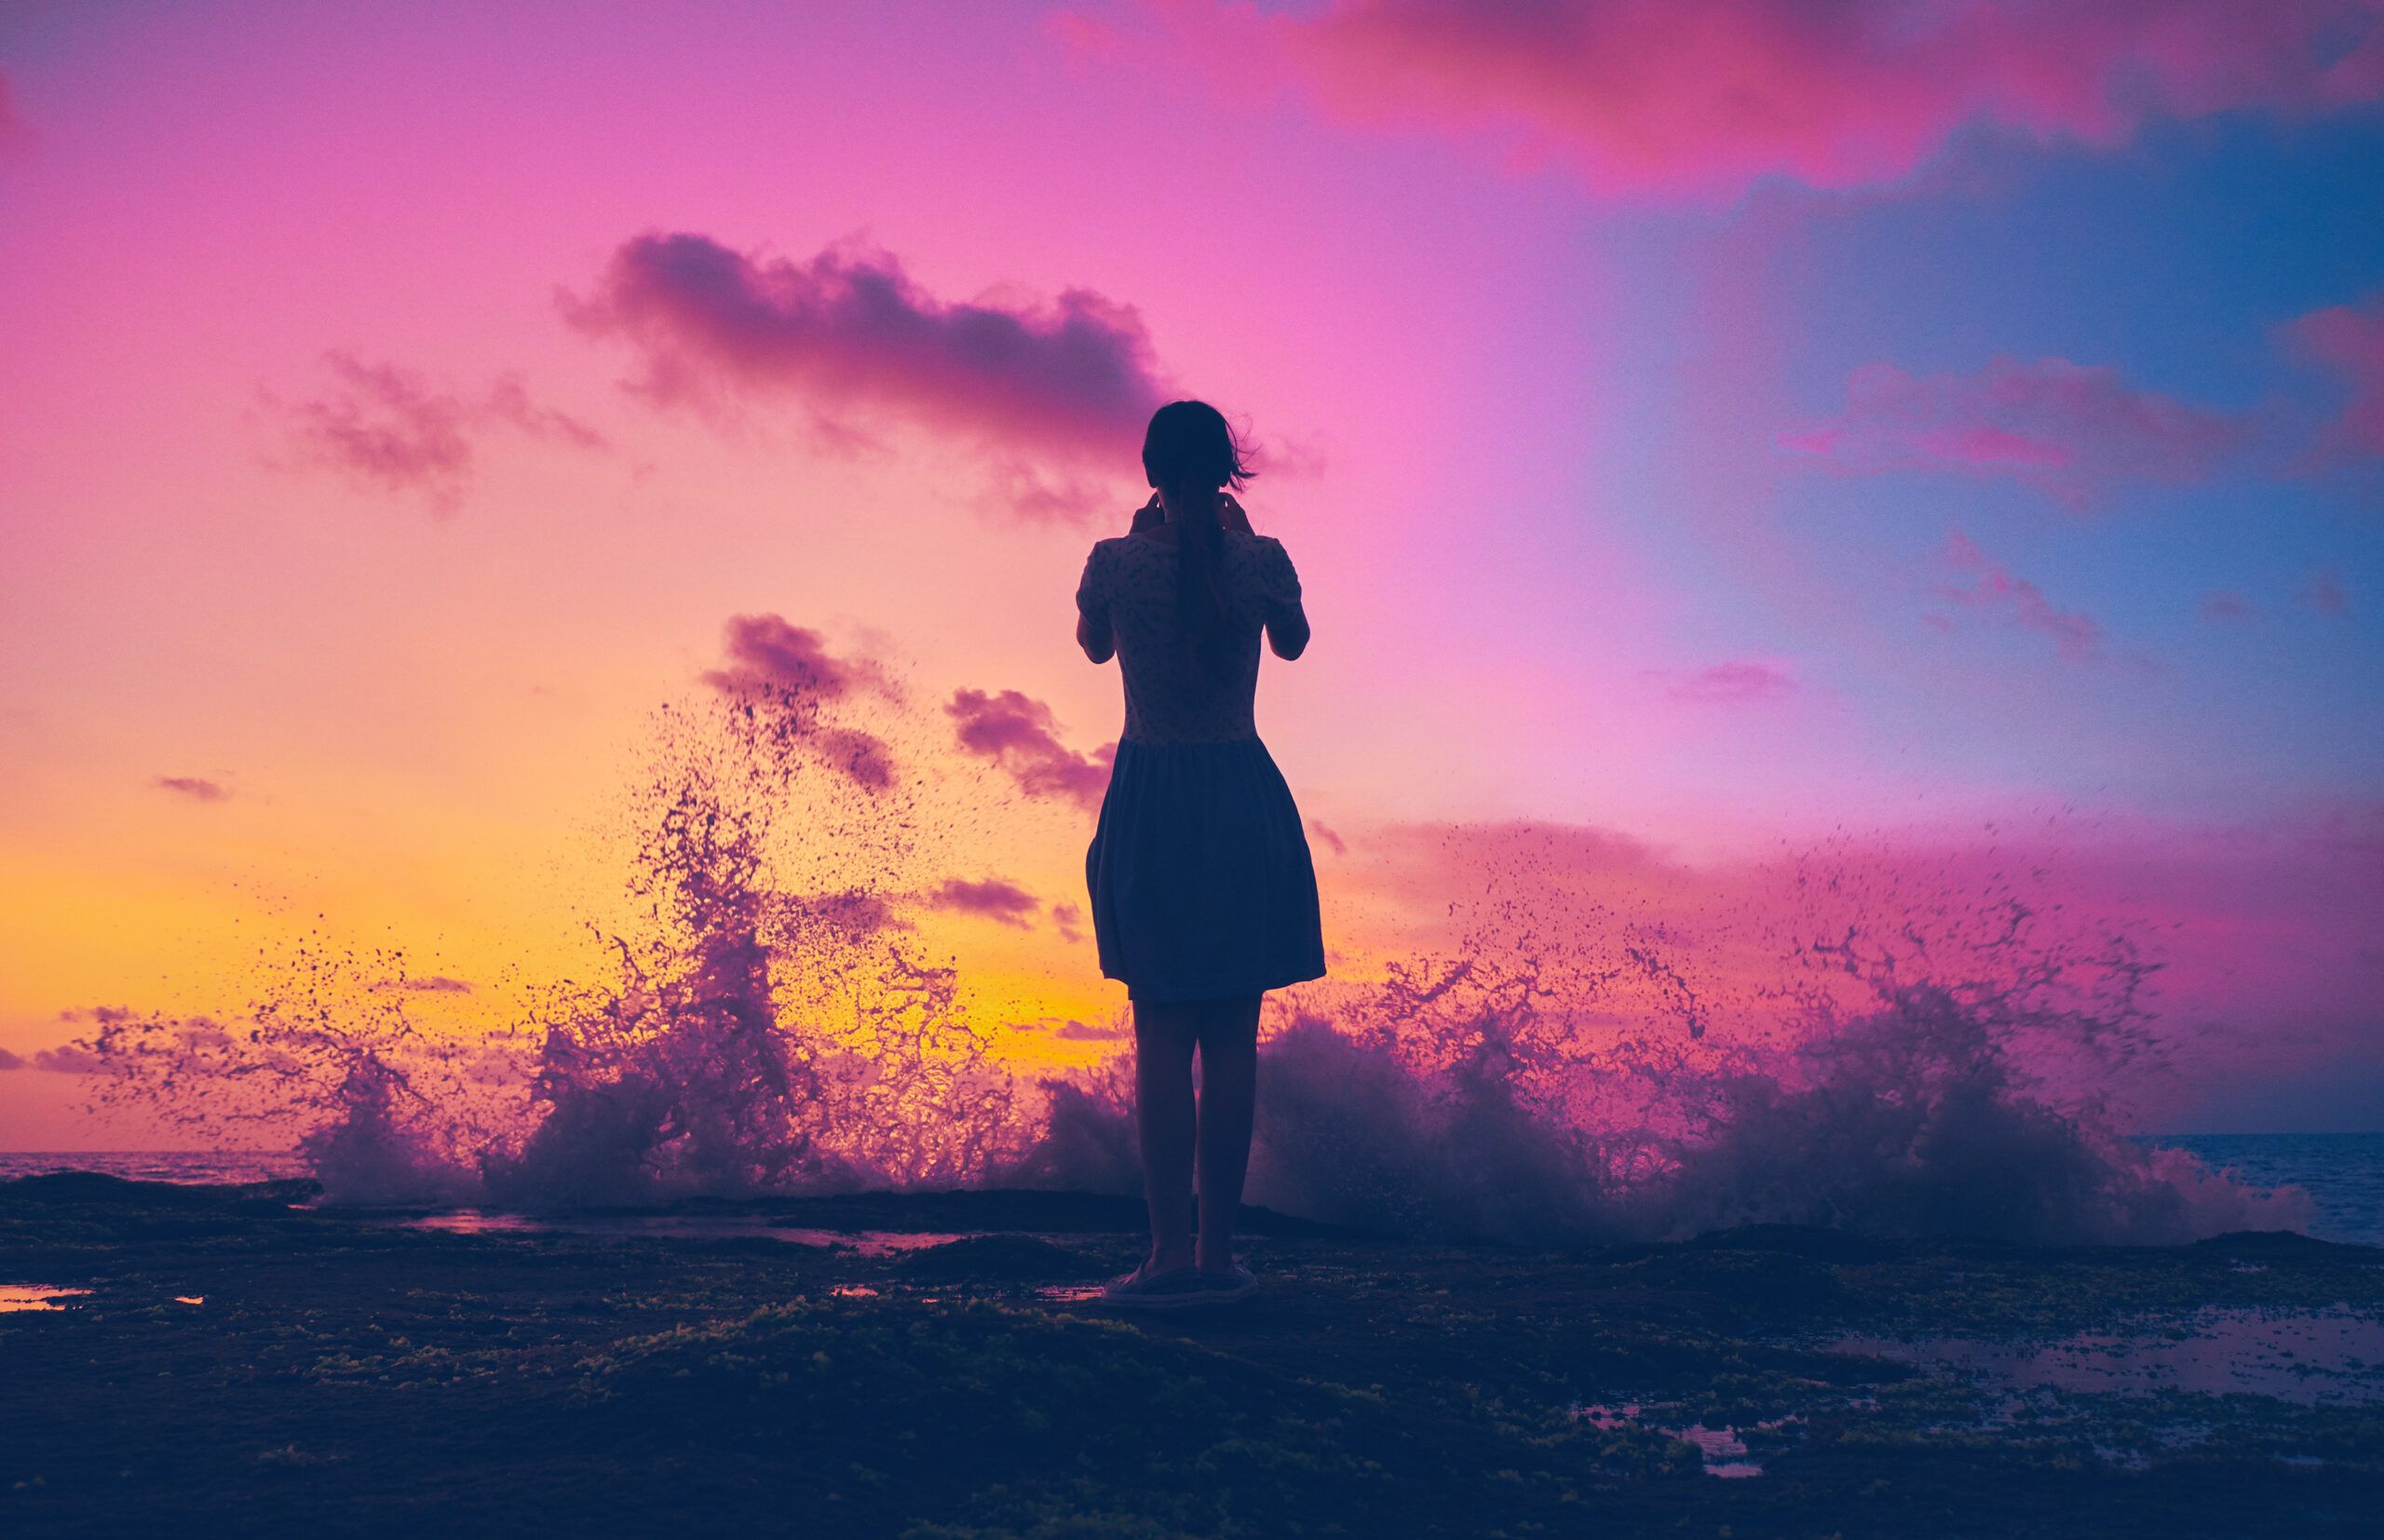
Colocar a fonte de luz atrás do tema, com o tema entre a luz e a câmera, criará um efeito de luz de fundo. Essa pode ser uma ótima oportunidade para você brincar com silhueta e sombras longas em suas fotografias. A possível desvantagem das fotos com luz de fundo é que, se a exposição estiver errada, você ficará com uma triste falta de detalhes no objeto ou com uma fonte de luz apagada. Isso funciona bem para silhuetas, mas se você ainda quiser ver alguns detalhes do tema, esse é o momento de usar o difusor de luz para refletir parte da luz do plano de fundo na frente do tema ou preenchê-la com um flash.
Luz suave
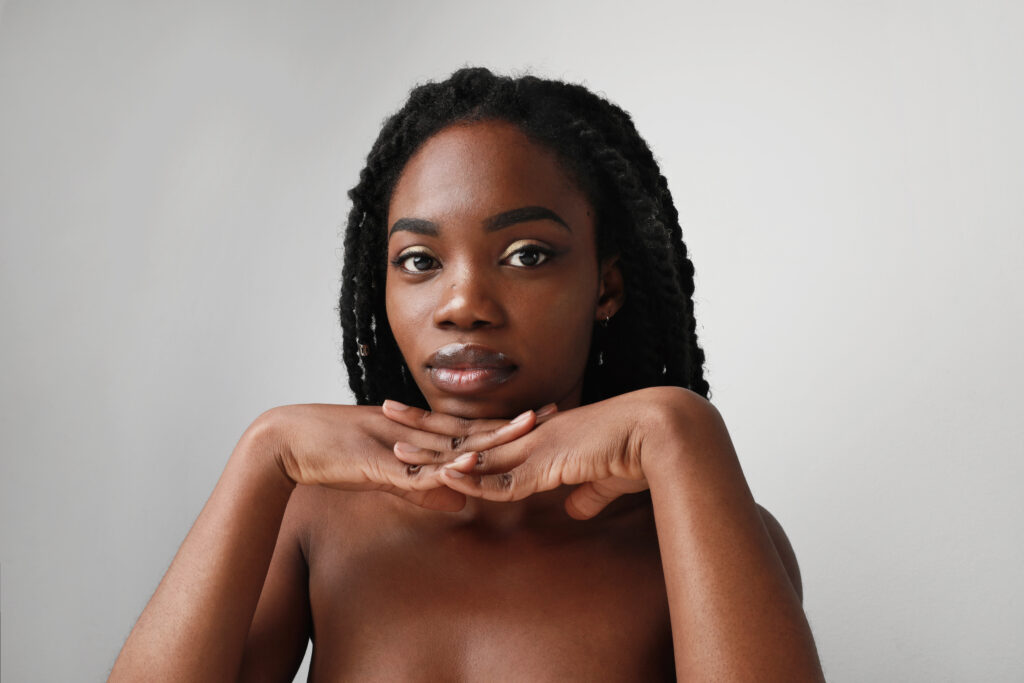
Com a fonte de luz difundida, seja por meio de luz refletida ou filtrada, o efeito é mais sutil do que seria com uma fonte direta de luz. Ao usar a luz suave, você terá sombras menos intensas, se houver alguma, e um contraste menor entre os tons escuros e claros da foto.
Se estiver trabalhando em um estúdio de fotografia, você pode usar um painel de difusão entre a fonte de luz e o objeto. Você pode até usar uma cortina de cor clara sobre a janela para difundir a luz natural do sol que entra. Se você estiver fotografando ao ar livre, a luz suave ocorrerá naturalmente em um dia nublado, pois as nuvens no céu difundem a luz direta do sol. Ao manter a luz suave, você pode obter uma aparência delicada na fotografia de retrato.
Luz dura
O oposto da luz suave ou difusa, a iluminação dura é quando a fonte de luz é apontada diretamente para o objeto. Ela resulta em alto contraste e intensidade, brancos brilhantes e sombras escuras, e geralmente é criada com o uso do sol do meio-dia. Você também pode produzir esse tipo de luz em seu estúdio usando um holofote ou outra fonte de luz que não seja difusa.
Luz de aro
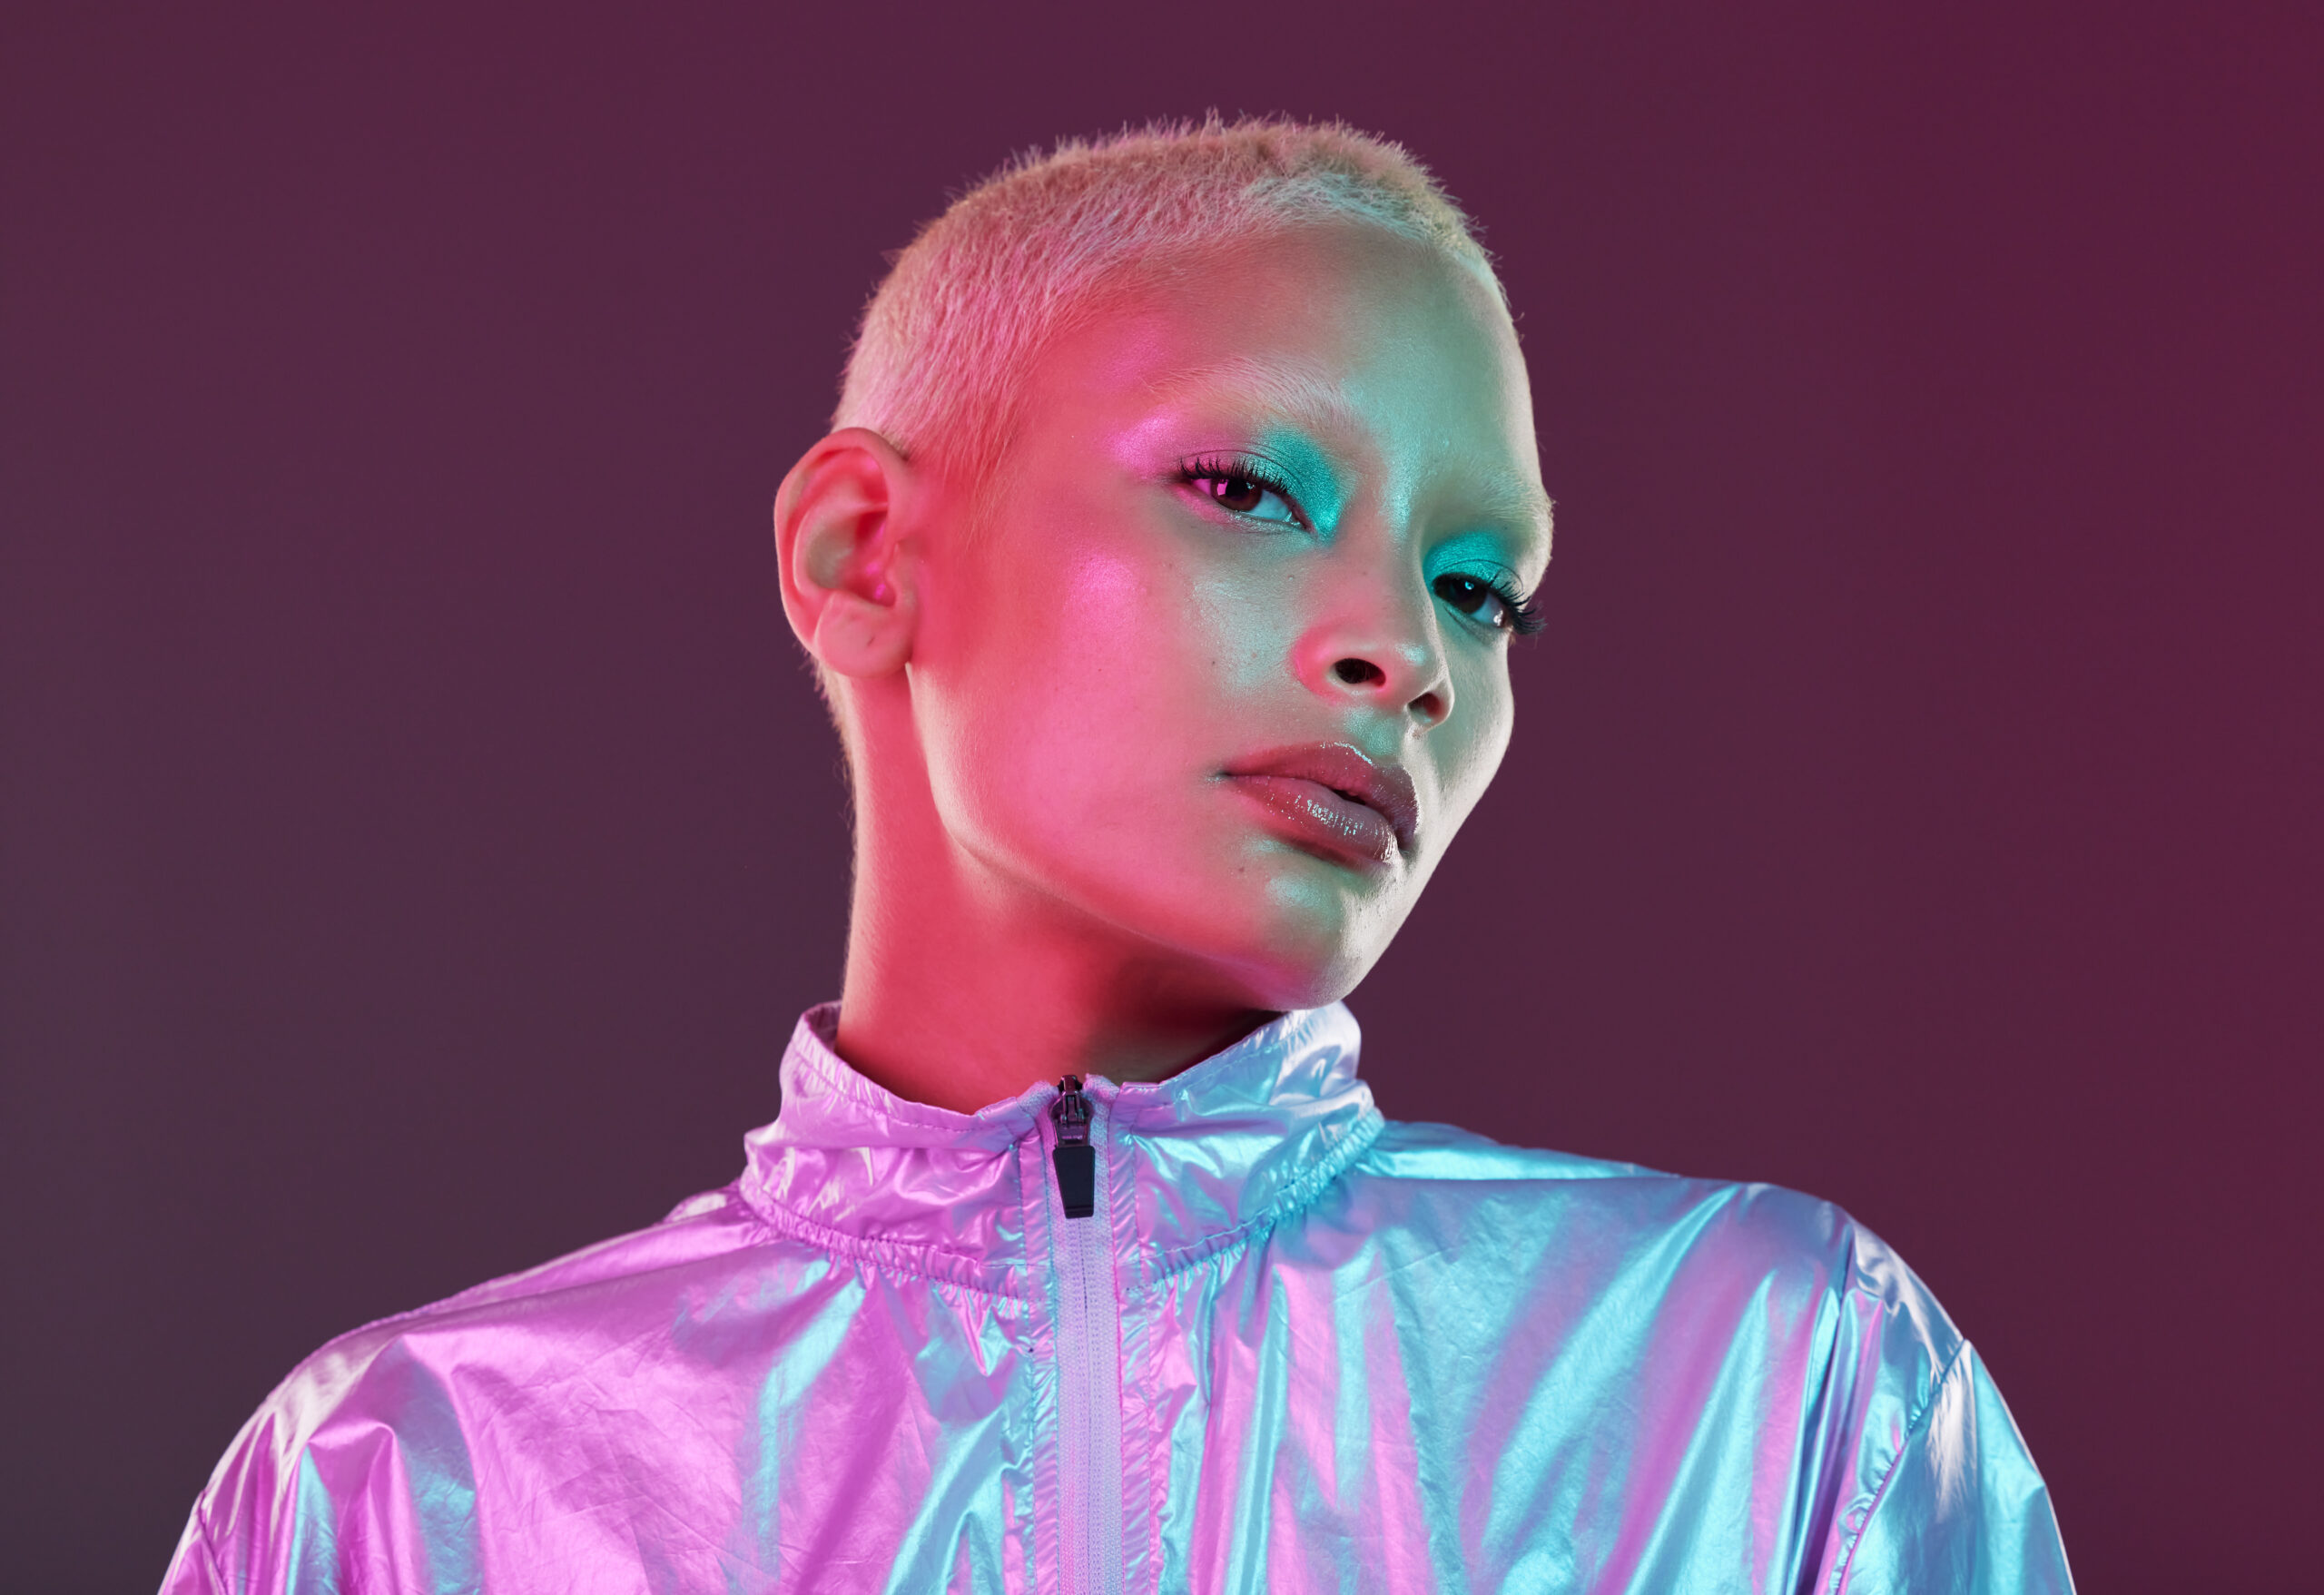
A luz de borda pode ser criada usando uma forma de luz de fundo, em que a luz está em um ângulo vindo de trás ou de cima. A luz atingirá o objeto de forma a criar um contorno brilhante ou um destaque ao redor dele, dependendo da direção de onde a luz está vindo. Essa técnica é útil para distinguir o tema do plano de fundo, fornecendo definição.
Posicione a fonte de luz acima e atrás do objeto e ajuste até que você veja a borda de luz aparecer. Um contraste mais alto realçará a luz da borda, enquanto um contraste mais baixo enfraquecerá o efeito geral. Se você não estiver obtendo detalhes suficientes na parte frontal do objeto, use um refletor para trazer iluminação suficiente para as características dele.
Iluminação em loop
A iluminação em loop é uma técnica específica usada para retratos. O nome se refere a um "loop" de sombra do nariz até a bochecha. Geralmente é considerada uma opção menos dramática e intensa para retratos do que algumas das outras opções listadas.
A iluminação de loop é universalmente lisonjeira, portanto, se você tiver vários compromissos de retrato ou mini sessões em um dia, esse é um ótimo truque para você tirar do bolso. Posicione a luz um pouco mais alta do que o nível dos olhos da modelo e em um ângulo de 45 graus. Você pode experimentar um loop mais ou menos definido movendo a luz para cima e para baixo, e pode ajustar a intensidade da sombra movendo a luz para mais perto ou para mais longe do objeto.
Iluminação ampla
Geralmente usada para fotos de formatura, a luz ampla para fotografia é um tipo de iluminação lateral em que o lado do modelo mais próximo da câmera é iluminado e o lado mais distante fica na sombra. Essa técnica pode ser útil para um modelo com rosto mais fino, pois o lado iluminado parecerá maior do que o lado na sombra, resultando em um rosto mais cheio. Posicione o rosto do modelo em um ângulo, ligeiramente afastado da câmera, para obter essa aparência.
Iluminação curta
Exatamente o oposto da iluminação ampla. Nesse caso, o lado do rosto que está mais próximo da câmera fica na sombra, enquanto o lado mais distante fica na luz. Em vez de criar um formato de rosto mais cheio, a iluminação curta afina o rosto, portanto, tenha cuidado com a forma e o momento em que você usa essas duas técnicas.
Iluminação Butterfly
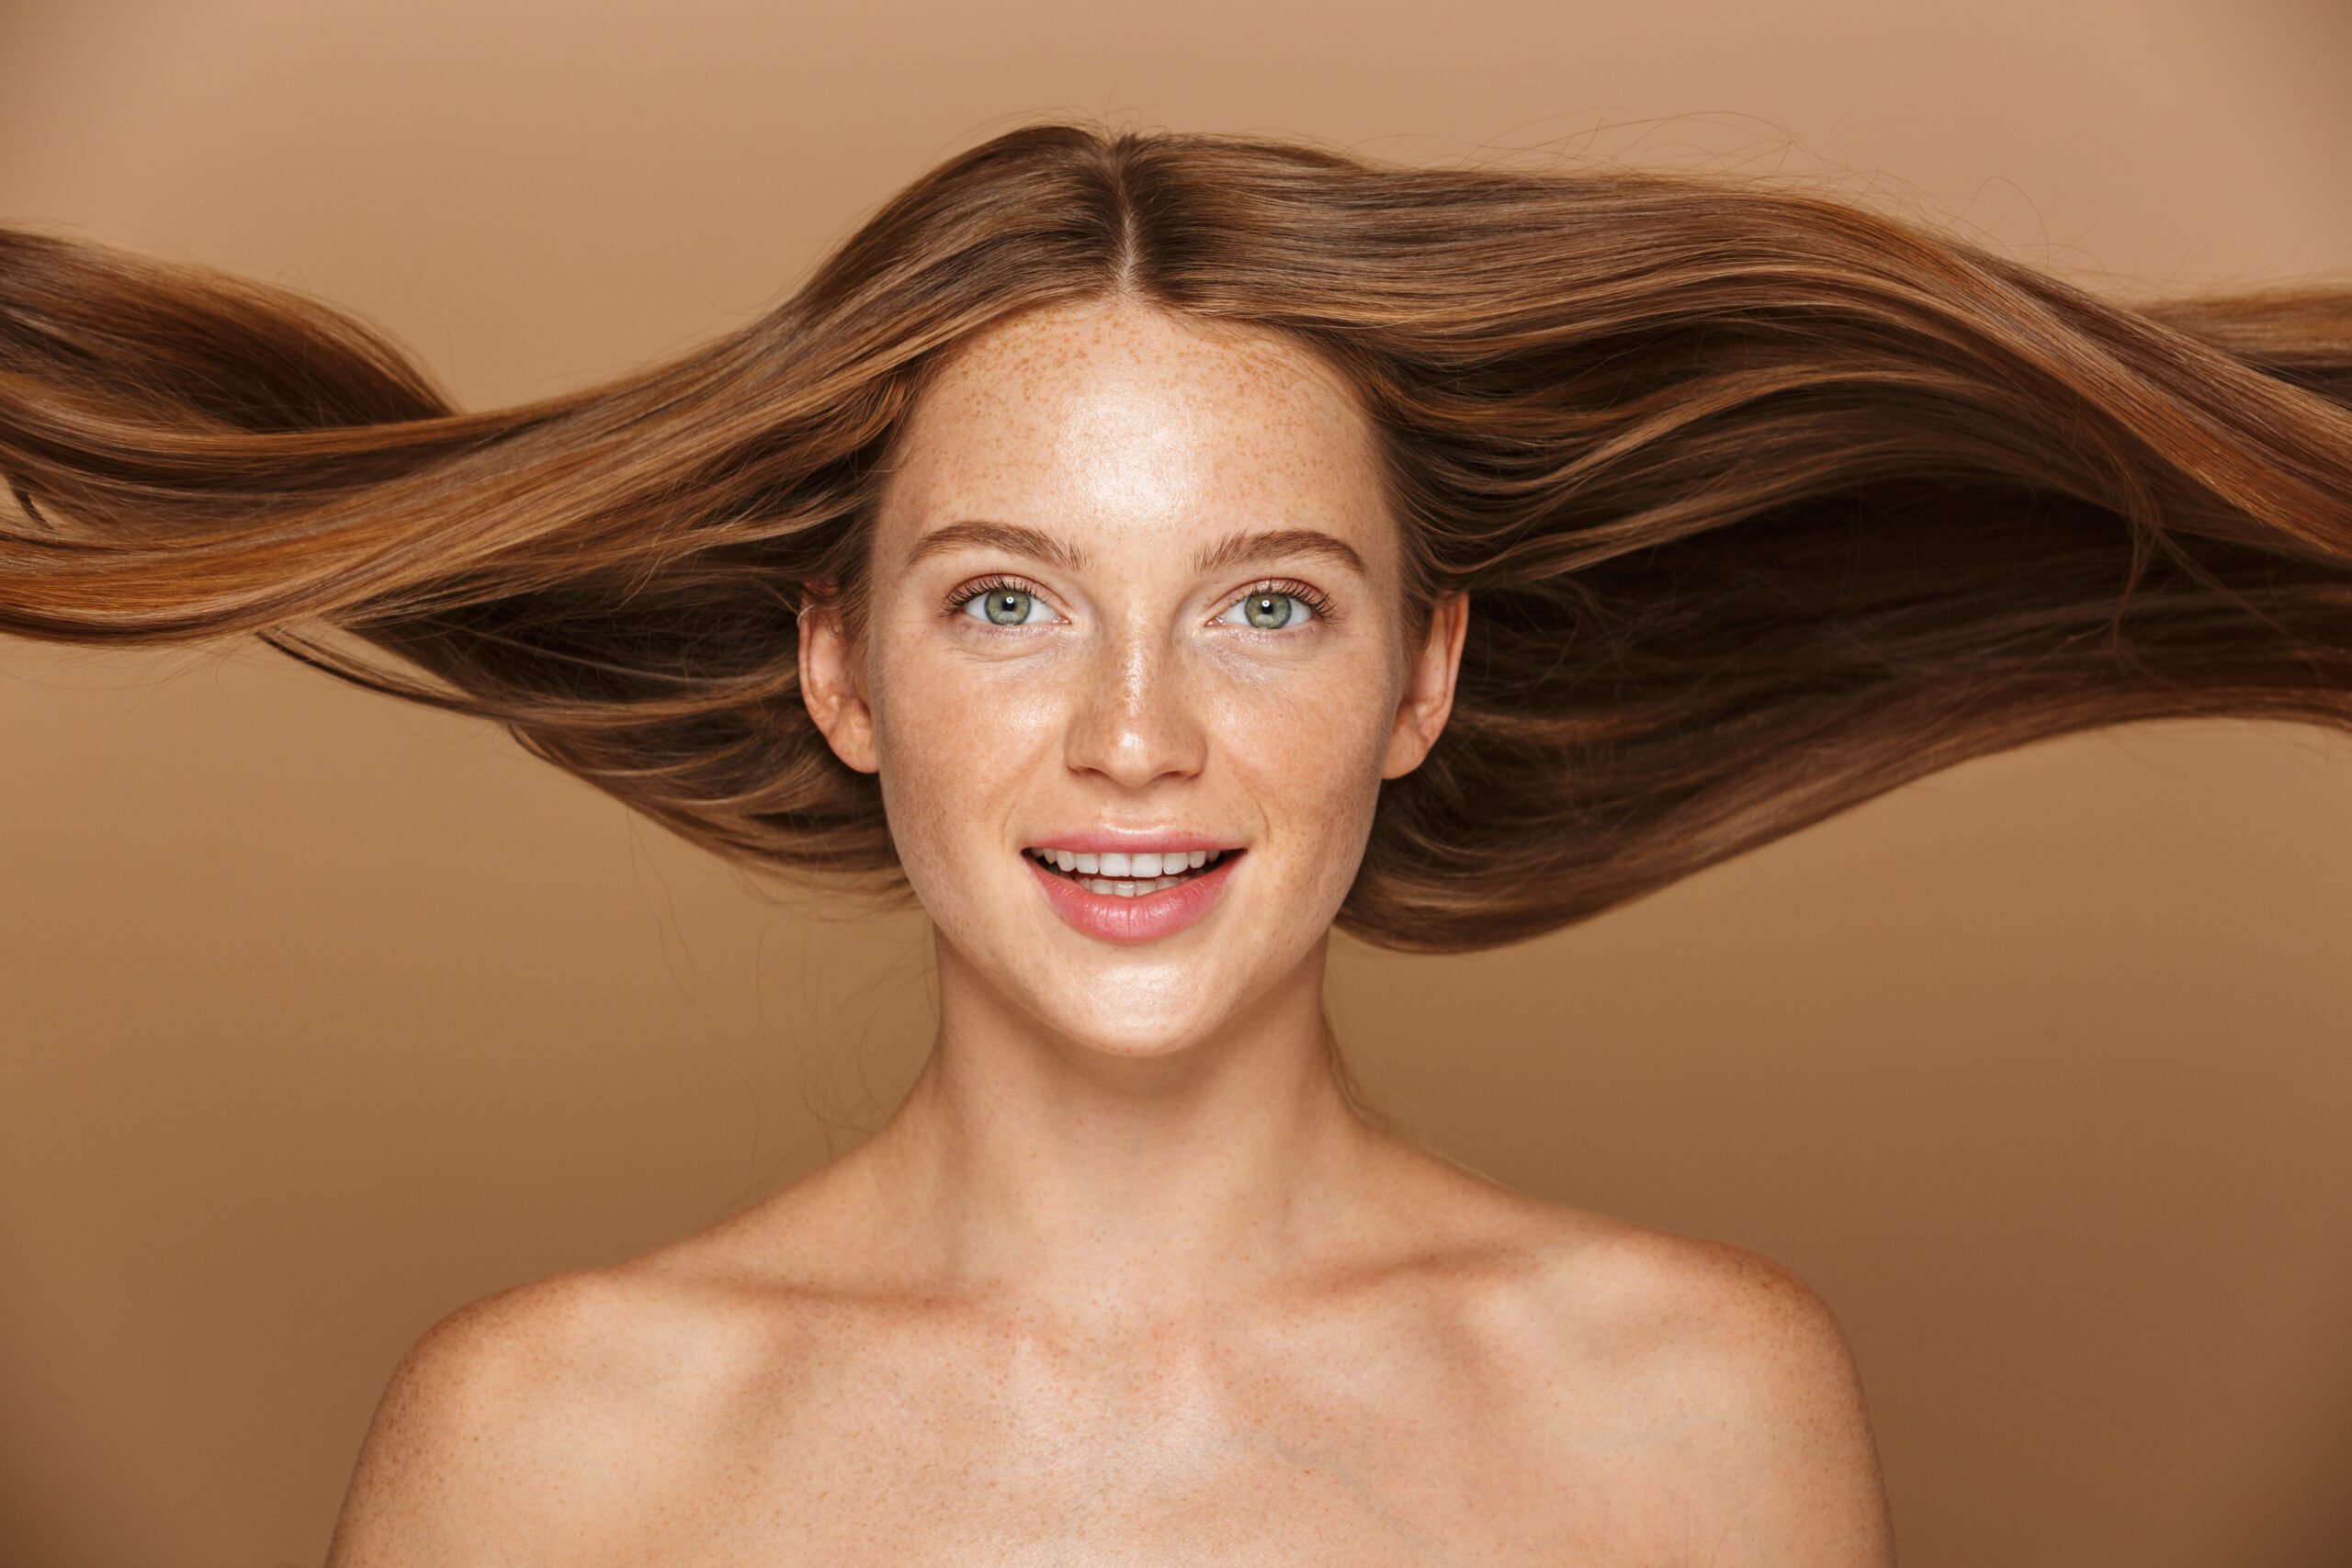
Assim como a iluminação em loop, a iluminação borboleta tem esse nome devido ao tipo específico de sombra que é criada no rosto do modelo. Posicione a luz na frente e acima do modelo para criar uma sombra em forma de borboleta sob o nariz dele. Essa iluminação é vista com frequência em fotos de glamour e fotos de rosto. Ela também servirá para destacar as outras características faciais com o mesmo nível de severidade, o que pode ser ótimo para acentuar maçãs do rosto altas, mas pode não ser útil se o modelo tiver olhos fundos, pois pode resultar em muita sombra sob os olhos.
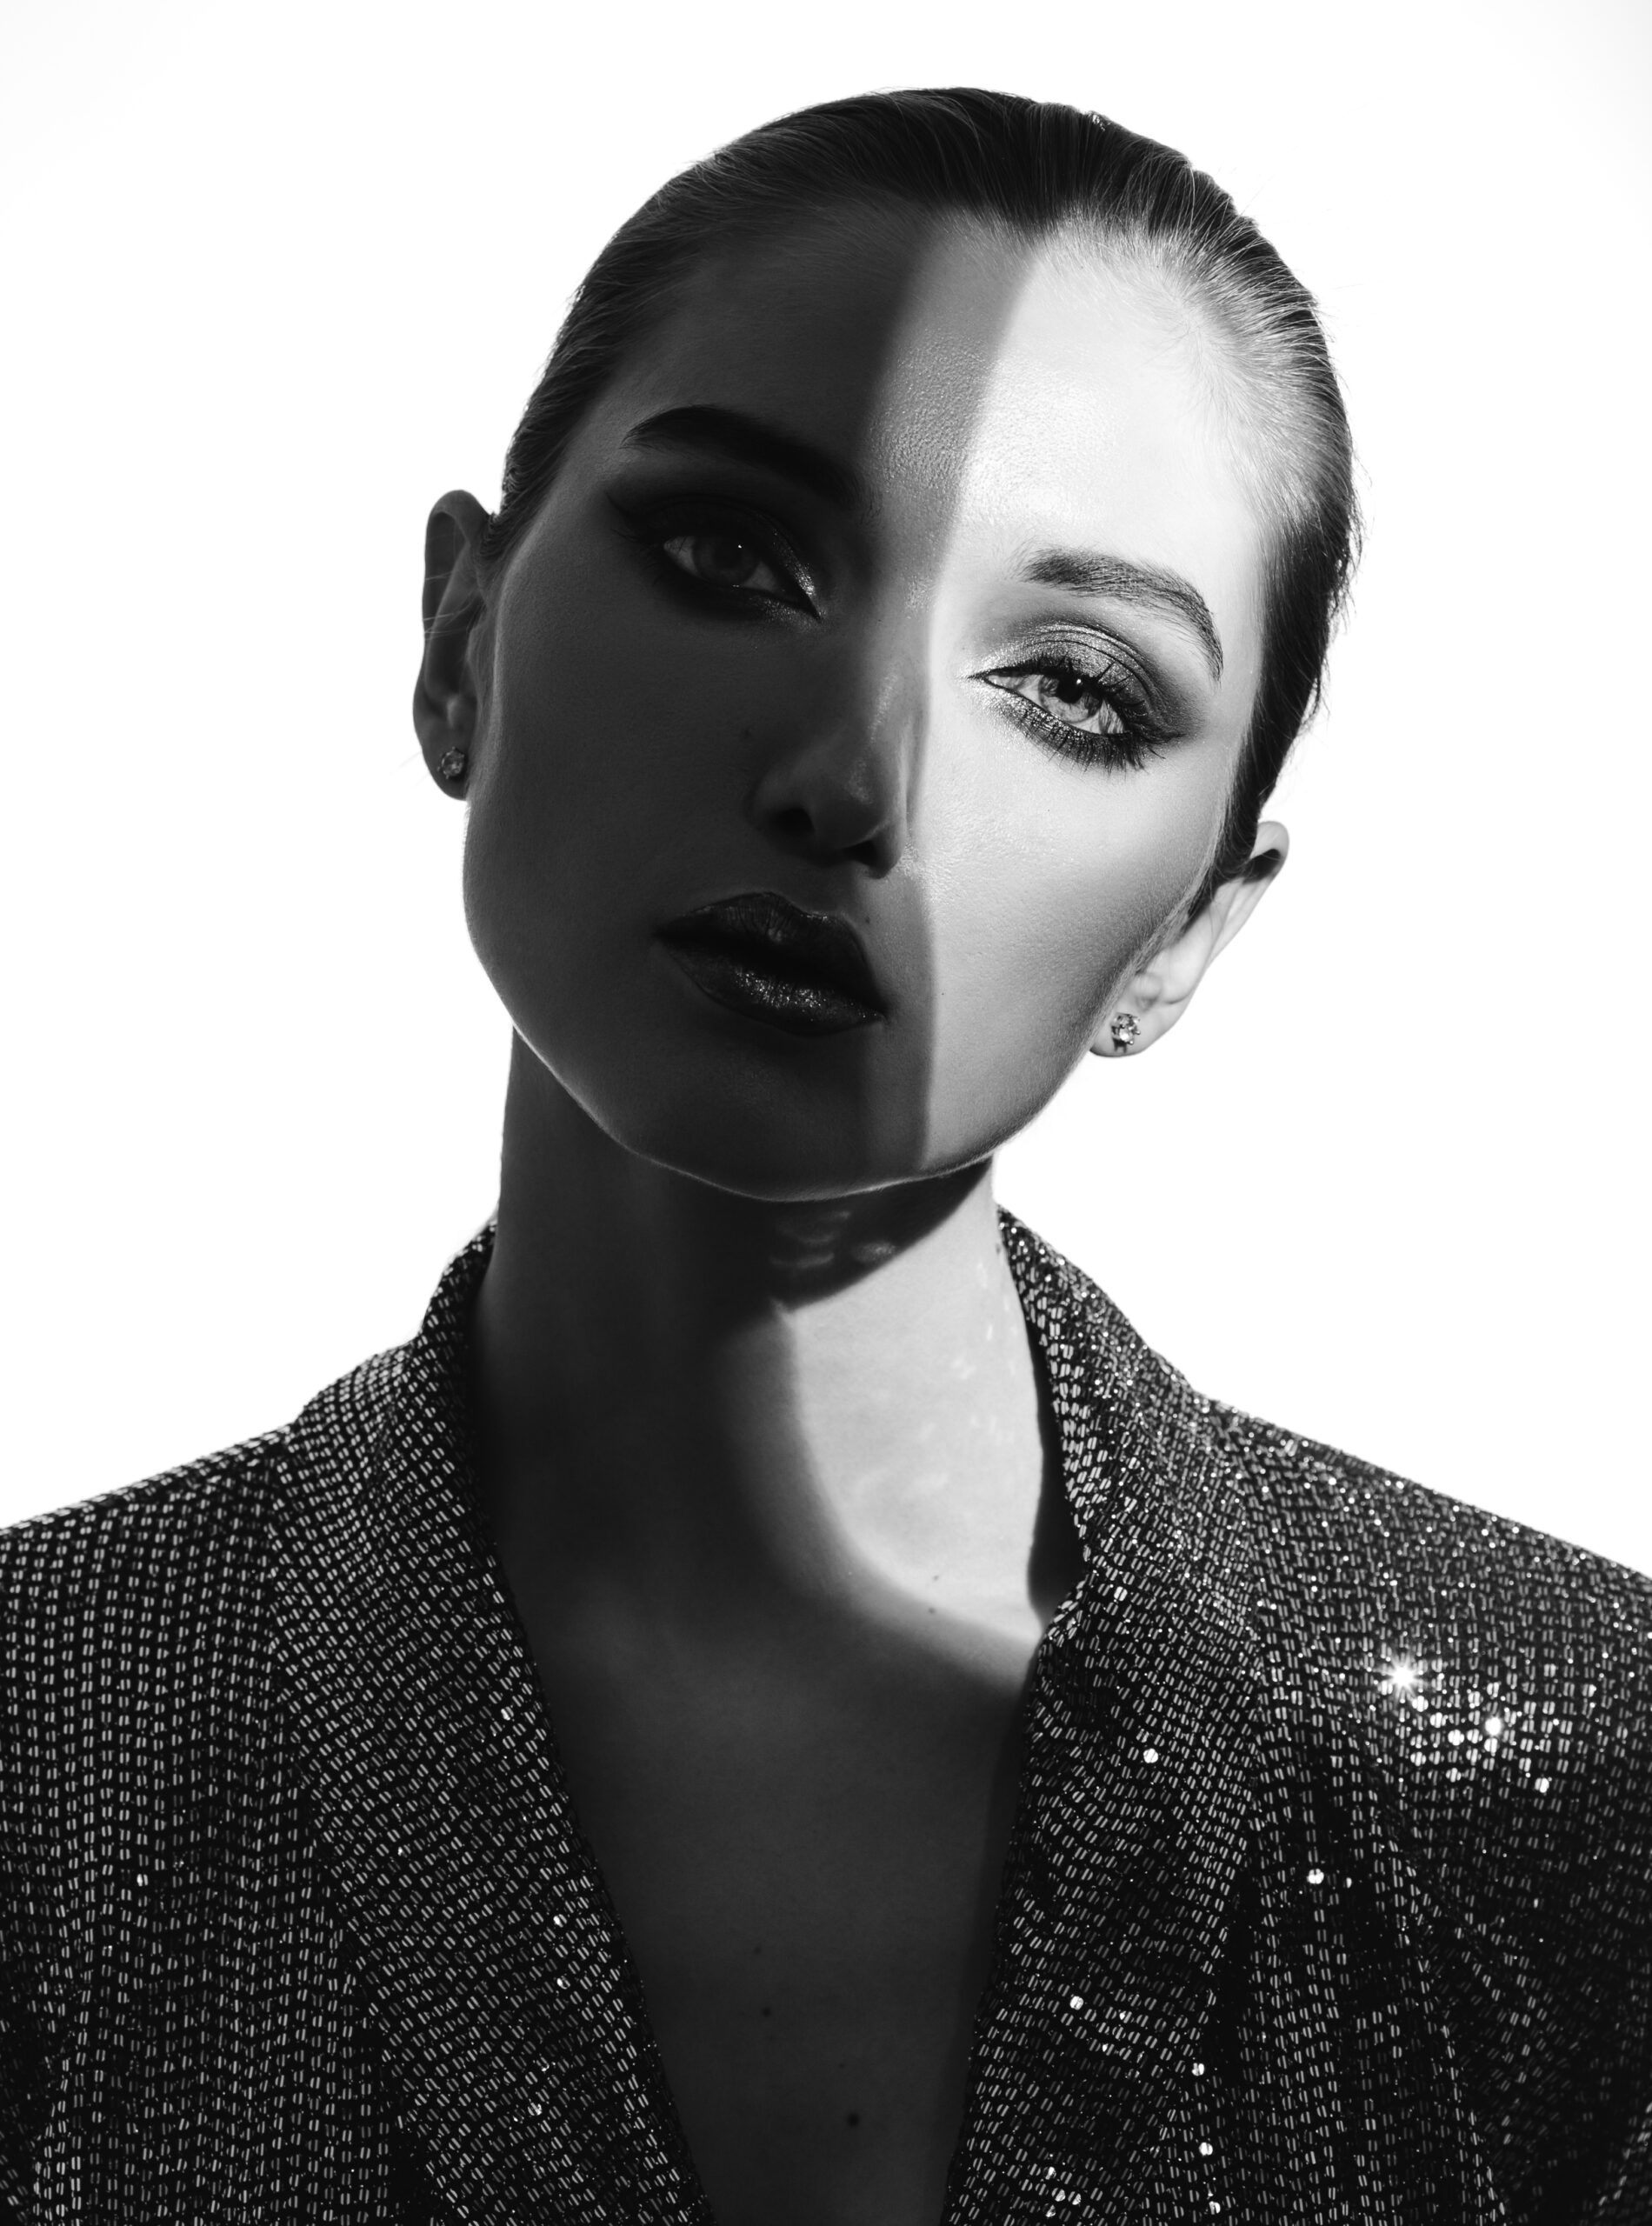
Iluminação dividida
Quando a luz atinge o objeto em um ângulo de 90 graus, isso é chamado de iluminação dividida. Isso resulta em uma linha reta no centro do rosto do sujeito, com um lado totalmente iluminado e o outro totalmente na sombra. Essa é uma ótima opção para um retrato dramático, especialmente se você estiver usando uma luz dura em vez de suave.
Iluminação Rembrandt
Esse estilo de iluminação recebeu esse nome devido à maneira como Rembrandt usava a luz em suas pinturas de retrato. É um tipo de iluminação lateral, semelhante à iluminação dividida, exceto pelo fato de que o lado do rosto que está na sombra tem um triângulo de luz sob o olho. Isso pode ser altamente eficaz para fazer com que uma imagem bidimensional pareça tridimensional.
Escolhendo o melhor tipo de iluminação para suas fotografias
Nenhum método de iluminação será eficaz em todos os cenários. Por exemplo, você precisará de uma configuração de iluminação muito diferente se estiver fotografando a via láctea em vez de fazer uma sessão de retratos com luzes artificiais em seu estúdio fotográfico. À medida que você pratica e se torna mais confiante na identificação de quais tipos de luz são melhores para quais situações, você poderá determinar rapidamente qual iluminação usar com base no assunto, na configuração e no conceito geral.
Iluminação para fotografia em ambientes internos
Embora existam muitos tipos de luz artificial em que você pode investir para o seu estúdio, a luz natural é uma ótima opção para retratos, mesmo quando você estiver fotografando em ambientes fechados. Coloque seu modelo perto de uma janela e veja como a cor da luz muda ao longo do dia e altera o efeito da foto. Se você usar luz externa em ambientes internos, certifique-se de desligar as luzes internas, pois elas podem ter duas cores diferentes e criar um tom irregular, conhecido como iluminação cruzada ou mista. Use um pano de fundo de cor clara ou uma caixa de luz para que a luz reflita nele, iluminando a composição geral.
Iluminação para retratos
A iluminação que você escolher dependerá do rosto do modelo. Embora opções como iluminação borboleta e loop sejam consideradas universalmente lisonjeiras, cada modelo é diferente, portanto, esteja aberto para mudar as coisas no último minuto se você não estiver obtendo o efeito desejado.
Se você quiser realçar a personalidade do rosto da pessoa, talvez queira experimentar opções de iluminação mais severas, como Rembrandt e iluminação dividida, embora possa diminuir o drama se usar um refletor de luz para equilibrar o outro lado do rosto.
A iluminação ampla pode fazer com que o sujeito pareça ter um rosto mais largo, e a iluminação curta resulta em um rosto mais fino, portanto, nem sempre é útil para criar fotos lisonjeiras. Ao selecionar o estilo de iluminação para uma sessão de fotos, considere cuidadosamente o formato do rosto da pessoa e o que ela e você desejam evocar na imagem final.
Crie seu portfólio com o Format
Criador de portfólio on-line classificado como #1 pelos fotógrafos.
Agora que você tem uma sólida compreensão dos diferentes tipos de luz, o que eles fazem e quando usá-los, é hora de sair e começar a praticar suas novas habilidades! Certifique-se de que você mantenha seu portfólio on-line atualizado ao longo do caminho para que clientes e colaboradores em potencial possam ver todas as coisas incríveis em que você está trabalhando.
